
Routine Guide | Chapter 5 Endure & Annex Labs Walkthrough
Survive the lunar surface, clear Prism Labs Annex, and unlock Security Level 3 without getting lost or caught by the invisible monster.
Game Guide by Faviyan Mustafiz on Dec 20, 2025
When the outer door opens after the airlock cycle, you step onto the moon's surface and into Chapter 5: Endure. Here, movement feels slow and floaty, and each step has a small jump like the moon.
Look up to notice Earth above and use the line of yellow-orange cones to guide you forward across the regolith. Simply follow these cones; there are no enemies outside, so you can take a straight path to the facility entrance.

Keep moving until the cone trail leads to the airlock for the Annex. This structure connects to the old Prism Labs, which is where most of this chapter unfolds. Enter the airlock, let it cycle, then take the elevator down into the worn, yellow-tinted interior of the facility.
Entering Prism Labs Annex And Staying Safe
Inside the Annex, use the first save terminal you see. Saving requires one bar of battery, so try to keep at least one full Battery in your Cat device for emergencies.
From the hub, head toward the Main Wing and then into Lab 1. In Lab 1, look for a vent entrance; this vent is important and will be used several times to dodge the monster and reach the Main Hall.
When you leave the vent into the main area, hit the nearby save again so death does not send you too far back. The invisible monster patrols this whole wing, but it cannot enter vents and usually cannot enter breaker rooms. Breaker rooms and vents are your safest places when the creature is active.
Getting The First ID Code And Opening The Main Laboratory
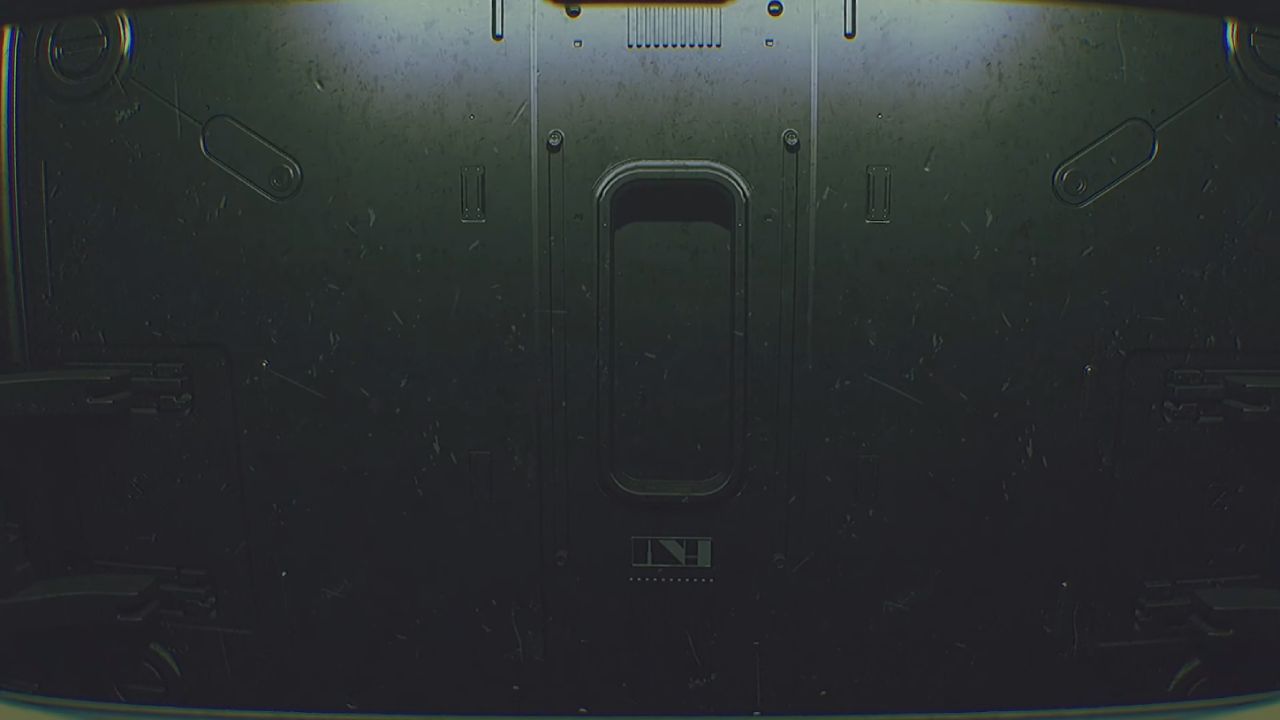
As you move deeper into the Main Wing, you eventually pass a body that jerks into a brief jump scare and reveals an ID Card. This card belongs to a deceased staff member and comes with a randomized four-digit code.
In one run this code appears as "0211," but your number will be different; always check the database entry on your terminal to see the current ID.
Use that ID at the nearby terminal to authenticate and run the executable that opens up more of the lab doors.
Once the doors respond, continue exploring through Lab 1, the vent system, and the adjoining laboratory spaces until you reach the small chemical-mixing room used for preparing a disinfectant. This room contains notes and diagrams explaining how to destroy the EL9 fungal growth.
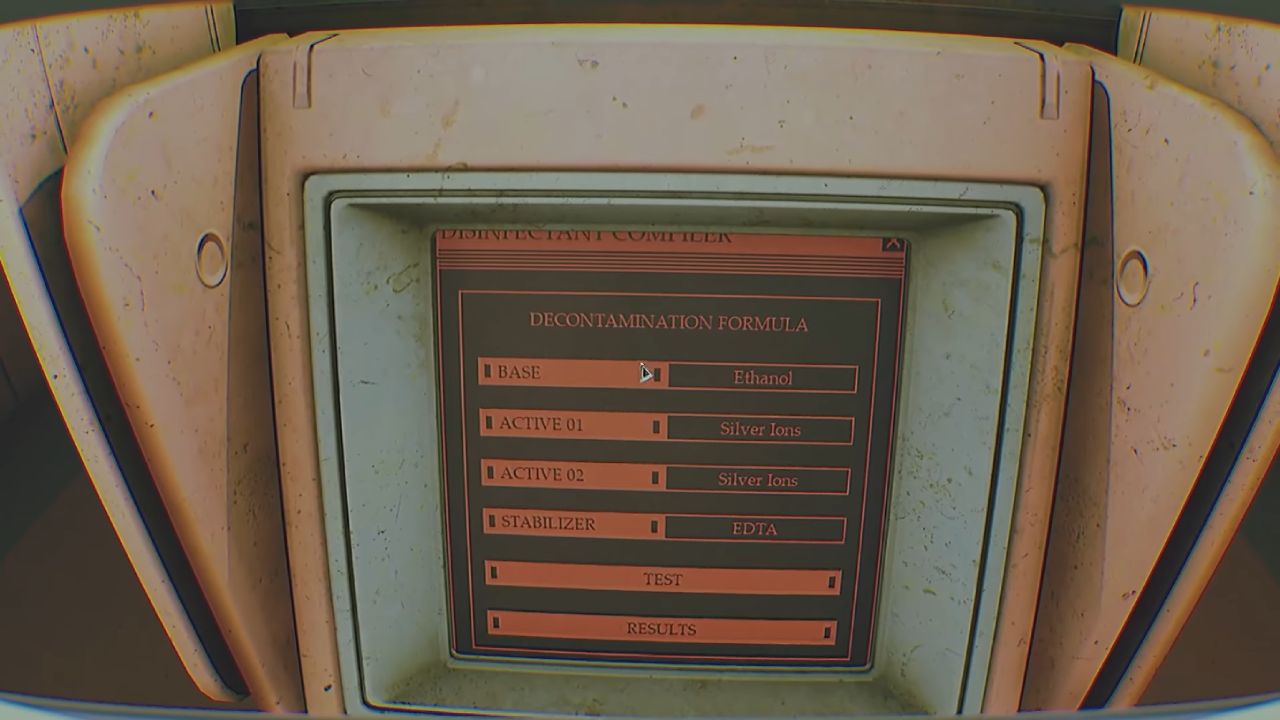
At the chemical console, you need to set up the formula for the disinfectant. Isopropyl alcohol is the base liquid. Copper (Cu²⁺) is Active 1, hydrogen peroxide is Active 2, and EDTA is the stabilizer. Put these parts in the right places on the computer, then take the test.
The fungal growth on the sample melts away, which shows that the formula is right. The Main Laboratory can now be entered.
With the Main Laboratory unlocked, backtrack through the vent to the hub of the wing and save your progress before the next section.
Using The Decontamination Chamber And Collecting William Davis' Keycard
Head to the Decontamination Room connected to the Main Laboratory area. Thanks to the disinfectant you just prepared, the chamber is now filled with chemical capable of killing the EL9 fungus.
Step inside and wait as the cycle runs; compared to some other horror games, this decontamination sequence is less aggressive, but it still sells the feeling of being scrubbed clean.
Check out the room that was just cleared after the cycle. William Davis's keycard and another odd four-digit code can be found on a nearby surface. This says "5134" in one playthrough, but your number will be different.
Check the database entry linked to William Davis to see the current value. Grab the keycard and listen to any audio logs you like, then leave through the vent back toward Lab 1.
Use the save terminal again before heading deeper. The invisible monster can be very active around this wing, and saves prevent tedious backtracking through the chemical puzzle and decontamination.
Navigating Around The Invisible Monster In Annex
Your next goal is to find William Davis' Terminal, located in the Main Wing area beyond Lab 1. The monster often patrols near this terminal.
When you step out of the vent into the main hall, use the Activation Module to briefly reveal the creature if it is invisible; the activation beam makes the monster visible while you watch, which helps you plan a safe route.
Move slowly, avoid constant sprinting, and listen for footsteps and heavy breathing. If you can hear the monster nearby, go into a vent or breaker room until the sounds go away. When there aren't too many people in the hall, sneak into the side room with William Davis's Terminal.
Use the console and type in the keycard code. You got this code in the decontamination room. This opens a way to get past the Override Hatch, which lets you see a ladder that goes down into the repair tunnels.
Descending To The Overflow Tunnels
Climb down the ladder into the flooded maintenance section, often called the Overflow Tunnels. Down here, the path forward is guided mostly by light and water.
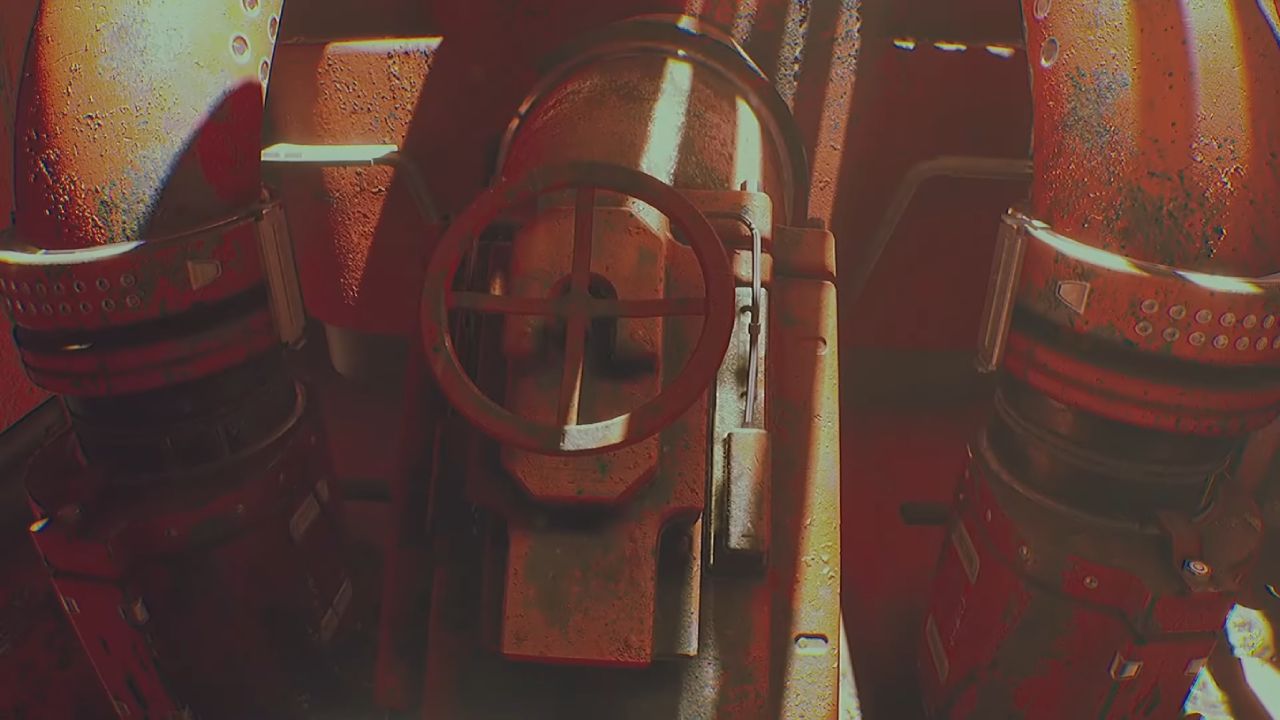
Follow the lit areas instead of the first red-herring light you see. Keep pushing through the shallow water until you reach a valve wheel at the back of the area.
Turn this valve to reroute the water from the original flooded ladder shaft into the section you are currently standing in. This drains the earlier ladder and raises the water level near you.
From here, you must backtrack towards the newly drained ladder while an invisible monster splashes after you in the water. Because of the hidden stamina bar, do not sprint constantly until this chase; conserve enough stamina to make one strong run for the ladder when the monster appears.
As soon as you see the water splashing behind you, sprint straight for the ladder. In most runs the creature will not reach you in time, but a clean line and good stamina management reduce the risk further.
Climb up and into the area near Entity A and Entity B containment, then head back through the corridor and into the next safe room.
Unlocking Security Level 3 And Leaving Annex
Back in the upper section, return to the security console where you can use William Davis' Keycard code again. Enter the same four-digit code to upgrade your Security Module to Level 3. This is the main reason you came to Annex and the old Prism Labs in Chapter 5: Endure. Once the upgrade completes, save at the nearby terminal.
Now retrace your route through the corridors, vents, and ladders until you reach the elevator back up to the lunar surface.
The monster may still roam parts of the facility, so keep listening for footsteps and avoid unnecessary sprinting in tight spaces. When you get back to the surface, follow the cone path you know to get back to the main base exit.
Go back to the base so you can smoothly move on to Chapter 6: Legacy. Security Level 3 is now available, and all important progress from Endure has been made.
Also, check our other guides below:
- Routine Guide | Chapter 1 Birth Walkthrough & Keycodes
- Routine Guide | Chapter 2 Mall Walkthrough & Keycodes
- Routine Guide | Chapter 3 Re-Create Walkthrough & ASN Shutdown
- Routine Guide | Chapter 4 Adrift Walkthrough & Archive Server Puzzle
- Routine Guide | Chapter 6 Legacy Ending Walkthrough & The Canal
Contributor, NoobFeed
Latest Articles
No Data.