
Tormented Souls 2 Guide | All Convent Area Puzzles
Here’s a guide on all the Puzzles in the Convent Area.
Game Guide by Joy Rahman on Oct 23, 2025
The Convent area in Tormented Souls 2 consists of various puzzles, some trickier than others, and each of the puzzles will have its own unique method of solving them, as well as require hidden items or clues for you to collect; oftentimes, they’ll be hidden within the puzzle’s vicinity.
Solving these puzzles will reward you with key items and story progression.
This guide will cover every puzzle in the Convent area.
Flower Lock — Infirmary
This puzzle can be found in the infirmary, and it’s one of the earlier rooms in the Convent.
On the table beside a stretcher, there will be a Christ Book. In the same room, you’ll also find a thumbtack that you will be able to pick up.
These two items are going to be key in solving this puzzle.
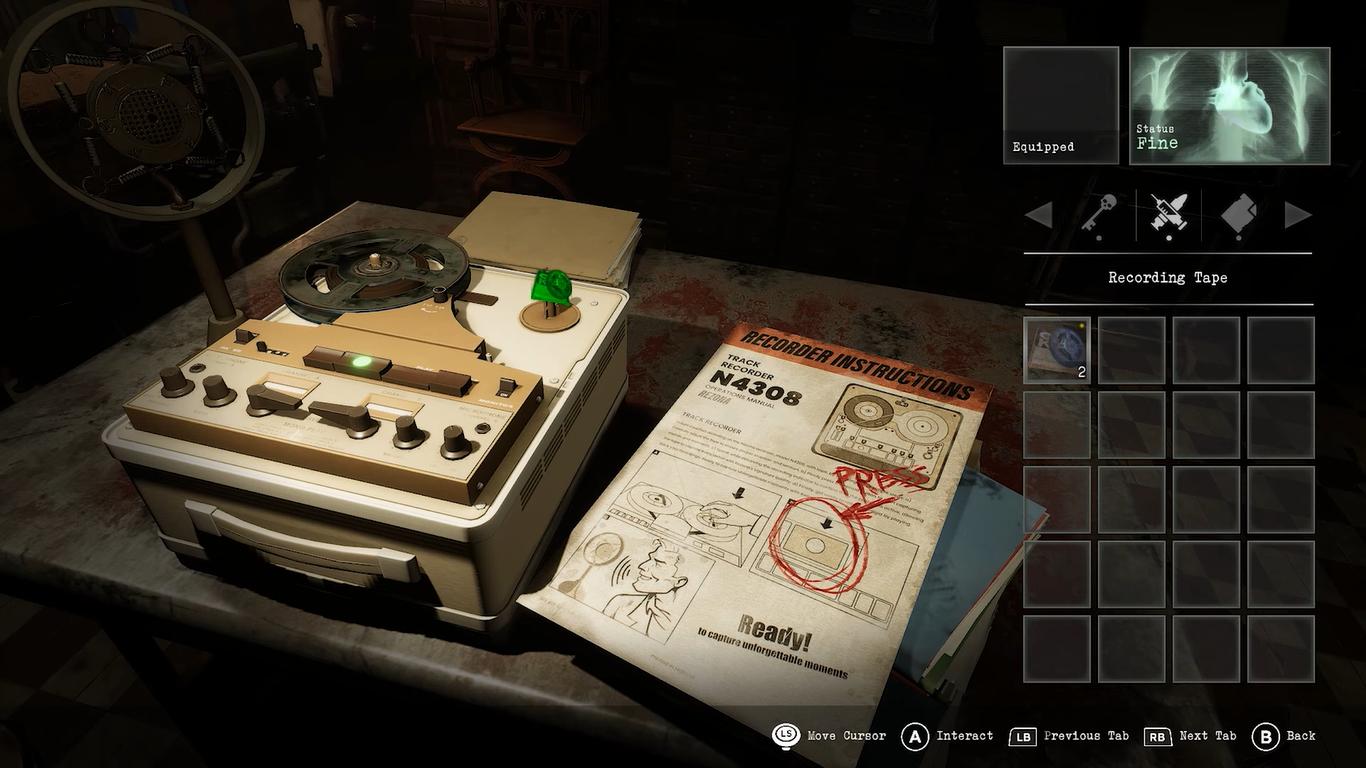
You want to combine the thumbtack with the Christ Book to mark the correct page, followed by interacting with the lock on the wall.
Doing so will unlock the Flower Lock mechanism and give you access to the following area; it’s one of the simpler puzzles in the Convent.
Corpse with Lighter (Bell Tower — Lower Level)
When you are at the bottom of the Bell Tower, there will be a corpse that is trapped inside a small metal cage, as well as a pair of pliers, which you’ll find in the staff room on the first floor, which is required to open it.
You’ll want to approach the cage and use the pliers to remove the wiring.
Once that’s done, collect the lighter from the corpse.
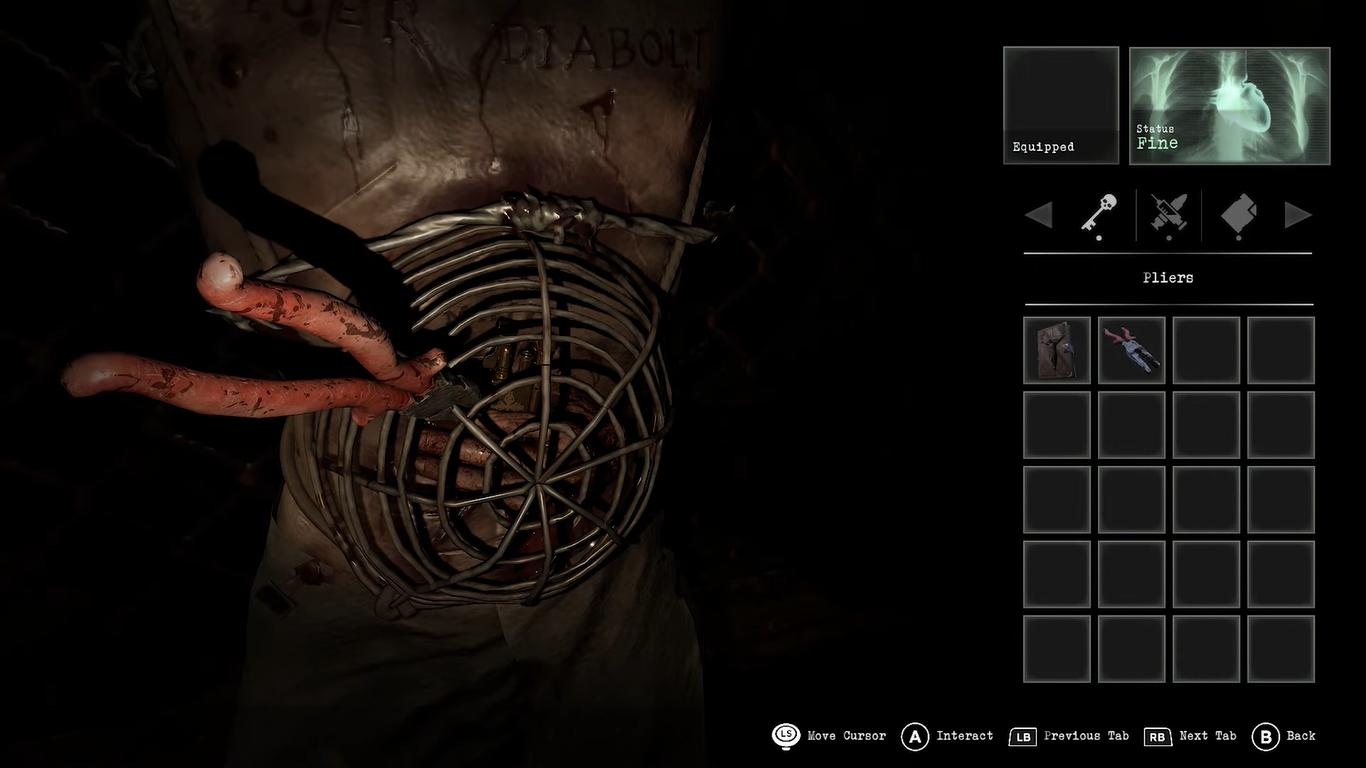
This will come in handy later in your playthrough, from lighting candles to starting fires to solving various puzzles.
Elevator Power Box — North Corridor
In the north corridor, which is directly opposite the Lady Chapel door, there will be a power box that controls the elevator.
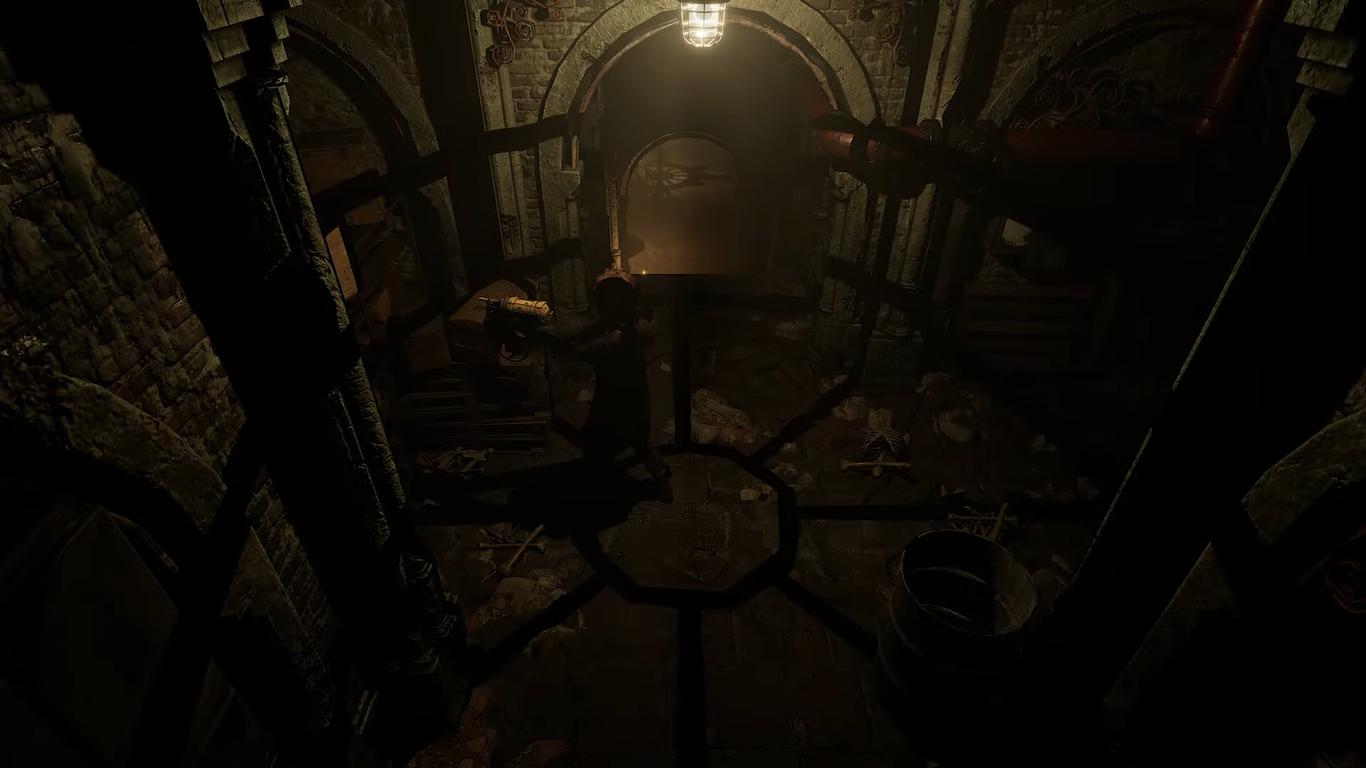
You are required to interact with it to restore power, open the panel, and flip the switch inside, allowing you access to the higher and lower floors.
Padlock Door — North Corridor
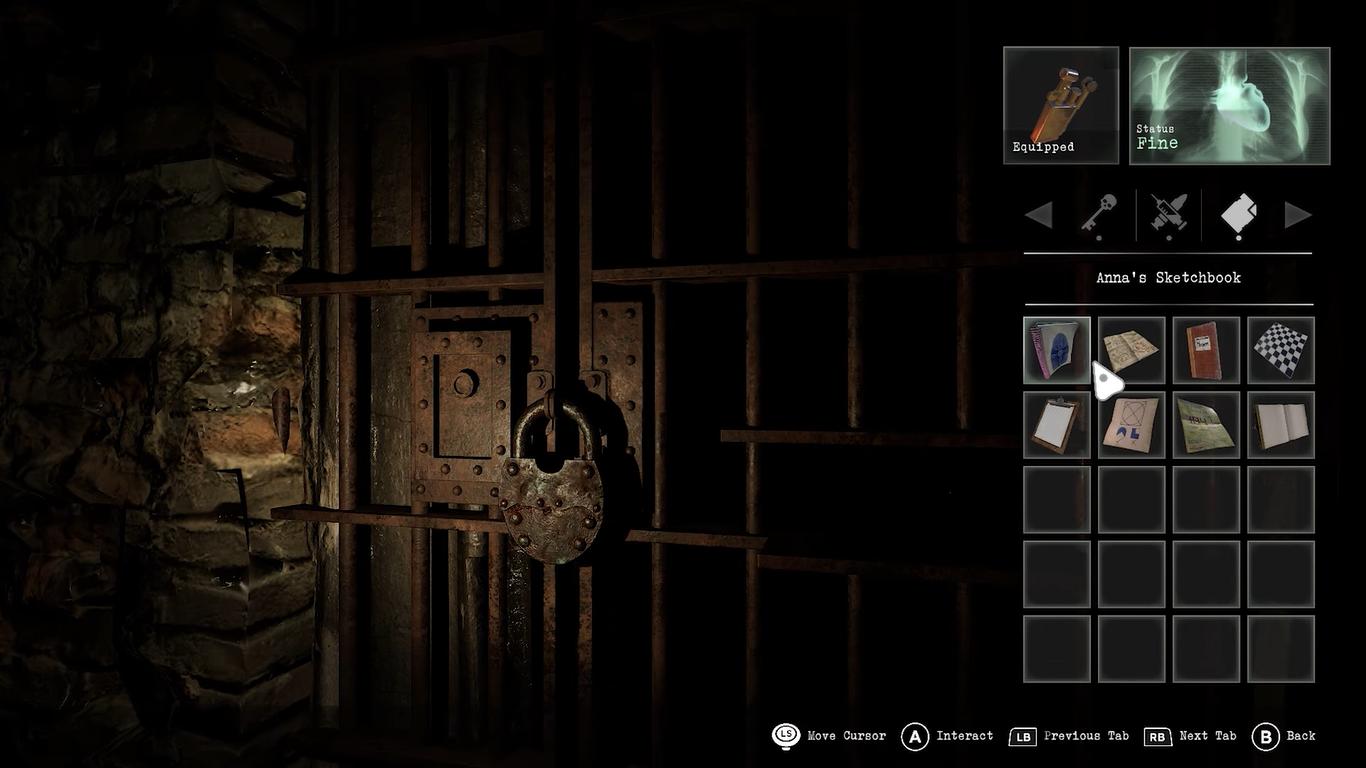
There’s a heavy door in the same corridor, and it just happens to be locked with a rusty padlock.
To break it, you will need to locate a hammer in the Crematorium, in the basement area.
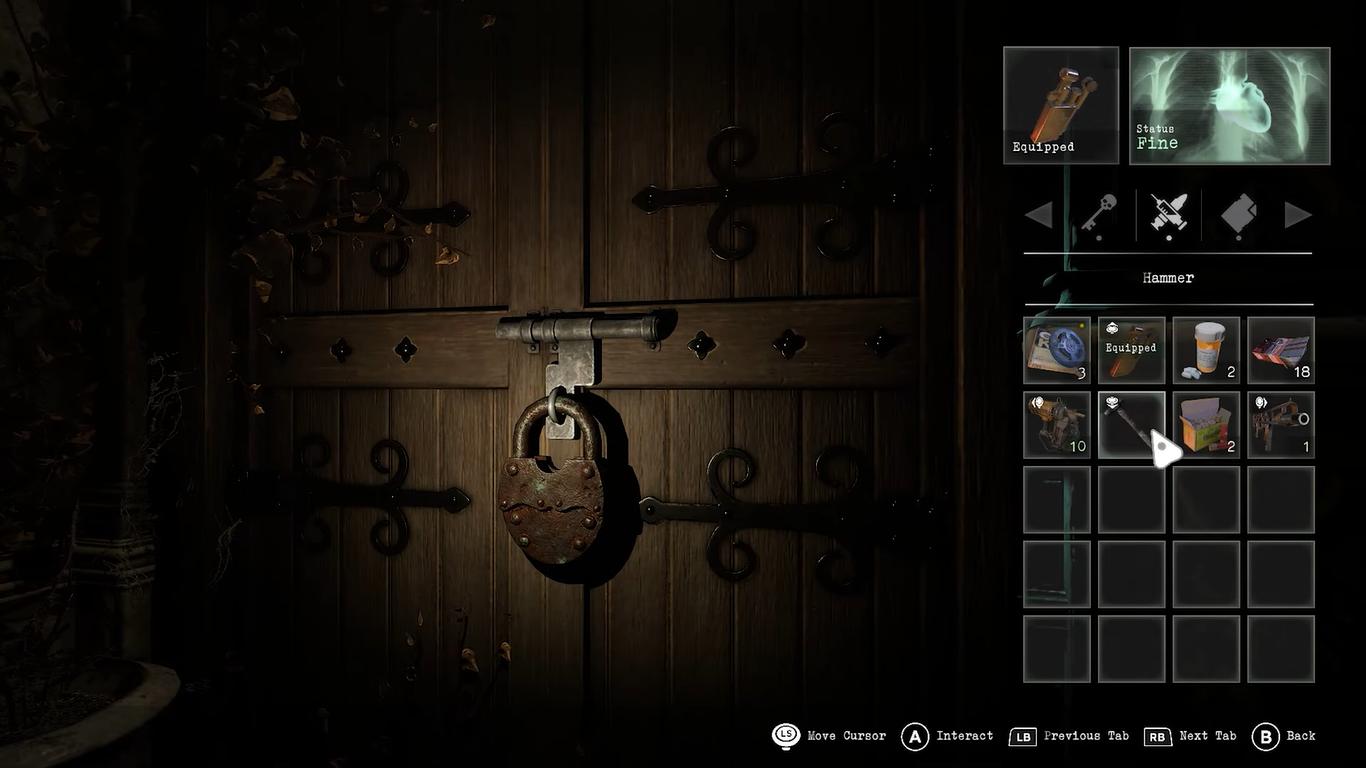
From there, equip the hammer and strike the padlock to break it; once the door opens, you’ll have access to the Courtyard.
Bell Tower Glass Case — Shotgun
When you are at the top of the Bell Tower, there will be a display case inside it with a shotgun.
At the base, there’s an inscription that mentions the bells and their songs.
And around the room, you’ll find bells scattered around of different sizes with their own different sounds.
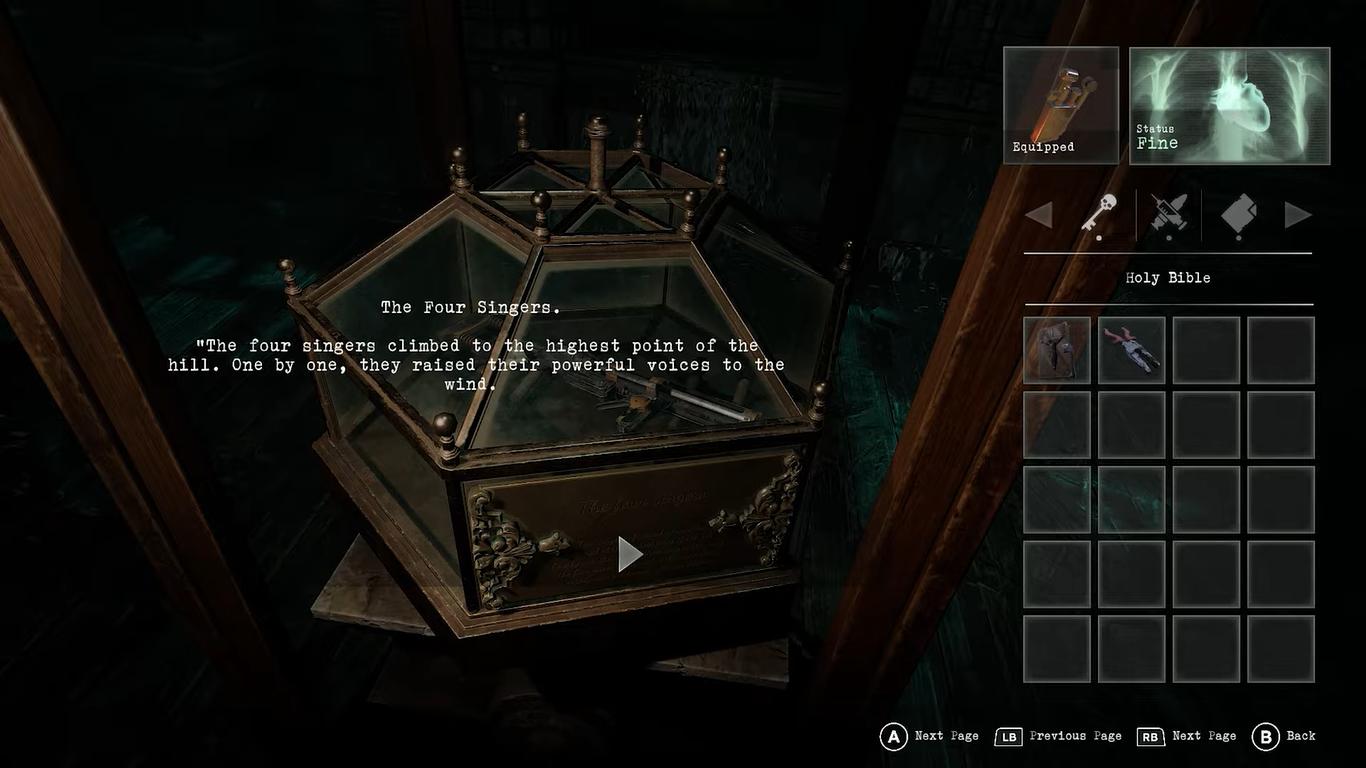
To get your hands on the shotgun by breaking the glass, you’ll want to strike the bells in a specific sequence:
1. Third Largest
2. Largest
3. Smallest
4. Second Largest
If done correctly, the glass will shatter, unlocking the shotgun.
Gallows Puzzle — Courtyard
This grim puzzle consists of a gallows along with a hanging body. You are required to pull a nearby lever, which will drop the corpse; this releases the torso.
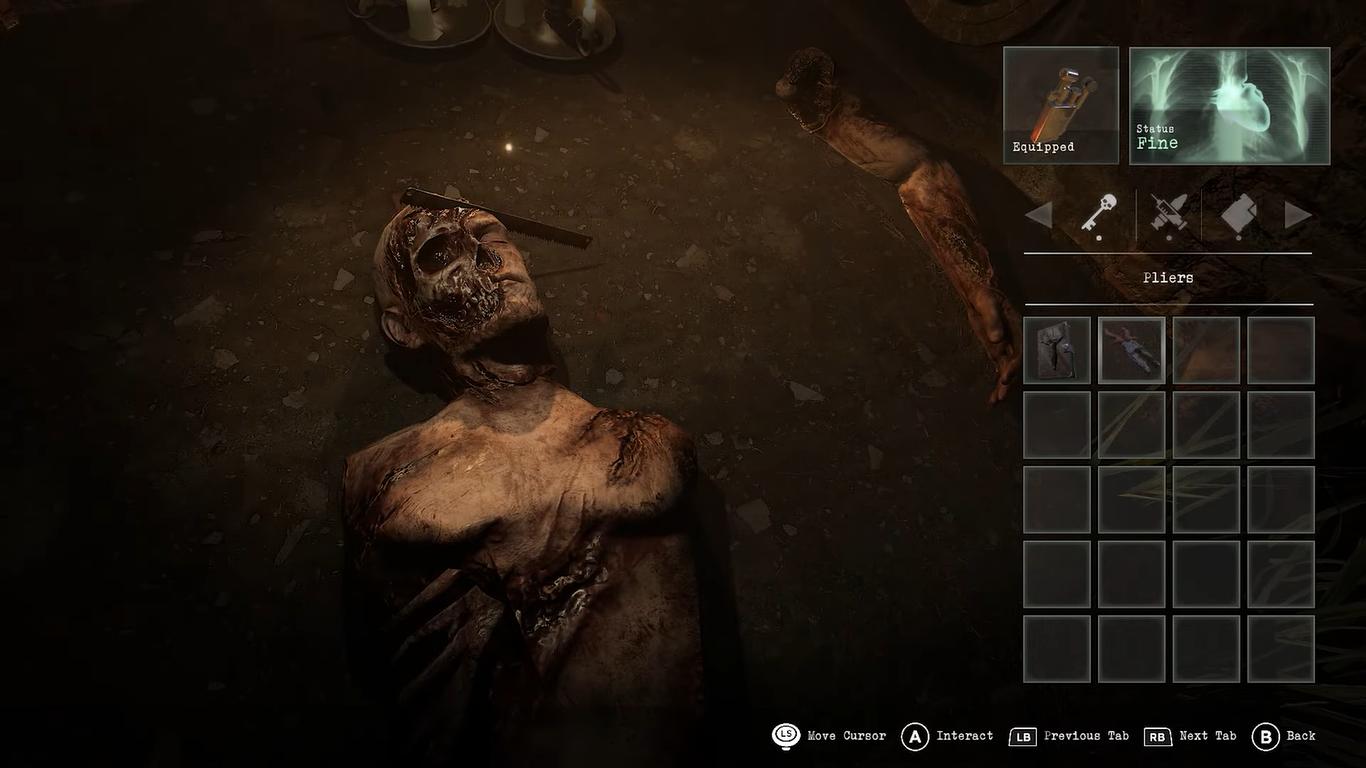
You will be able to extract a saw blade from inside it using your pliers. The same one you got from the staff room on F1.
Frozen Hand — Kitchen
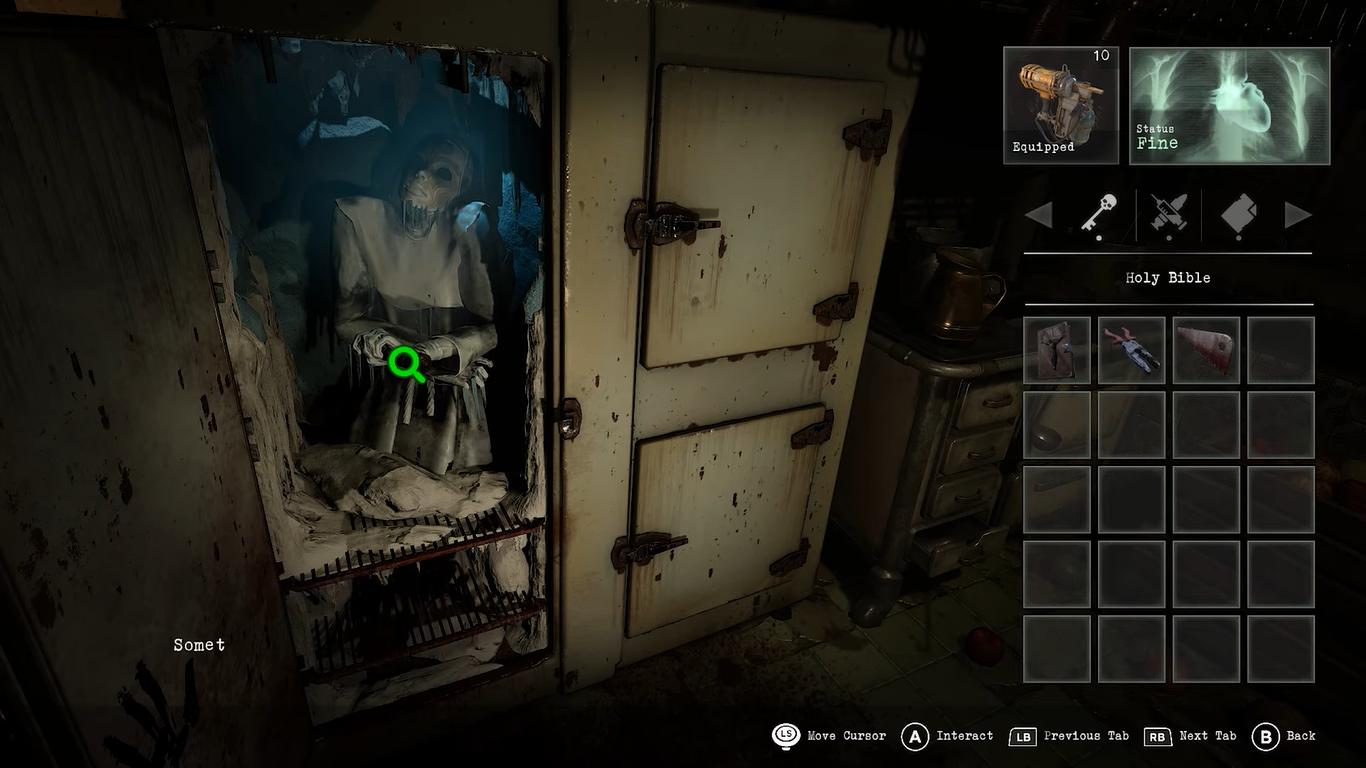
Inside the kitchen, there’s a block of ice that covers a severed hand.
To get it, you’ll need to make a Handsaw. You’ll want to combine the Saw Blade that you got from the Gallows Puzzle with a saw handle, which you’ll find behind the removable shelves in the refectory.
When assembling, use it to cut out the frozen hand.
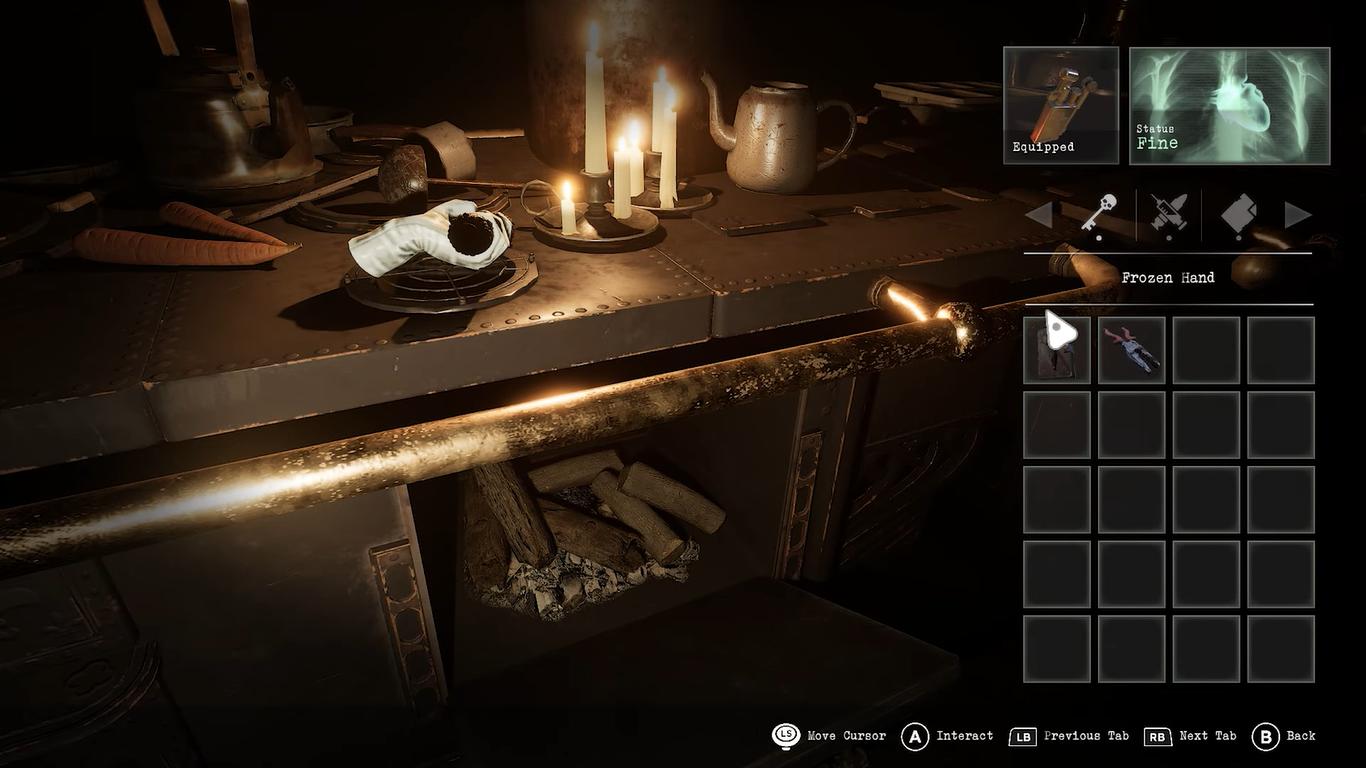
You’ll need to melt the hand afterward to reveal it, place it on the stove inside the kitchen, and use your lighter to light the burners.
When the ice melts, a Cryptex will emerge.
Cryptex Puzzle — Calefactory Room
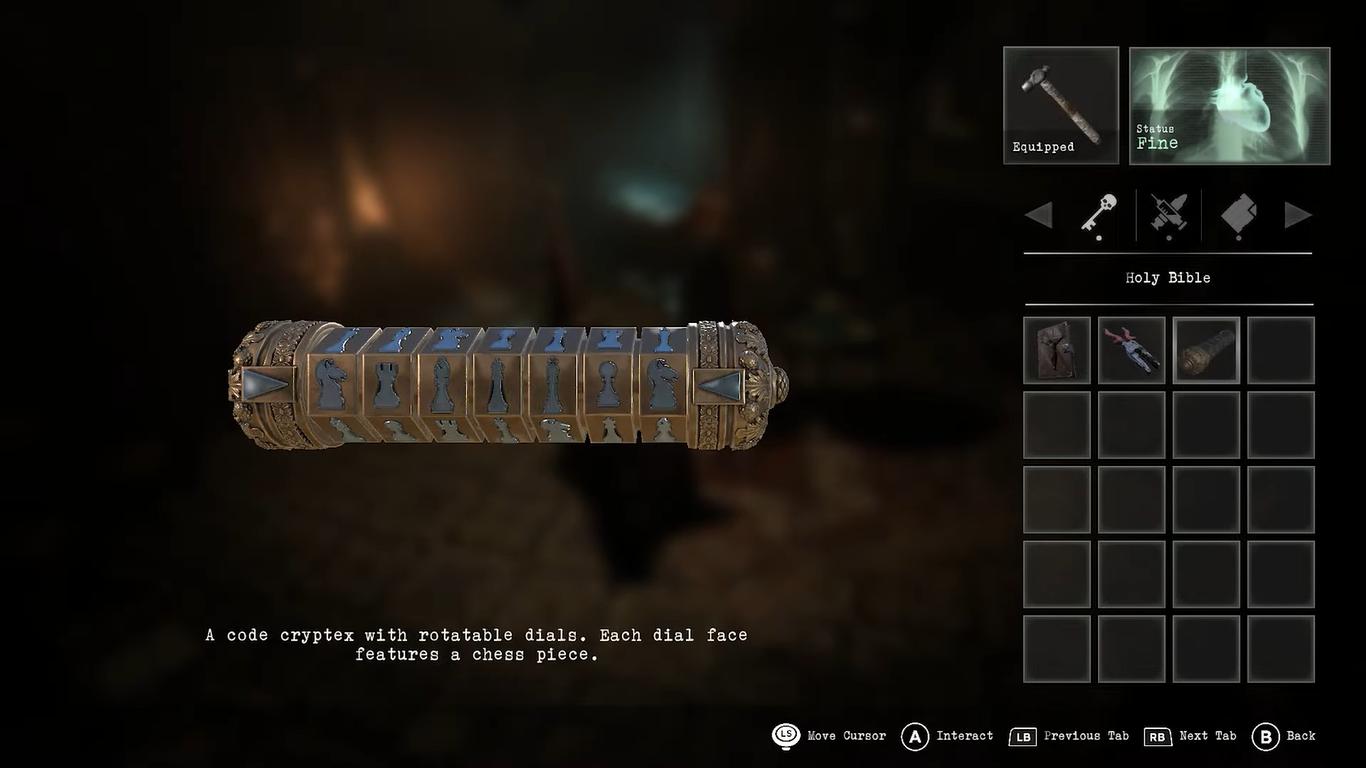
There will be a Chess Mat that can be found in the calefactory room; it serves as the primary clue for understanding how the puzzle works.
Upon close inspection, you’ll notice that it has markings on the back that basically correspond to how the chess pieces move; it’s a subtle hint, but it helps you understand the sequence.
To solve the puzzle, you’ll need to interact with each of the cryptex and place the chess pieces in the exact order from left to right:
1. Knight (Horse)
2. Rook (Castle Tower)
3. Bishop (oval head with a cut)
4. Queen (Tall without the Large Cross)
5. King (Tall with Large Cross)
6. Pawn (Round Head)
You want to take your time and be patient when you rotate each of the pieces, as the animation does take a while.
When all the pieces are in the correct position, there will be a sound that will confirm that the arrangement did in fact work, indicating that you solved the puzzle correctly.
After you’ve completed the puzzle, you’ll be granted the Crown Key; it’s an important item that will come in handy later in the game.
The key will unlock a specific door, which can be found in the basement area; it will allow you to access a new room in progress through the story.
Crown Lock — Basement
Using the key from the Cryptex Puzzle, interact with the ornate door in the basement to make it to the prison area.
Opening it will mark the transition to the darker half of the Convent’s labyrinth, where everything becomes more ominous.
Prison Power Box
Once inside the Prison, there will be a bunch of cells that are sealed by an inactive electrical system.
You’ll want to locate the fuse box on the wall and open it using the Pliers.
Inside, you’re required to match the symbols drawn on the paper that are found in the nearby cells and align them accordingly. It should be something like:
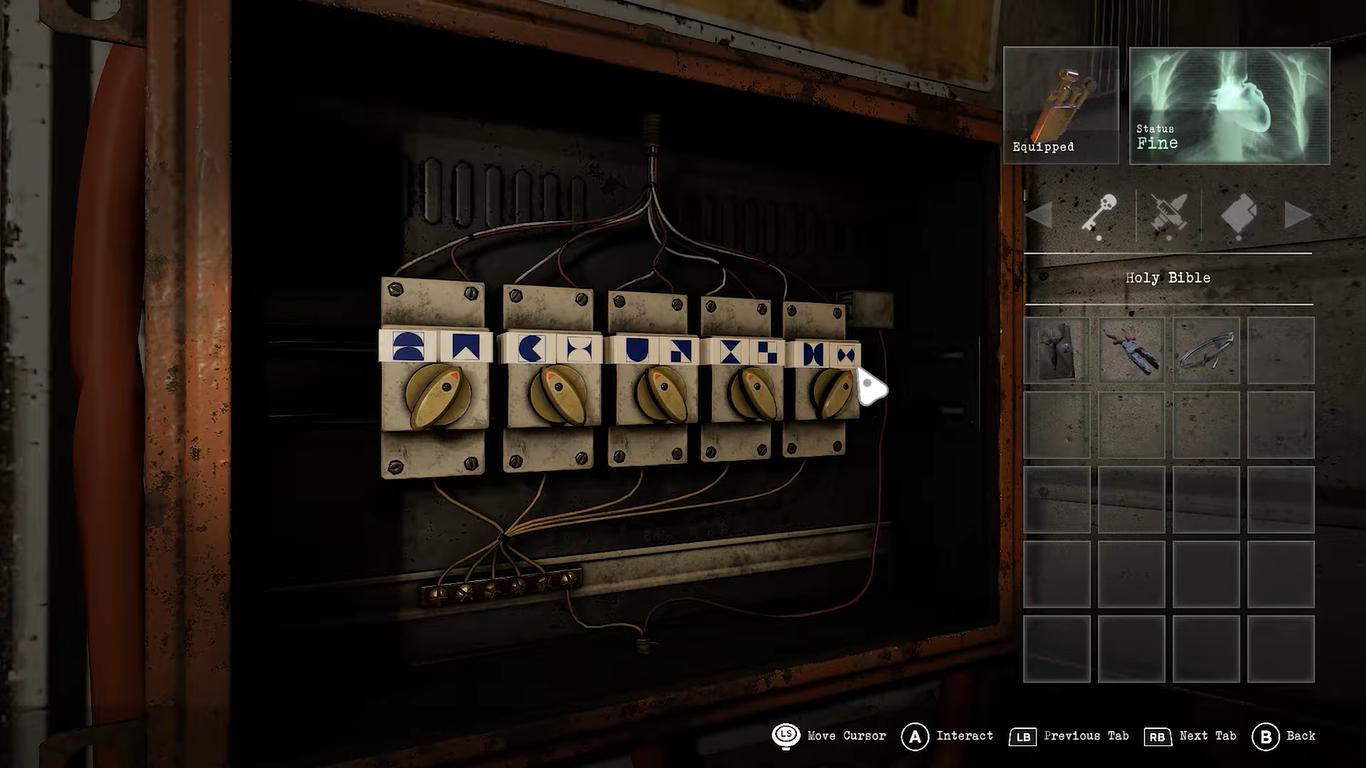
Right, Left, Left,Left, Right
Pull the lever to restore the power; once that is done, the cell doors should unlock.
Cursed Book Exchange (Crematorium)
There will be a Cursed Book ritual table inside the Prison.
He’ll need to swap it with the Bible that you’ll find in the earlier cells to get rid of the curse.
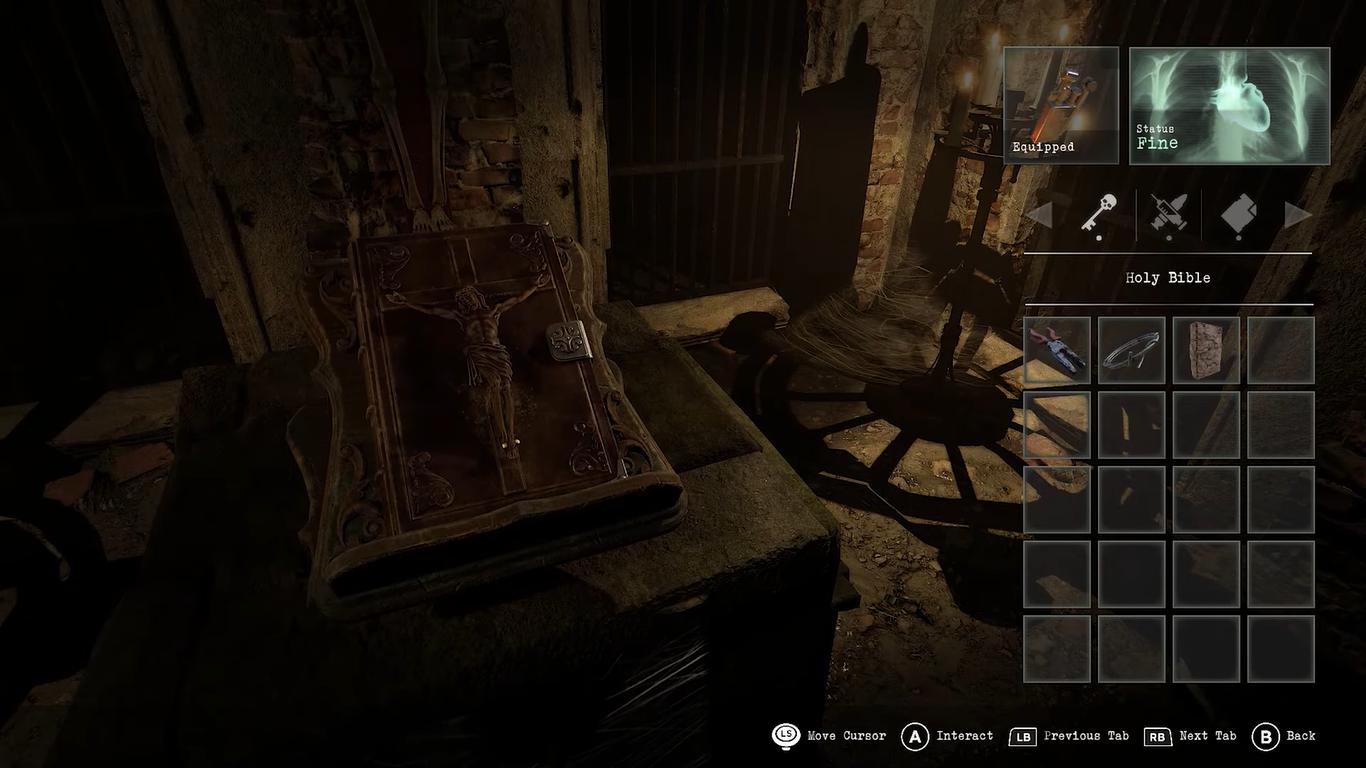
Take the Cursed Book to Joseph in the Crematorium.
Jade Disc Telephone Puzzle (Library)
Inside the Library, there will be an old telephone on a desk.
You’ll need to attach the old telephone dial to the base and insert the code 3890*.
This will activate a hidden mechanism that will open a secret compartment behind the painting and reveal the Jade Disc.
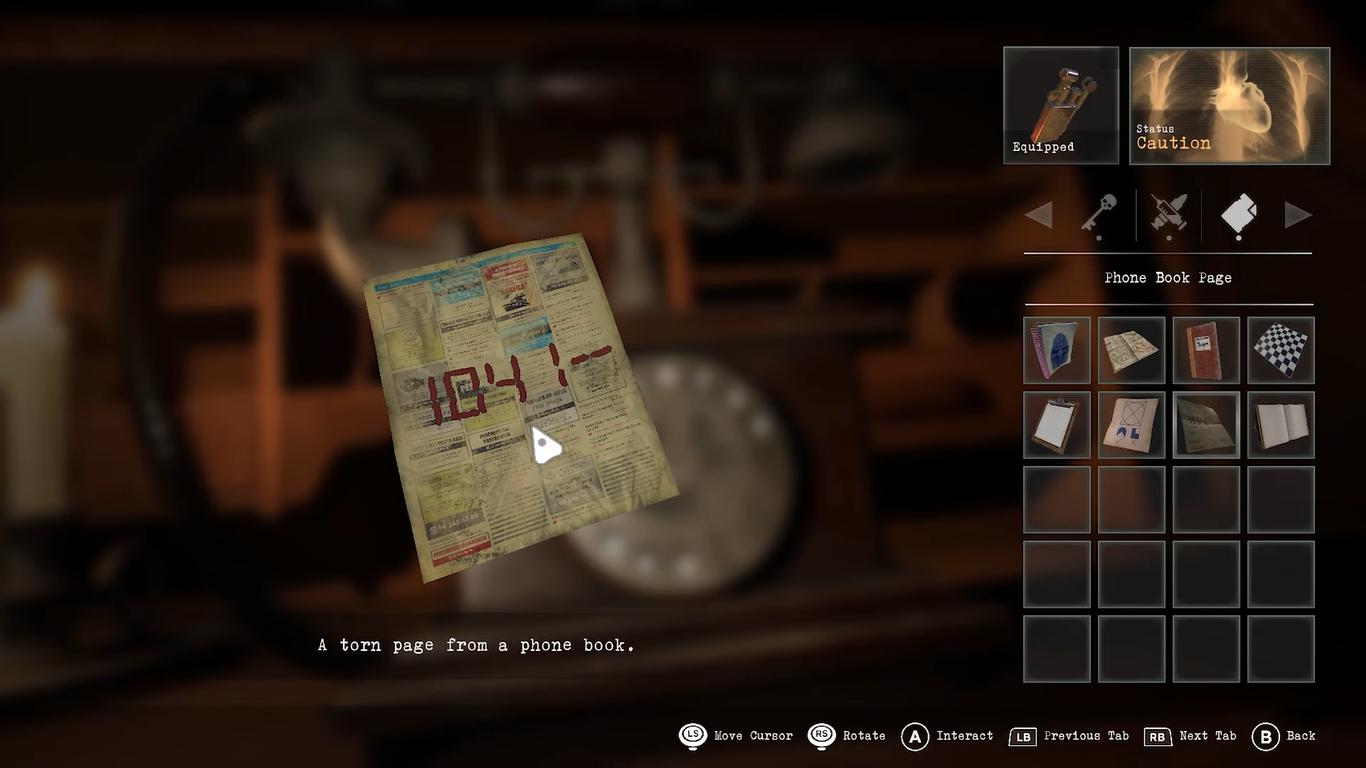
The clue for this code is derived from the Yellow Pages and the Rotary Dial, which you can find in the Torture Museum.
Jade Cross Circuit Puzzle—Calefactory Room
You are required to combine the Jade Disc with the Jade Cross.
You’ll need to use the button to spend the discs to create a closer circuit of lines and make a square.
Press your arrow keys in the following order: Right, Down, Left, Right, Right.
This will unlock the Chapter House Door.
The lights in the room will start to flicker; this signals that the electrical current has been restored.
Museum Door Mechanism
After the Cursed Book event, Joseph will hand you the Museum key.
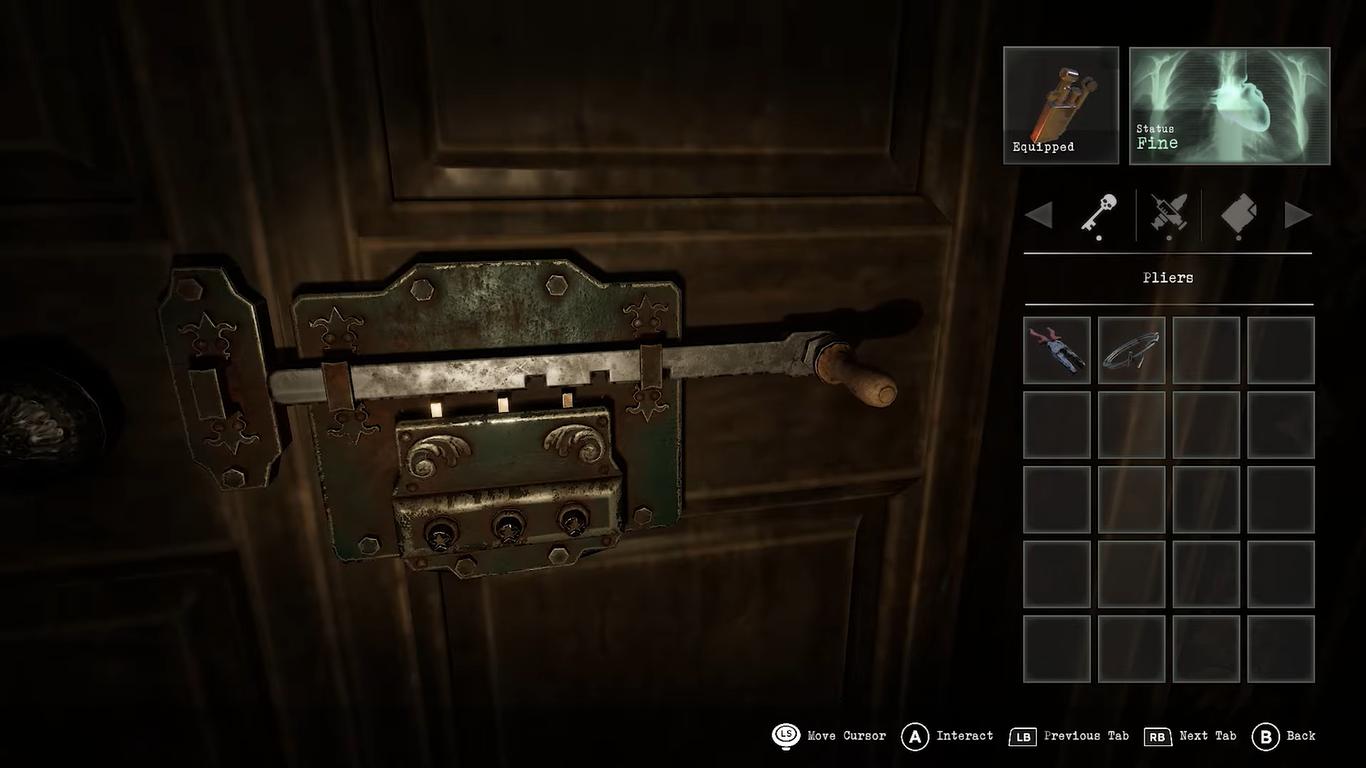
You need to use it on the door marked with three-star bolts, and they’ll need to be opened in a specific order: Middle, Right, Left.
It will give you access to the museum.
Mirror Candle Puzzle — Torture Chamber
Inside the Torture Chamber, there will be a mirror that acts as a teleportation device.
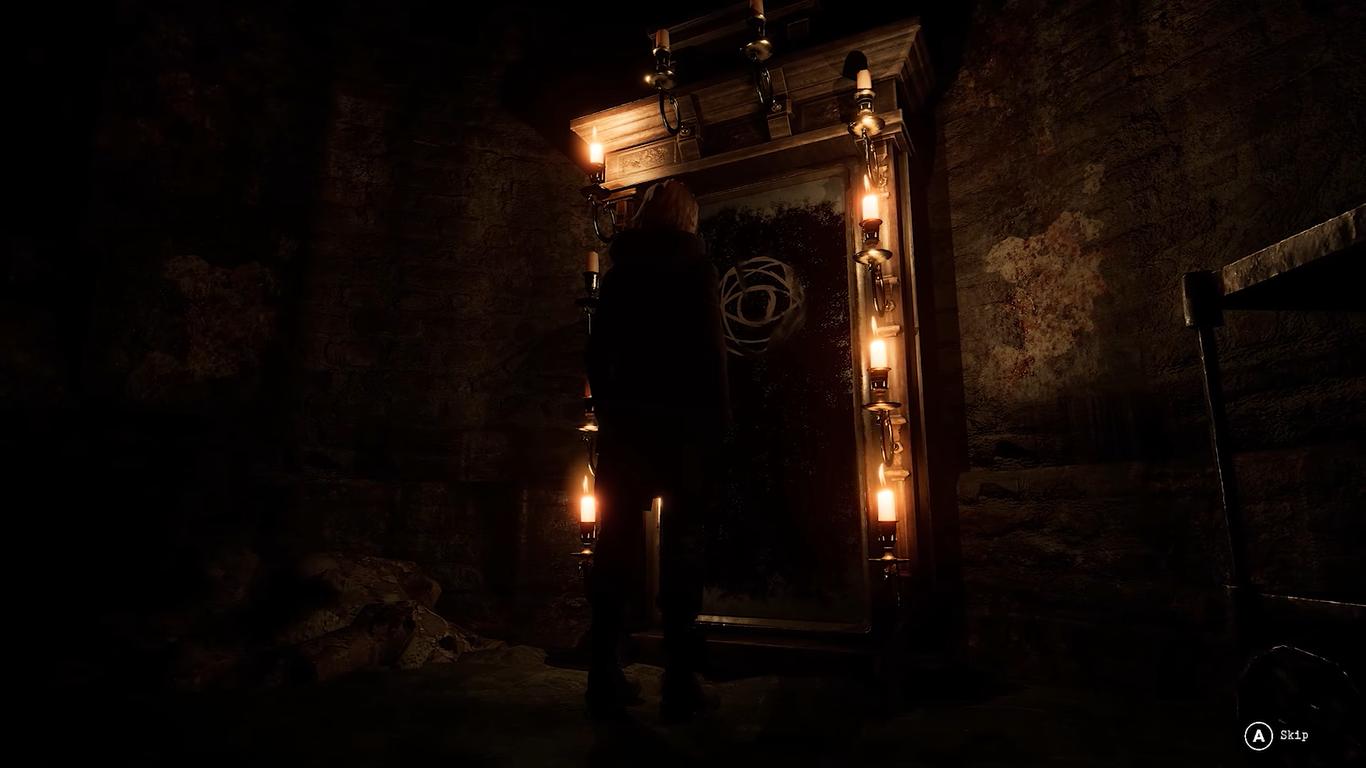
You only need to break the padlock using your hammer and then light the candles in the following sequence:
Bottom Left, Top Left, Middle Two Right, Bottom Right.
X000
0 X
0 X
X X
This will activate the mirror, allowing you to travel to the alternate version of the room.
Torture Stretcher & Shotgun Pipe
You’ll need to light the candle in the mirror to reach the alternate version of the Torture Chamber.
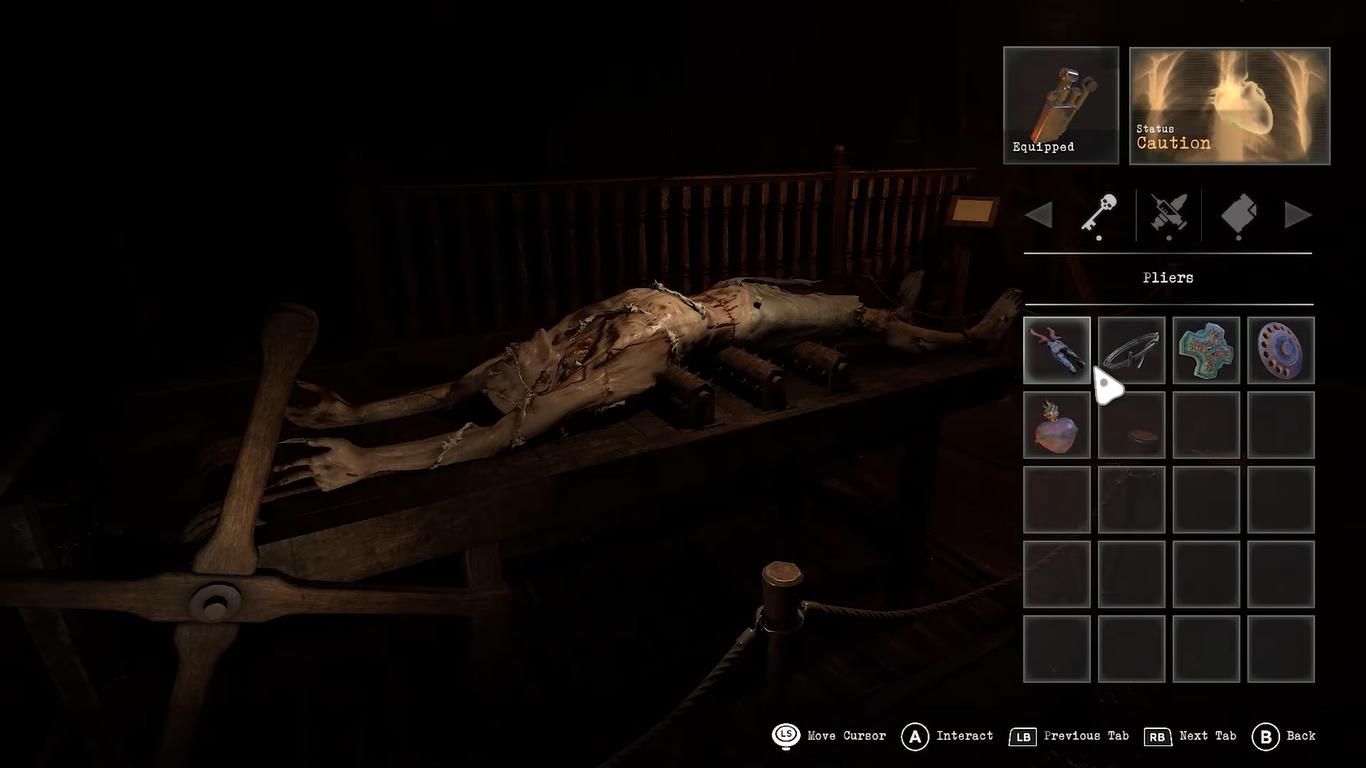
Turn the stretcher handle to tear the scarecrow figure; returning to the normal world will reveal the Shotgun Pipe inside of a punished body.
Angel Statue Puzzle
In the "hell" version of the museum, burn the scroll using your lighter to remove it.
And through the second mirror, there will be a bronze bull statue and the corpse that is holding onto a Stone Heart.
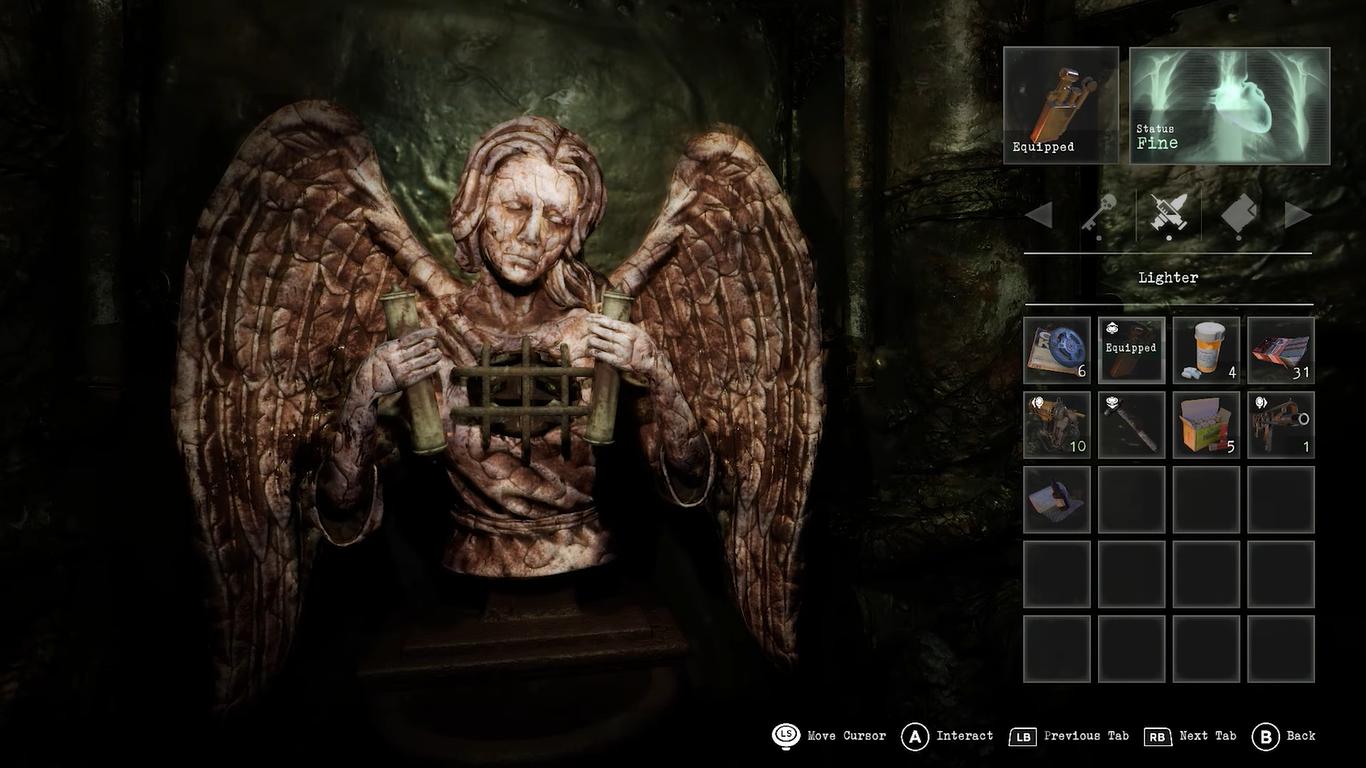
You’ll need to retrieve it and insert it into the Angel Statue; this will cause blood to flow into the nearby font.
Blood-filled Atomizer
When the font is filled, you’ll need to use the Plant Sprayer found in the Chapter House.
Place it inside the blood and pump three times to create a blood-filled atomizer.
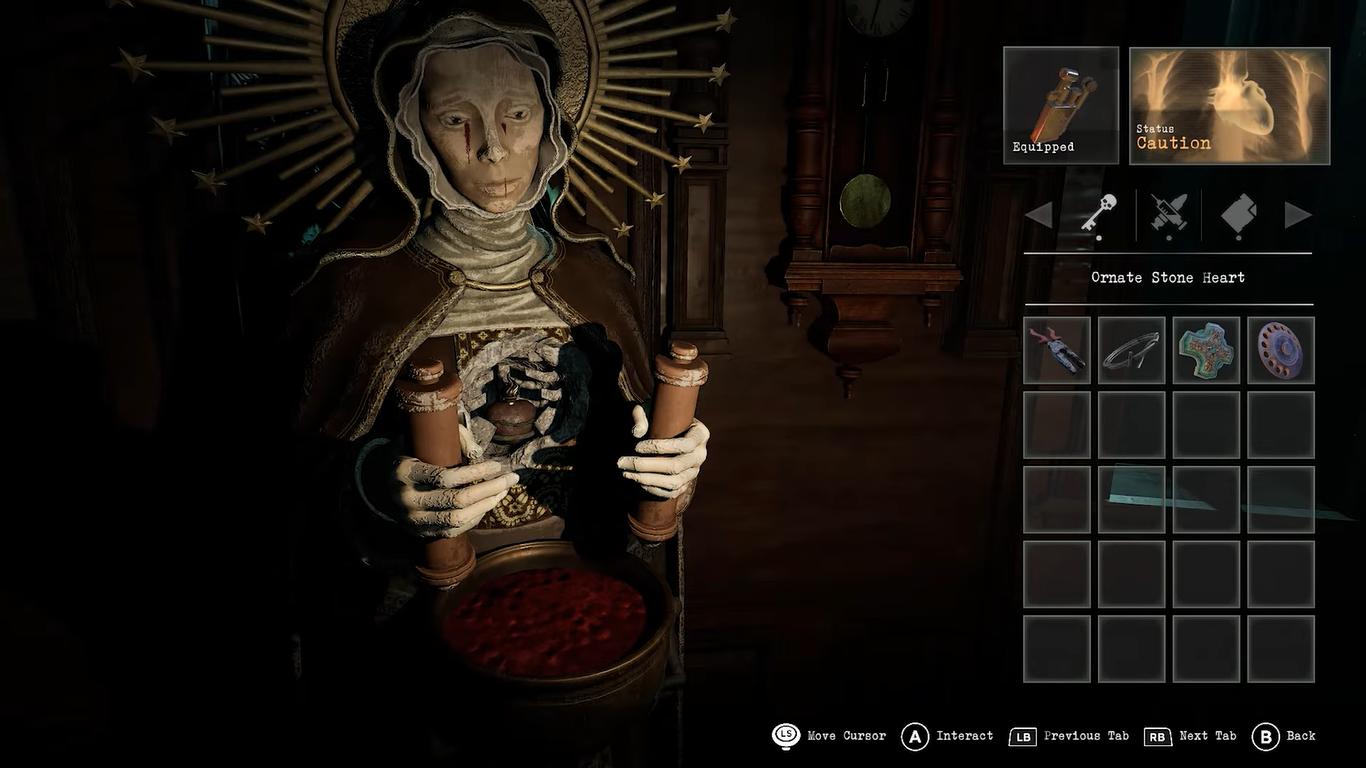
This item is required because it removes cursed barriers in leader sections.
Cursed Door — North Corridor
This final puzzle in the Convent area requires you to use the Blood-Filled Atomizer on the Cursed Door, which we found in the North Corridor.
You’ll need to spray directly onto the corrupted surfaces to cleanse them.
The blood will react with the symbols, which will dissolve the dark barrier and open the way forward.
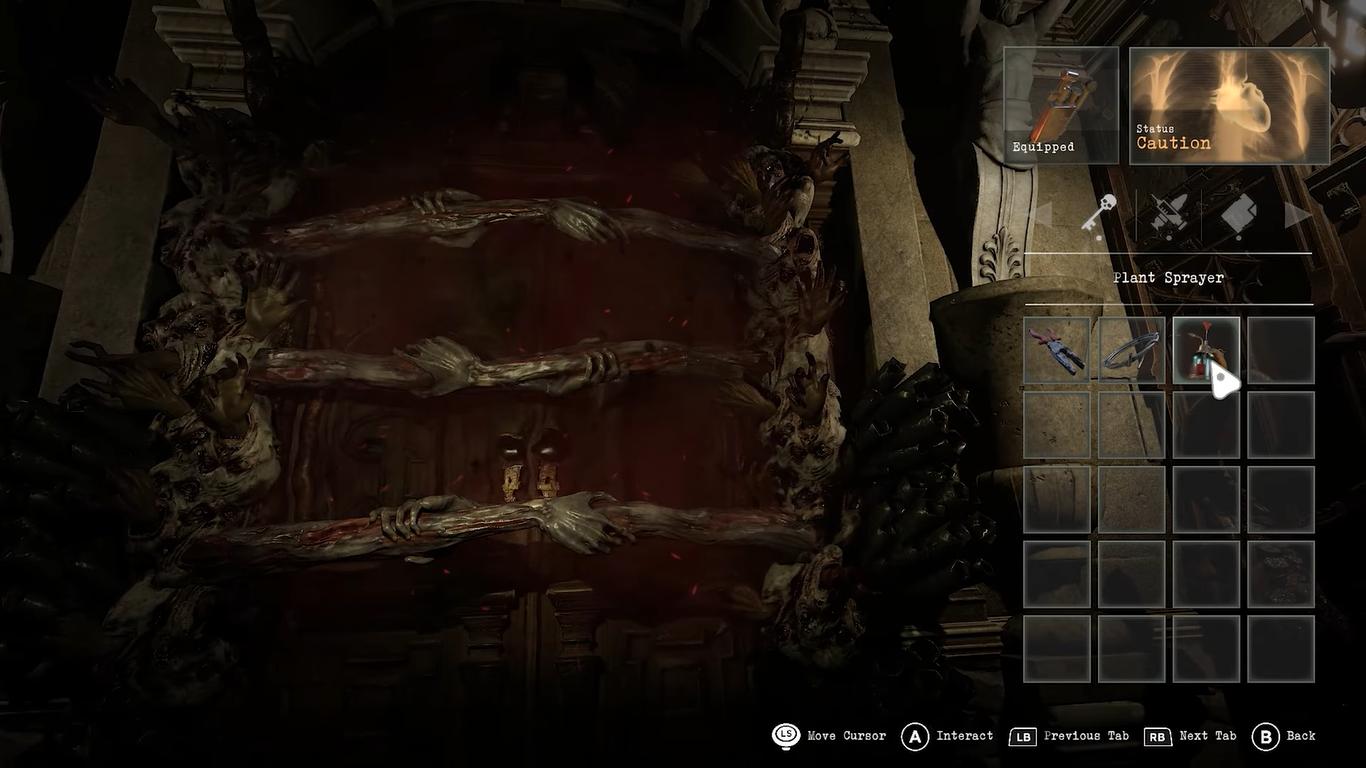
This will mark the end of the Convent section of Tormented Souls 2.
Also, check out our Tormented Souls 2 Review and other guides below:
- Tormented Souls 2 Guide | Cryptex Puzzle (Chess Piece)
- Tormented Souls 2 Guide | All Convent Area Puzzles
- Tormented Souls 2 Guide | Mall Back Entrance Key
- Tormented Souls 2 Guide | All Mall Area Puzzles
- Tormented Souls 2 Guide | All Processing Plant Area Puzzles
- Tormented Souls 2 Guide | All Cemetery Area Puzzles
- Tormented Souls 2 Guide | All School Area Puzzles
- Tormented Souls 2 Guide | All Church Puzzles
- Tormented Souls 2 Guide | All Bunker Area Puzzles
Contributor, NoobFeed
Latest Articles
No Data.