
World War Z Guide | Best Way To Spend Coins
Smarter spending with Yellow Coins and Blue Coins so upgrades feel faster and more rewarding.
Game Guide by Faviyan Mustafiz on Feb 02, 2026
When it comes to World War Z, currency spending is typically the cause of a feeling of rapid advancement. There are two primary currencies that are available in the game, and each one is important at different times.
You will be able to acquire more powerful weapons more quickly, level up classes with less waste, and save rare currency for upgrades that will genuinely impact the way you run when you have a better understanding of what to purchase first.
Currency Types and What They Are Used For
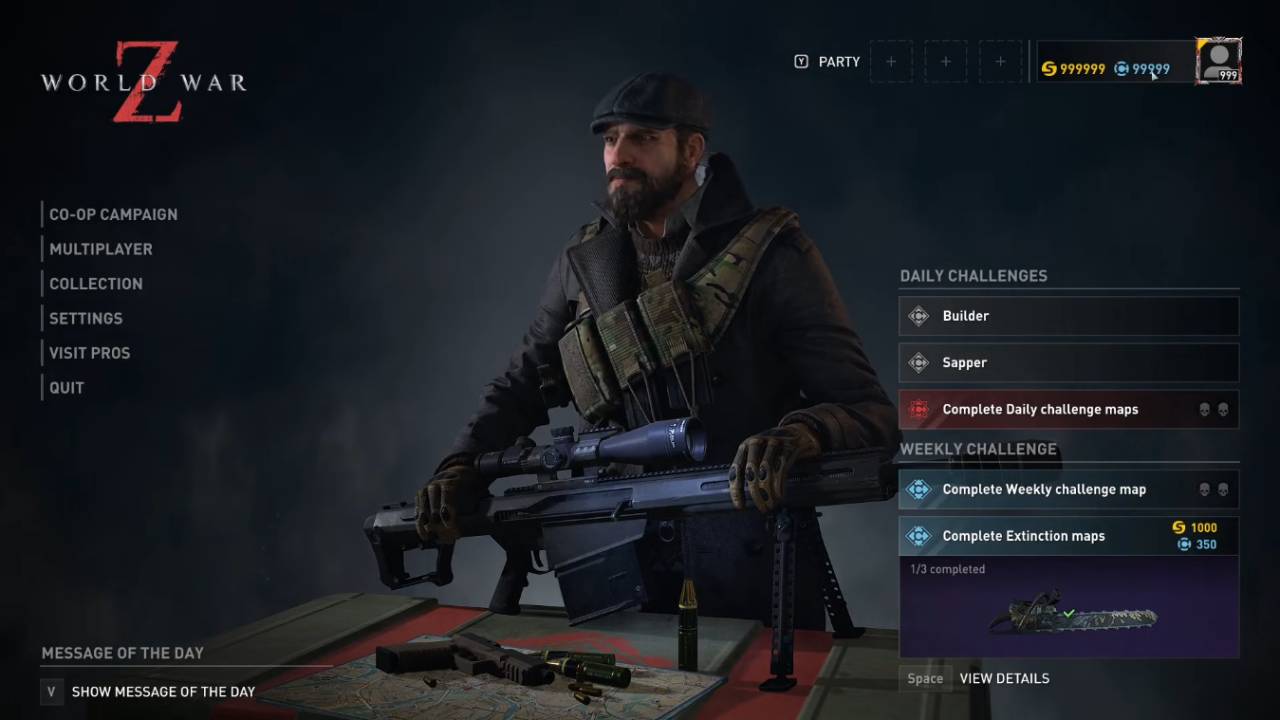
Yellow Coins are the common currency. You can earn them in any game mode and at any difficulty. Even if a mission is not completed, you still earn some Yellow Coins for reaching certain checkpoints.
Blue Coins are a rare currency. You mainly earn them by completing campaign missions on Extreme or Insane difficulty, which is the four or five-skull tier. You can also earn them in Challenge Mode and similar harder modes, but they are usually slower to farm early on.
The difficulty label in Challenge Mode can be misleading. Even if it shows a difficulty that looks like a three-skull campaign setting, it often plays like it is one skull harder. That makes Blue Coins feel harder to get when starting out.
Class Leveling and Prestige Spending Priorities
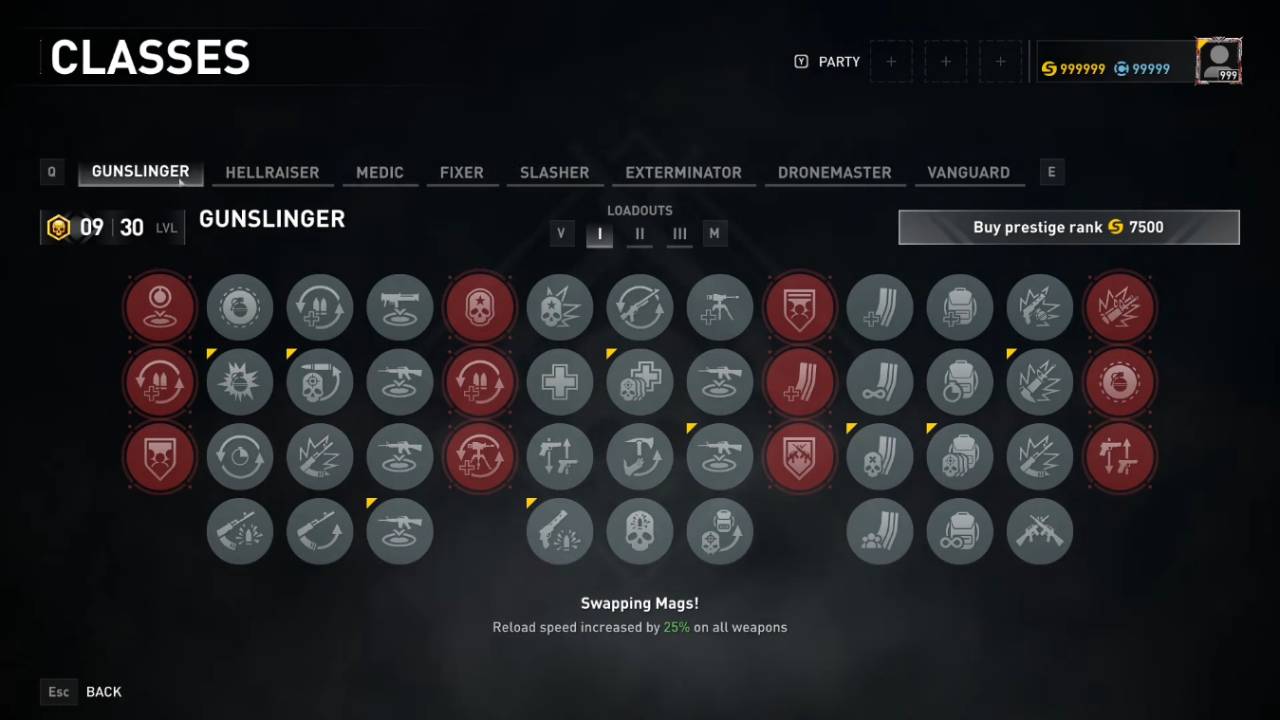
Use of Yellow Coins is required for class leveling and prestige. First and foremost, achieving level 30 in a few classes is a good early objective to work for. Before you start throwing coins at anything, this lets you figure out what makes the most sense for your playstyle.
There are alternatives such as Gunslinger, Hellraiser, and Exterminator that focus on providing damage. Selects such as Medic, Fixer, and Drone Master are examples of support and utility picks. Slasher and Vanguard are two options that are considered front-line.
Once a class reaches level 30, a Prestige option becomes available. Buying a Prestige Rank resets the class back to level 1. You then level it again to unlock perks.
The first row of red perks comes from class level milestones, typically unlocked at level 1, level 10, level 20, and level 30. The second row of red perks comes from Prestige ranks, unlocking one at a time as you prestige higher.
Small bonuses are associated with those additional Prestige perks. Initially, they are helpful, but they are not an urgent matter. In most cases, a class that has been reset will not be as helpful in difficult difficulties as a class that is level 30 and has either zero or one prestige.
Moreover, it is not necessary to purchase each and every gray bonus. Due to the fact that each column can only have one active perk, it is more cost-effective to purchase only those that are compatible with the build.
Weapon Leveling Without Burning Your Coins
Because of the rapid consumption of currency by weapons, early upgrades should be made with caution. An intelligent first objective would be to level up weapons that are regularly used to level 5. The underlying statistics are improved as a result of this, and it makes a discernible impact when zombies become more tanky on higher levels.
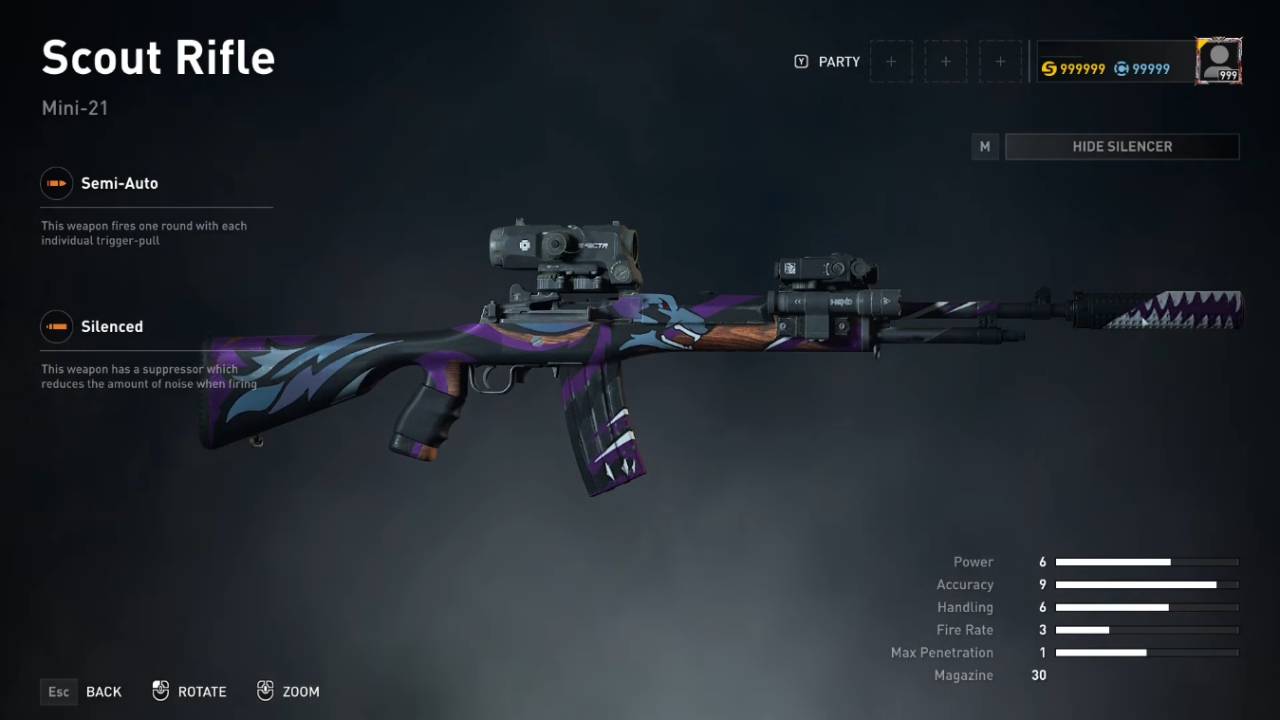
Level 5 also unlocks the Silencer for many primary weapons. Staying silent reduces the chance of triggering extra problems during traversal sections. Until a primary reaches level 5, a Pistol can carry the silent role because it is silent from the start.
From level 5 to level 15, weapons unlock perk slots and extra bonuses. Reaching level 15 on every weapon is not required. It is better to level only the weapons you actually use and unlock only the perks that matter.
Blue Coins are mainly used to buy certain weapon unique perks. Some unique perks may also require class Prestige milestones, collecting documents for specific maps, or clearing missions on Extreme.
A practical example is Gunslinger. The class starts with a tier-one SMG and a Pistol, then can later start with tier-two choices like Sporting Carbine, Assault Rifle (ARK-103), or Combat Shotgun, plus a secondary like Shorty or PDW. Tier-three weapons are usually found during missions, often closer to the end.
Weapon leveling requires zombie kills. Headshots give bonus weapon XP, and special zombies give more XP as well.
Must-Have Trinkets That Actually Help Gameplay
Some accessories are not just cosmetic. Two trinkets can provide real in-game information and are especially useful while learning spawns.
The Special Sample trinket glows a neon green color when special zombies are nearby. The Detector trinket gives static noise and a cyan-blue light when useful items are close, such as a medical item, a supply bag, a breaching charge, or an improving bag.
Most other trinkets are cosmetic, so spending on them early is usually not worth it.
Fast Spending Plan for New and Returning Players
The simplest early path is the most effective one. First, you should concentrate on classes that are level 30. After that, you should acquire key weapons to level 5 so that they have greater stats and can be used silently. Finally, you should get favored weapons to level 15 only when their perk slots and perks are worth it.
When a particular weapon perk necessitates it, you might want to consider promoting some classes to the Prestige 2 level. Additionally, when there are additional Blue Coins available, you should get the Special Sample and Detector.
Farming Yellow Coins is easier because they come from almost everything. A popular approach is the Marseille Episode, Chapter 2 Missile Command method, which is often used for fast progress.
It can generate about one prestige per hour and around 14,000 Yellow Coins. Since a Prestige purchase is around 7,500 Yellow Coins, there is usually enough left over for perks or weapon upgrades.
Due to the fact that it frequently operates at a great effective difficulty with additional mutators, Challenge Mode can feel challenging at the beginning of the game for Blue Coins. For a more secure method, it is recommended to conduct missions in private lobbies with positive mutators in order to enhance consistency while learning.
Also, check our World War Z Review, World War Z: Aftermath Review, World War Z x The Walking Dead Review and other guides below:
- World War Z Guide | Best Slasher Build (Aftermath)
- World War Z x The Walking Dead Guide | Walkers and Spike Walker Tips
- World War Z: Aftermath Guide | How to Level Up Fast
- World War Z: Aftermath Guide | Best Weapon XP Farm in Moscow 1
- World War Z Aftermath Guide | How to Farm Blue Coins Fast
- World War Z Guide | New York Virus Sample Locations
- World War Z Guide | Jerusalem Virus Sample Locations
- World War Z Guide | Moscow Virus Sample Locations
- World War Z Guide | Tokyo Virus Sample Locations
Contributor, NoobFeed
Latest Articles
No Data.