

Destiny 2: Monument of Triumph Guide | All Case Files Location in EDZ
Here’s a guide on all the file locations of EDZ in Destiny 2: Monument of Triumph DLC.
Game Guide by TauxicPandA on Jul 06, 2026
If you want to collect all of the EDZ Case Files in Destiny 2: Monument of Triumph DLC, you'll have to visit various locations within the zone. Before starting, check your map to see if the area is distorted.
You will know it is active if the public event icons turn red. If they are regular colors, the files will not appear, and you must wait for the rotation.
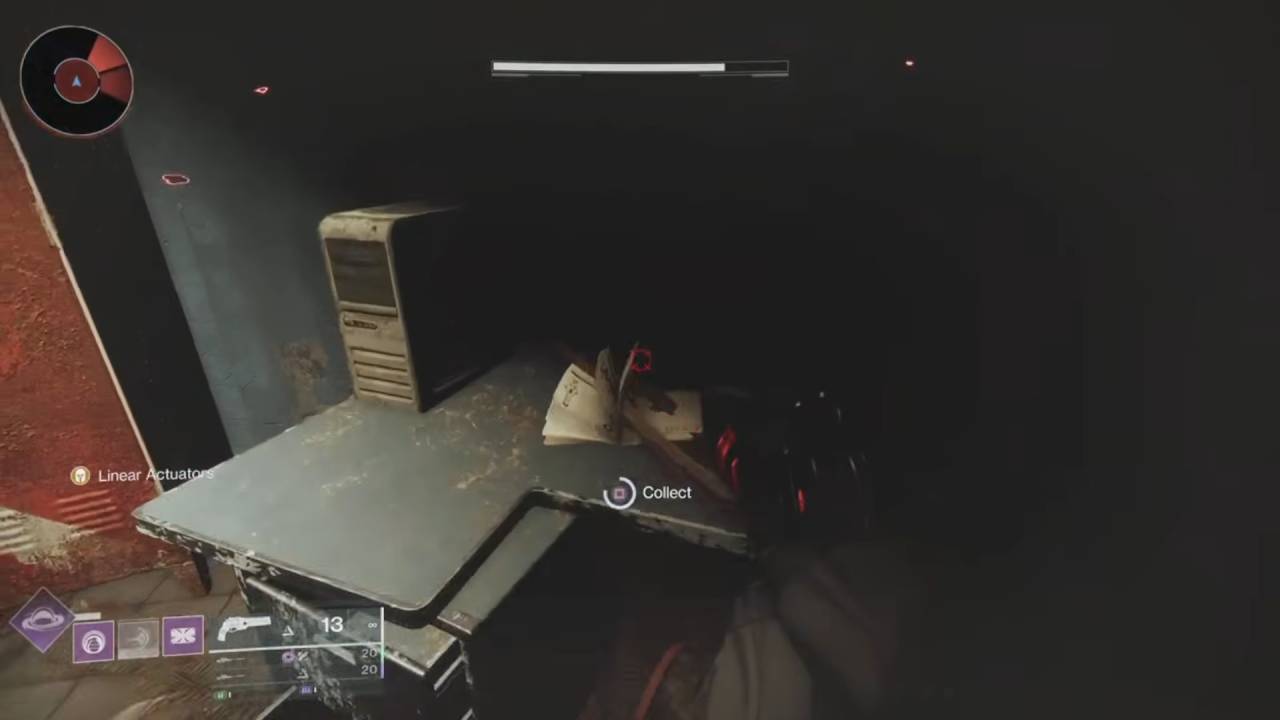
Trostland, Outskirts, and Winding Cove Pages
Start by landing at the Trostland checkpoint. Walk over to the left side of the plaza and step inside the small dilapidated room to grab the first page in Destiny 2: Monument of Triumph DLC.
Next, hop on your Sparrow and head over to the Outskirts. Ride down toward the coastline and look for a semi-truck parked right between the two large bridges. The second page is sitting right by this truck.
After picking it up, follow the riverbed in the same direction to reach the Winding Cove. Look for the high cliffside where Xur typically sets up camp.
Head to the right of the public event area and climb up the rocks and trees toward the glowing blue light. You can also take the small cave tunnel to reach the top ledge where the third page rests.
Firebase Hades and The Gulch Pages
Continue along the main road to reach Firebase Hades. Head toward the structures on the left side of the zone and look for a small, accessible room. The fourth page is sitting on the floor inside this room in Destiny 2: Monument of Triumph DLC.
From here, save some time by opening your director and fast traveling directly to The Gulch. As soon as you spawn, move straight forward and cross over the broken bridge structure.
Look underneath the abandoned car sitting on the far side of the bridge to collect the fifth page in Destiny 2: Monument of Triumph DLC.
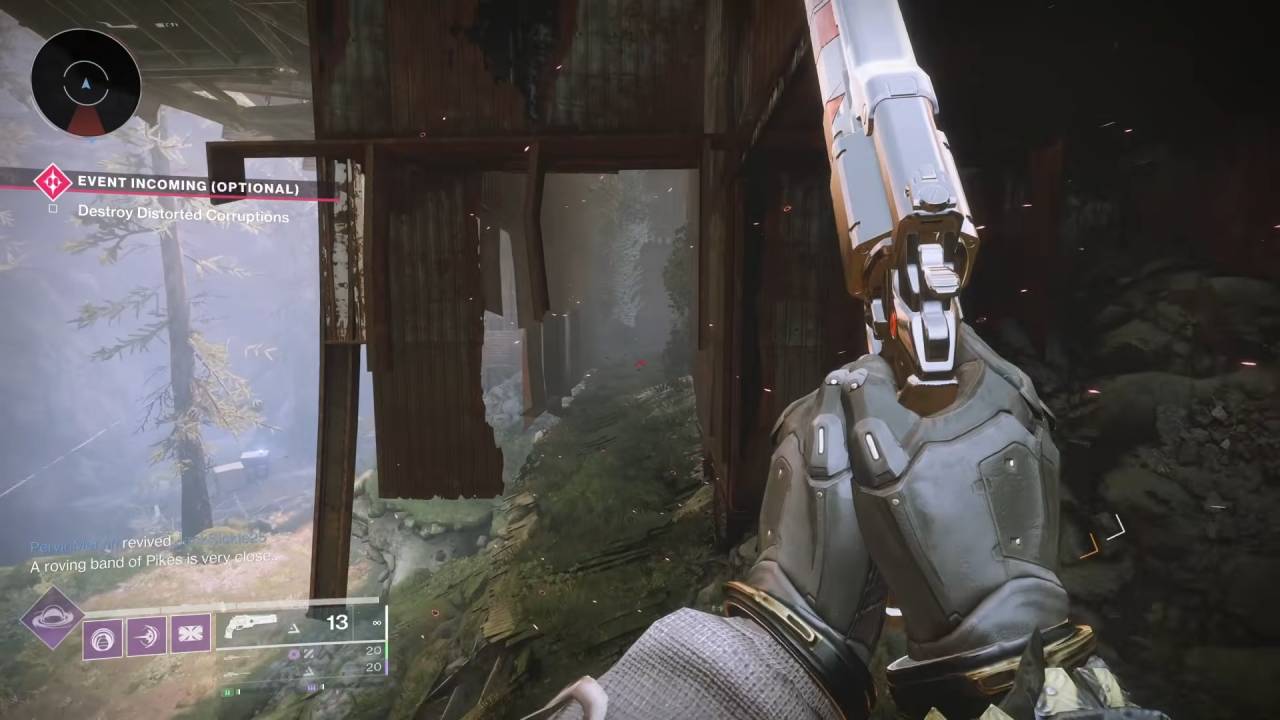
The Sludge and Sunken Isles Pages
Open your map again and fast travel over to The Sludge. From the landing pad, move up the concrete ramp and look for a small utility room.
Instead of going inside the room, turn around and check the small wall cubby right next to it to find the sixth page in Destiny 2: Monument of Triumph DLC.
To grab the final piece, fast travel all the way to the northern point of the map at the Sunken Isles. Once you load in, follow the main path directly forward toward the massive Cabal ship structures to find the last collectible page waiting on the ground.
Also, check our other guides below:
- Destiny 2: Monument of Triumph Guide | How to Complete Distortion Quests
- Destiny 2: Monument of Triumph Guide | All Case Files Location of Moon
- Destiny 2: Monument of Triumph Guide | How to Destroy Spider Tank
- Destiny 2: Monument of Triumph Guide | How to Get Interceptor
- Destiny 2: Monument of Triumph Guide | All Case Files Location in Nessus
- Destiny 2: Monument of Triumph Guide | All Case Files Location in Cosmodrome
- Destiny 2: Monument of Triumph Guide | All Case Files Location in Dreaming City
- Destiny 2: Monument of Triumph Guide | How to Destroy Corruption in Europa
- Destiny 2: Monument of Triumph Guide | How to Get Sparrow Horns
- Destiny 2: Monument of Triumph Guide | How to Find Xur
- Destiny 2: Monument of Triumph Guide | All Case Files Location in Europa
- Destiny 2: Monument of Triumph Guide | How to Unlock Chatterwhite Shader
- Destiny 2: Monument of Triumph Guide | How to Complete Honk Triumph
- Destiny 2: Monument of Triumph Guide | How to Find Strange Signal
- Destiny 2: Monument of Triumph Guide | How to Find Lodi
- Destiny 2: Monument of Triumph Guide | How to Find Ikora on Nessus
- Destiny 2: Monument of Triumph Guide | How to Use Ward of Dawn Ability
- Destiny 2: Monument of Triumph Guide | How to Pet Archie
- Destiny 2: Monument of Triumph Guide | How to Unlock Super Black Shader
- Destiny 2: Monument of Triumph Guide | How to Complete Loot Goblin Triumph
- Destiny 2: Monument of Triumph Guide | How to Complete Bird Feeder Triumph
- Destiny 2: Monument of Triumph Guide | How to Complete Forcible Disconnect Triumph
- Destiny 2: Monument of Triumph Guide | How to Get Strange Matter
- Destiny 2: Monument of Triumph Guide | How to Complete Impossible View Triumph
- Destiny 2: Monument of Triumph Guide | How to Complete Window to Eternity Triumph
- Destiny 2: Monument of Triumph Guide | How to Get Legendary Marks Quickly
- Destiny 2: Monument of Triumph Guide | How to Unlock Scarlet Keep Strike
- Destiny 2: Monument of Triumph Guide | How to Win Sparrow Racing League
- Destiny 2: Monument of Triumph Guide | Where to Find Eris Morn
- Destiny 2: Monument of Triumph Beginner’s Guide | Gameplay Tips & Tricks
- Destiny 2: Monument of Triumph Guide | How to Get Weapon of Sorrow
Senior Editor, NoobFeed
Latest Articles
No Data.