
The Outlast Trials Guide | How to unlock Rigs
A guide on how to unlock rigs in The Outlast Trials
Game Guide by Rubaiyat Shihab on Nov 02, 2025
In The Outlast Trials, Rigs become available after you have gained access to Prescriptions. These specialized devices can be purchased and upgraded from the Workshop, which is located on the left-hand side of the Lobby.
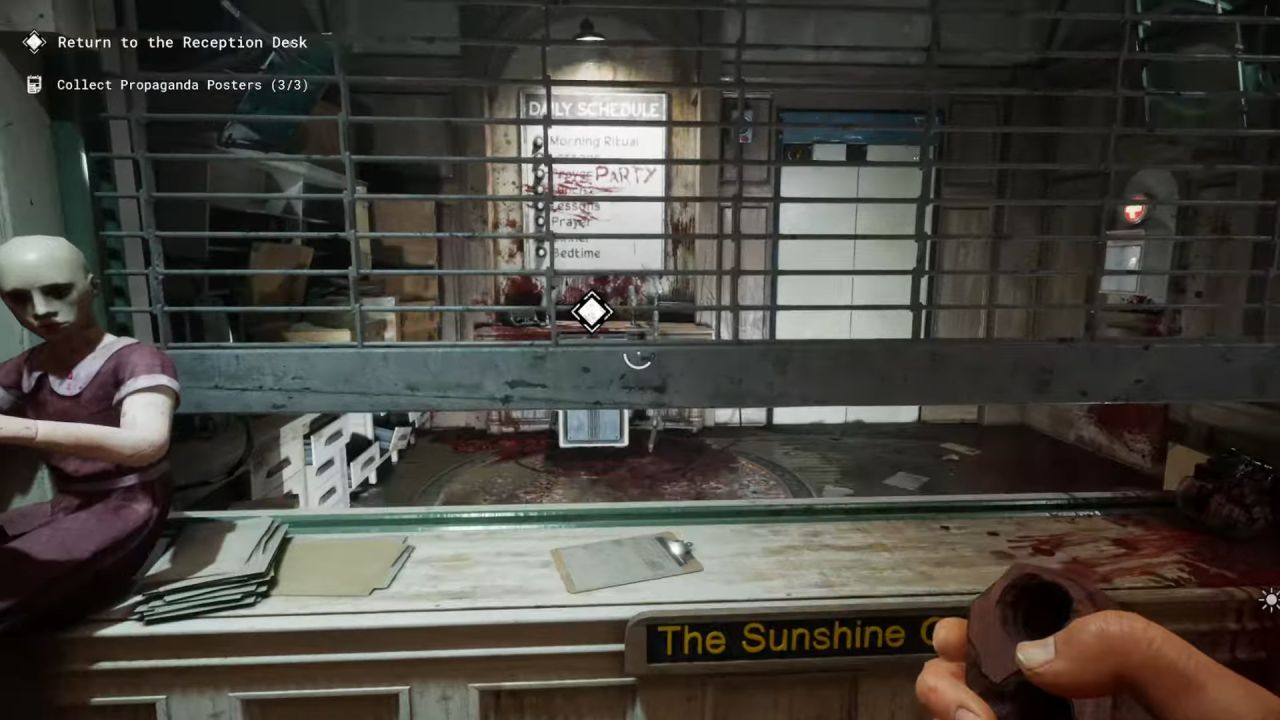
Rigs provide functional advantages that help you manage threats and support teammates during trials.
Acquiring Rigs
When you visit the Workshop, you can choose from four different Rigs — X-Ray Rig, Medical Rig, Stun Rig, and Blind Rig. Each Rig provides a distinct tactical benefit. The X-Ray Rig allows you to detect enemies and objects through walls. The Medical Rig releases a healing gas that restores health to you and nearby allies. The Stun Rig lets you throw a device that momentarily incapacitates enemies, while the Blind Rig deploys a landmine that emits disorienting smoke when triggered. Every Rig can be obtained for one Green Voucher.
After purchasing a Rig, you can upgrade it using additional Green Vouchers to enhance its performance and unlock new effects.
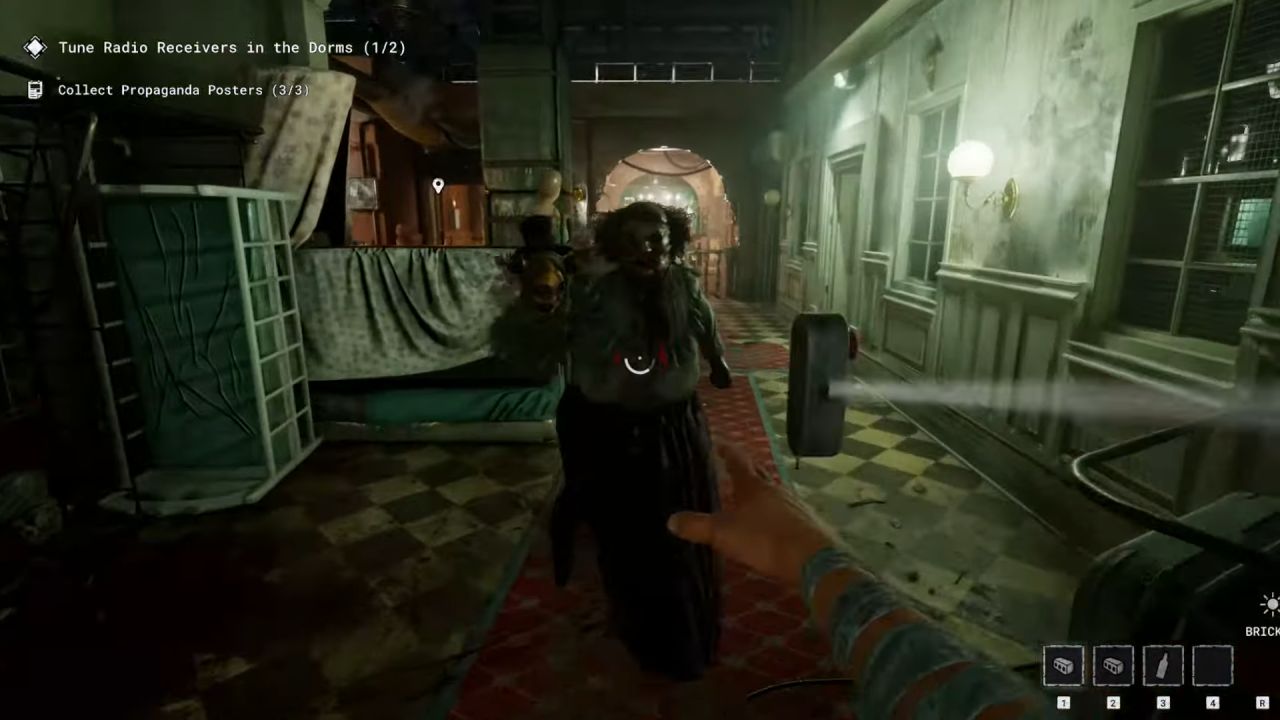
Stun Rig Upgrades
The Stun Rig sends out an electric shock to stop threats close. It can be made better by upgrading it to different levels:
Level 1: Pressing "Activate" sends out a throwing device that sends out an electric charge that temporarily blinds and confuses foes.
Level 2: Expanded Radius: This makes the explosions go farther.
Level 3: You can disarm traps, door traps, and enemy bombs that are within the blast radius.
Level 4: Extended Duration: The stun effect lasts longer.
Level 5: Restore: Brings down the time right away if no enemies are hit.
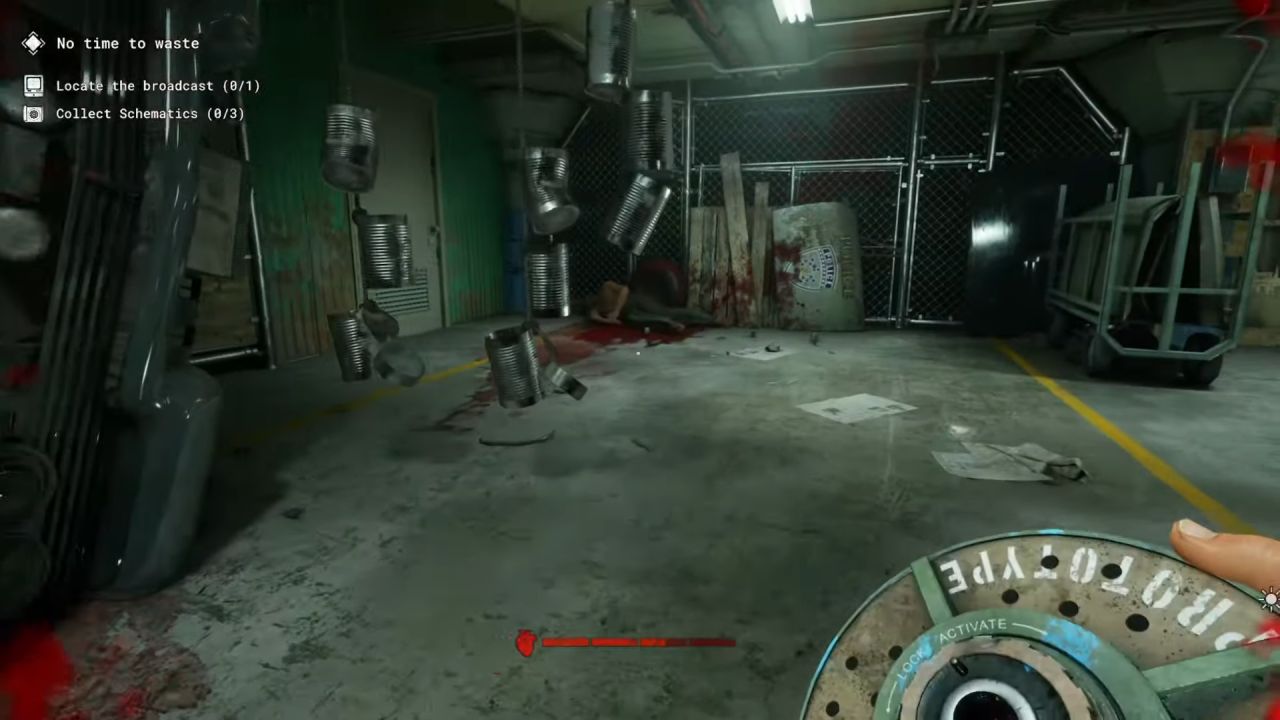
Level 6: Electric Boost: Allies in the blast area get full health and battery life back.
Level 7: The cooldown time is shortened, so the Rig can be used again faster.
Level 8: Prepared: This level gets the Rig ready to use right away at the start of a trial.
Blind Rig Upgrades
The Blind Rig utilizes a smoke-based defense mechanism to impair enemies. Its upgrades include:
Level 1: Activate: Sets off a landmine that, when struck, sends out a cloud of dense smoke.
Level 2: This makes the blast affect a bigger area.
Level 3: Deploy Technique: Places mines faster.
Level 4: Extended Duration: Makes the affect last longer.
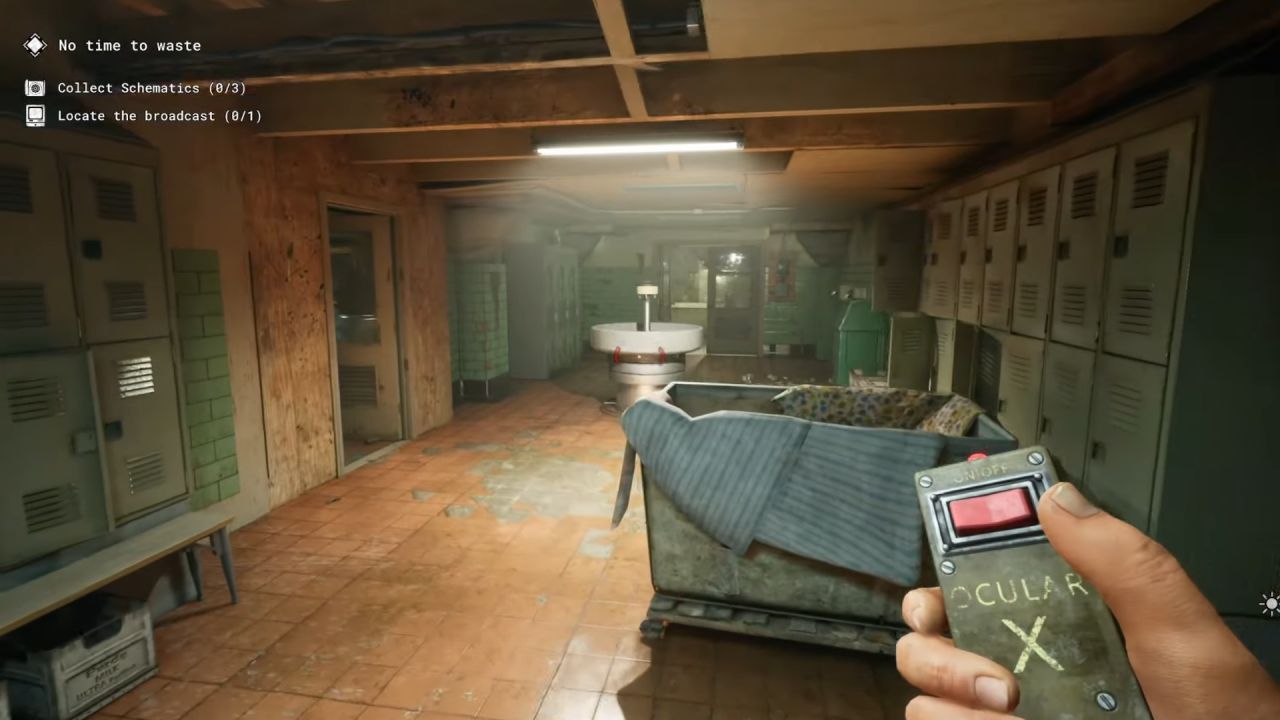
Level 5: Recharge: This level lets you re-arm the mine once after setting it off.
Level 6: Frenzy: Walking through the smoke after a blast gives you a rush of energy.
Level 7: Shorter Cooldown: Removes more time from the cooldown before using again.
Level 8: Prepared: This level turns on the Rig at the start of a run.
Medical Rig Upgrades
The Medical Rig focuses on health recovery and team support. Its progression path includes:
Level 1: Pressing "Activate" sends out a spray gas that heals you and close friends.
Level 2: This makes the healing action reach farther.
Level 3: Silent Help: This level lets repair happen in peace.
Level 4: Extended Duration: The healing time is extended.
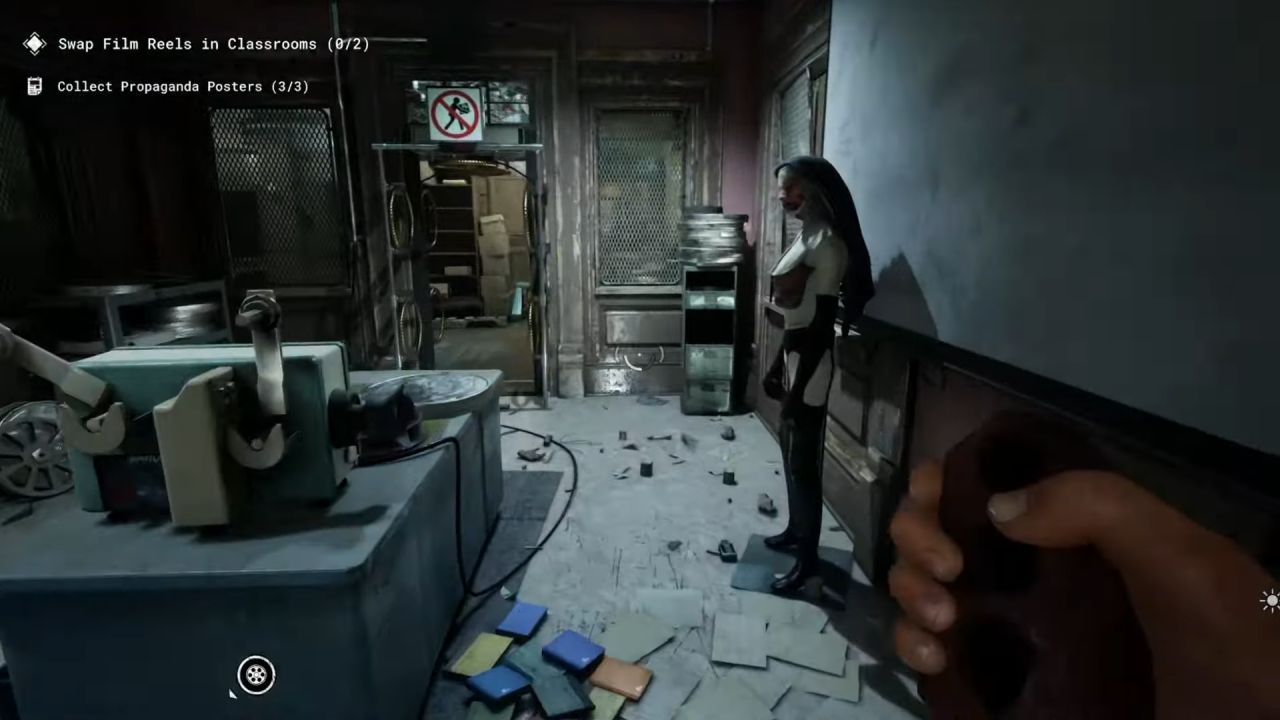
Level 5: Detox: Heals friends who are psychotic.
Level 6: Poison: The healing smoke slows down foes for a short time.
Level 7: Decreased Cooldown: Shortens the time between uses.
Level 8: This level gets the Rig ready to be used at the start of a trial.
X-Ray Rig Upgrades
The X-Ray Rig enhances your situational awareness by exposing hidden details within your environment. It can be upgraded through the following levels:
Level 1: Activate: Shows where enemies are by letting you see through walls.
Level 2: Shared Intelligence: Allies can see where the enemies have been marked.
Level 3: Resources Intel: Shows nearby things that can be used up.
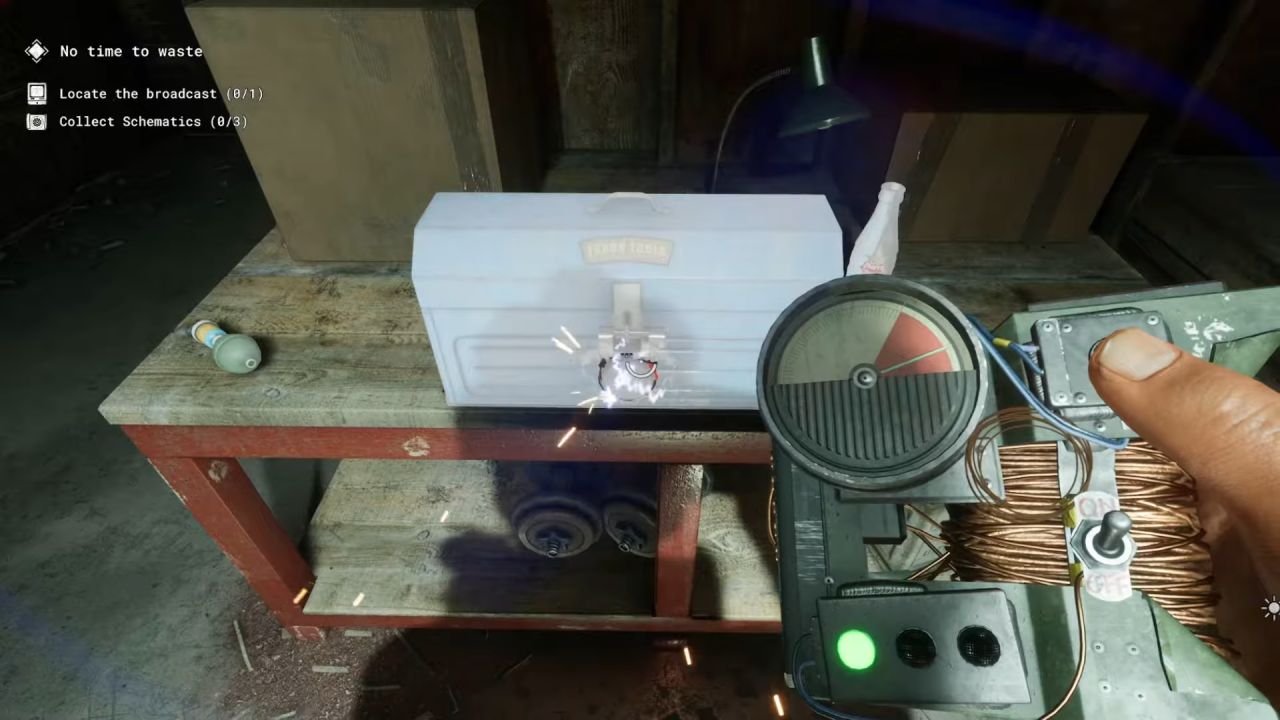
Level 4: Classified Intelligence: Tells you about sensitive or unique things in the area.
Level 5: Extended Duration: This level makes the X-Ray effect last longer.
Level 6: charge Transfer: When turned on, this level restores the Night Vision charge.
Level 7: Decreased rest: The rest time is shortened.
Level 8: Prepared: Makes sure the Rig can be used right away at the start of a practice.
In The Outlast Trials, each Rig gives you a different practical advantage, giving you a lot of different ways to change how you play during trials. If you spend Green Vouchers on upgrades, you get more smart choices to help yourself and your team.
Also, check our The Outlast Trials Review and other guides below:
- The Outlast Trials | Beginner's Guide
- The Outlast Trials Guide | How to Unlock the Hidden GOLDEN E.S.O.P.
- The Outlast Trials Guide | How to Complete the Main Mission in Police Station
- The Outlast Trials Guide | How to Complete the MK Challenge 1 in Police Station
- The Outlast Trials Guide | How to Complete the MK Challenge 2 in Police Station
- The Outlast Trials Guide | How to Complete the Main Mission in Fun Park
- The Outlast Trials Guide | How to Complete the MK Challenge 1 in Fun Park
- The Outlast Trials Guide | How to Complete the MK Challenge 2 in Fun Park
- The Outlast Trials Guide | How to Complete the Main Mission in Orphanage
- The Outlast Trials Guide | How to Complete the MK Challenge 1 in Orphanage
- The Outlast Trials Guide | How to Complete the MK Challenge 2 in Orphanage
- The Outlast Trials Guide | How to Complete the Main Mission in Farewell Mansion
- The Outlast Trials Guide | How to Unlock and Complete Program X
- The Outlast Trials Guide | How to Earn Release Tokens
- The Outlast Trials Guide | What is Difficulty Modifiers
- The Outlast Trials Guide | Know Your Enemies
- The Outlast Trials Guide | All Types of Upgrades
- The Outlast Trials Guide | How to unlock Prescriptions
Editor, NoobFeed
Latest Articles
No Data.