
Back 4 Blood Beginner’s Guide | Gameplay Tips & Tricks
Learn the most important Back 4 Blood basics so you can survive campaigns and win more Versus matches from day one.
Game Guide by Faviyan Mustafiz on Dec 05, 2025
Back 4 Blood is a co-op first-person zombie shooter from Turtle Rock Studios, the creators of Left 4 Dead. It brings back the classic four-person survival formula but adds modern systems like decks, corruption cards, and progression that make each run feel different.
You move through story missions, fight endless waves of Ridden, and use smart teamwork, builds, and map knowledge to reach the next safe room. This guide explains how the core systems work, how Campaign and Versus differ, and what you should focus on early so you can spend more time surviving and less time confused.
Core Gameplay and Ridden Basics
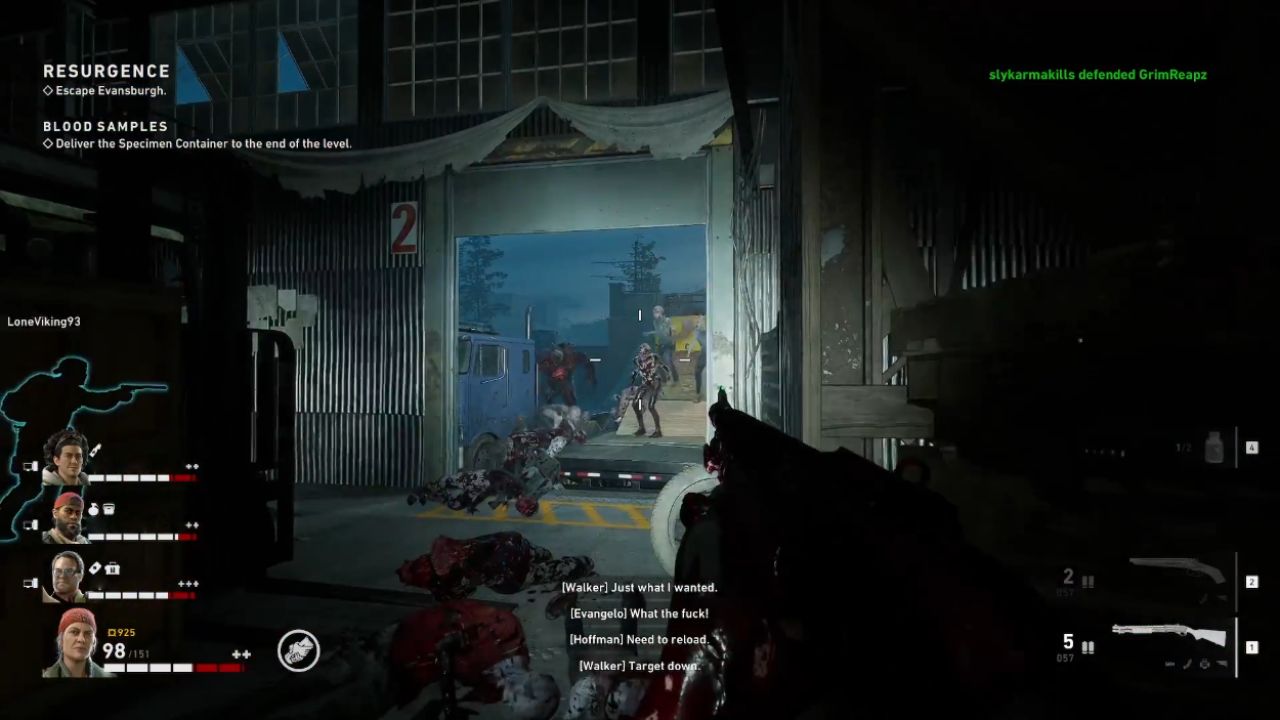
The core loop in Back 4 Blood is simple but intense. You and three teammates move from one safe room to the next while fighting zombies called Ridden. Regular Ridden swarm you in large numbers, while Special Ridden use unique abilities to pin, knock back, or explode on you.
The game plays in first person, so you use guns and melee to clear paths, protect your backline, and hold chokepoints. Your job in each level is to manage health, ammo, and positioning well enough to reach the safe room door, close it behind you, and move the run forward.
The Main Hub, Cards, and Supply Lines
When you load into the game, you arrive in a hub area that acts as your lobby. This space is where you and your group gather before starting a Campaign or Versus session. On a nearby table, you can manage card decks for both modes. These decks are the heart of your build.
The Card System lets you create a deck of up to 15 cards. You always start with a Starter Card, then draw cards in order as you progress. This means your build is not truly random.
You decide which bonuses unlock first and which ones show up later. You can build around accuracy, healing efficiency, weak spot damage, mobility, or extra damage against Special Ridden.
New cards are unlocked through Supply Lines, where you spend red Supply Points. As you progress, you open more nodes, gain new cards, and improve your decks over time.
These cards work in Campaign and also in Versus, with reasonable limits in competitive play. On the main play screen, you choose between Campaign for PvE and Swarm Versus for 4v4 action where one side is Cleaners and the other side is Ridden.
Campaign vs Versus Overview
In Versus, two teams of four face off across multiple rounds. One team controls Cleaners and tries to stay alive as long as possible, while the other team controls Ridden and tries to wipe them out quickly.
After the round ends, you swap sides. The team that keeps its Cleaners alive for a longer time on its turn wins that round, and the match is played as a best-of-three across different maps.
In Campaign, you focus on progressing through acts and missions while dealing with dynamic modifiers and limited continues.
Most new players will spend most of their early time here, learning map layouts, enemy types, and card interactions. Understanding how runs, difficulties, and continues work is key to getting further each time.
Campaign Runs, Acts, and Difficulties
A Run in Campaign acts like a roguelite journey. You pick a difficulty, choose an act starting point, and attempt to push as far as possible with your deck and your team. If the group wipes too many times, the run ends and you need to start another. This push-and-reset structure encourages learning and experimentation.
There are three main difficulties. Survivor is the entry-level mode that gives you generous buffs and removes friendly fire. It is ideal when you want to learn maps and enemy behavior without constant punishment.
Veteran is the intended baseline experience, with some friendly fire that keeps you honest but does not let you one-shot teammates. Nightmare is where everything becomes punishing. Corruption modifiers hit harder, friendly fire hurts a lot, and chaos builds quickly when hordes spawn in tight spaces.
As you clear missions, you unlock new starting points within acts on each difficulty. Your run has a limited number of continues, so if all four of you go down and cannot be revived, you lose a continue.
When those are gone, the run ends. However, checkpoint progress is saved, so you can come back later, rejoin with a new deck, and try to push further.
Choosing Cleaners and Team Synergy
At the start of a run you choose which Cleaner to play. Each Cleaner provides a unique mix of personal perks, stats, and team bonuses. This means your choice affects both your own playstyle and the power of your group.
For example, Holly excels at stamina management and melee play because she recovers stamina on Ridden kills. This lets you sprint, bash, and swing more often.
Mom is a support-focused Cleaner who gains an extra support inventory slot and can instantly revive a teammate once per level, while also boosting the whole team. Other Cleaners like Jim, Doc, and more lean into specific roles such as damage, healing, or utility.
Each Cleaner brings a personal passive, adjusted inventory capacity for certain item types, and a team-wide bonus. All of them are strong enough to use right away, so you can pick what looks fun and then tailor your card deck to match that Cleaner’s strengths and your squad’s overall strategy.
Corruption Cards and Building Your Deck In-Run
Before each mission, you see a set of Corruption Cards that applies to the run. These cards add negative or challenging modifiers that change how the level plays.
One card might bring thick fog, another might empower certain Special Ridden, and others might add extra hazards or objectives. These modifiers keep repeated runs from feeling identical.
At the same time, you draw from your own deck. You start a run with your Starter Card active from the very first mission. At each new checkpoint, you draw more cards and choose which ones to activate.
Every picked card stays active for the rest of the run. Over time, your build becomes stronger and more specialized, while Corruption cards keep raising the stakes. This push and pull is what makes each campaign attempt feel fresh.
Safe Rooms, Shops, and Mission Starts
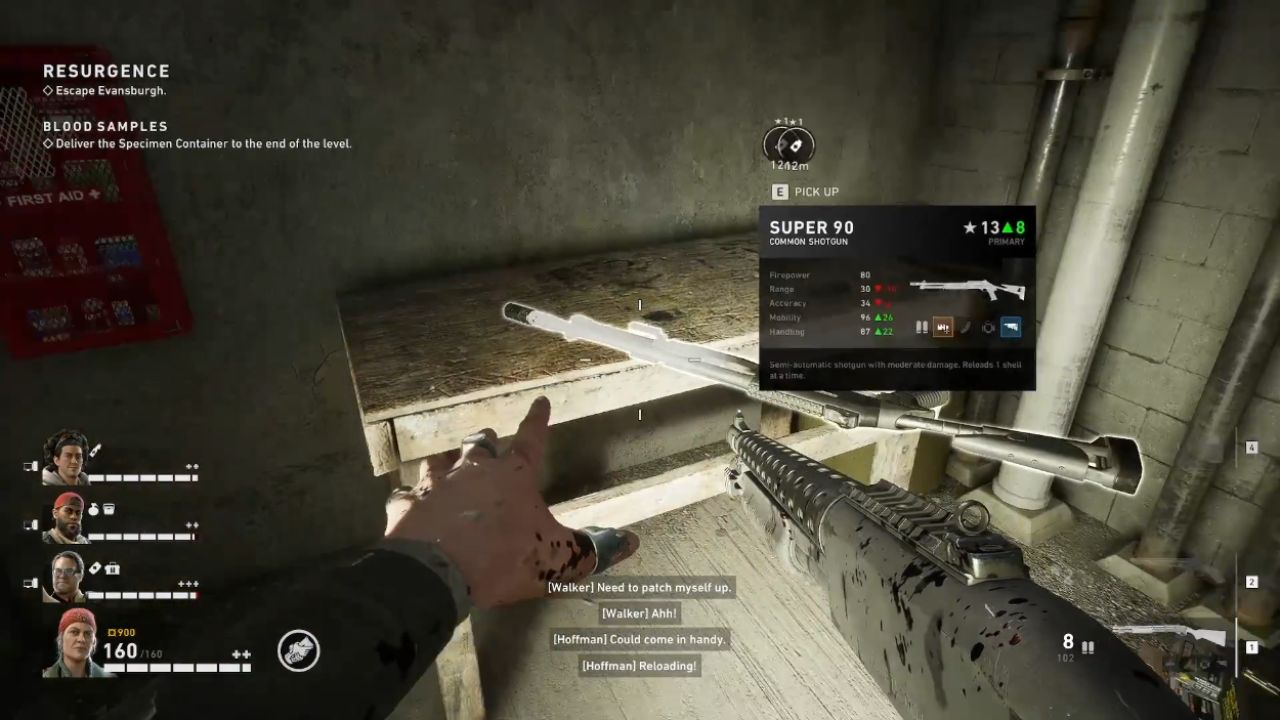
Every mission begins in a safe room. This is your preparation zone. The door leading into the level only opens when you are ready, so you can take a moment to gear up. You will find random weapons lying around, letting you adjust your starting loadout based on what is available.
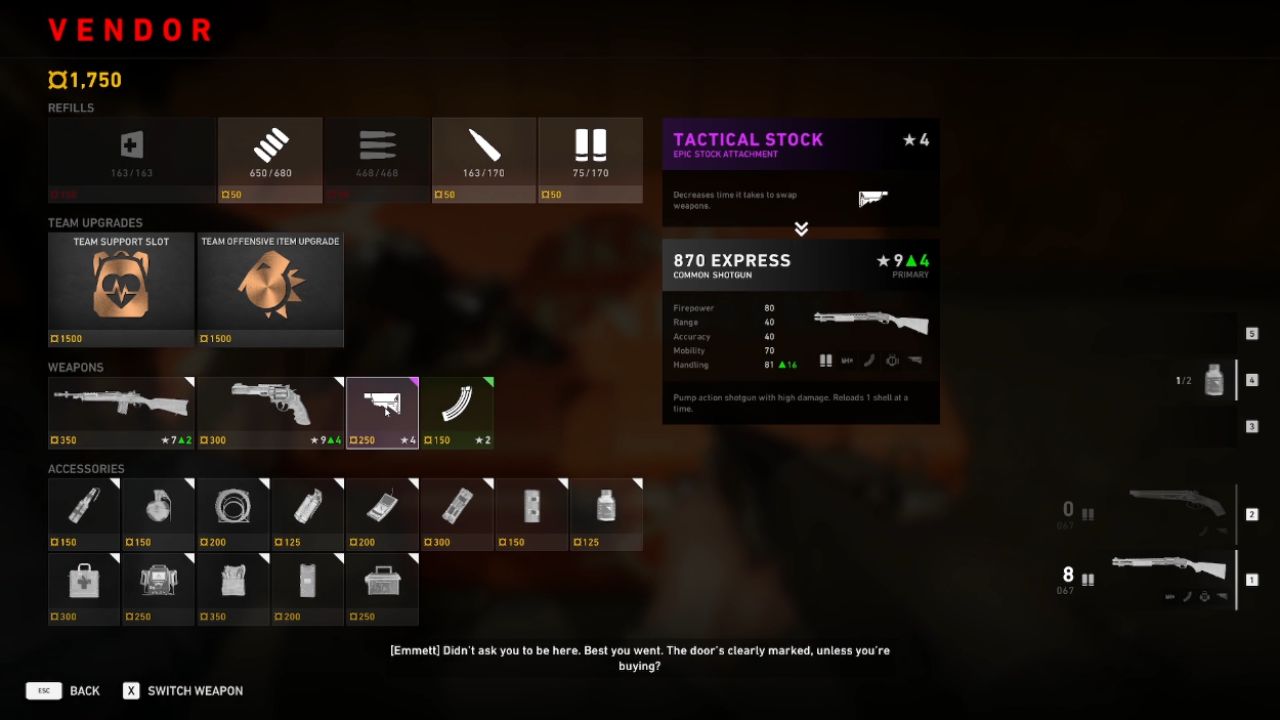
In each safe room you also find a Shop. This shop is crucial. Here, you can spend Copper to refill ammo, restore missing health, buy stronger weapons, pick up useful items, and purchase powerful Team Upgrades that apply to all four Cleaners. The shop inventory changes as you progress, so later missions often feature higher-rarity gear.
Items in the shop are organized into offensive, support, and utility categories. Offensive items include grenades and other damage tools. Support items are things like Bandages and Medkits.
Utility items include tools like Tool Kits and Stun Guns. Each category uses its own inventory slot type. If you buy more items than your slots allow, extra items drop on the ground.
When you see bonuses like “+1 Support Inventory,” it means you can carry more items of that type at the same time. This makes loadout planning and role specialization very important.
Reading the HUD and Monitoring Your Team
Your HUD shows a lot of useful information if you know where to look. On the right side of the screen, you see all four Cleaners, their platforms, their health bars, and their down counters.
The white bar shows current health, while plus icons display how many times each Cleaner can be downed before a final, non-revivable death in that mission.
Above each Cleaner portrait, you can see which offensive, support, and utility items they carry. This helps you quickly identify who has Bandages, Medkits, Tool Kits, or grenades.
Checking this often tells you who should open stash doors, who should heal teammates, and who should handle crowd control when hordes arrive.
Ammo Types, Sharing, and Smart Loadouts
In Back 4 Blood, ammo is split into four categories: Pistol/SMG Ammo, Rifle Ammo, Sniper Ammo, and Shotgun Ammo. You only use two of these at once, depending on which weapons you carry. This design encourages varied team compositions.
If your entire squad uses assault rifles, you will all fight over Rifle Ammo and leave other ammo types untouched. To avoid this, try to spread weapon types across the team so ammo drops are actually useful.
You can drop ammo you do not need so teammates can pick it up and keep shooting. Good teams constantly share ammo rather than hoarding it.
You also have a ping system. You can ping ammo, weapons, and threats so your team notices them instantly. A quick tap lets you mark something important, and a context ping menu lets you call for help, regroup, or highlight an area. Pinging makes communication easier even without voice chat.
Hazards, Alarms, and Automatic Flashlights
As you move through missions, you encounter environmental hazards that can trigger hordes. Flocks of birds, car alarms, and certain doors with security alarms will all call in waves of Ridden if disturbed. You should ping these hazards so your team knows to avoid them or to prepare for a fight before setting them off on purpose.
Dark sections of a map do not require any extra setup. Your flashlight turns on automatically when you enter dark areas and turns off when you return to brighter spaces.
There is no separate flashlight item, and you do not need a dedicated flashlight key, which keeps controls simple and lets you focus on survival.
Weapon Rarity, Star Ratings, and Attachments
Weapon progression in Back 4 Blood is heavily tied to rarity and star rating. As you move deeper into a run, the safe room shop and world drops begin to show higher-rarity guns.
In most cases, rarity beats almost everything else. Upgrading from a gray weapon to a green, blue, or purple weapon is almost always worth it, even if the new gun is not your favorite type.
Each weapon card shows a Star Rating in the top corner, such as a 5-star or 9-star weapon. This gives you a quick way to see overall strength at a glance. When comparing two similar guns, the one with more stars is usually the better choice.
Weapons also come with attachments that modify stats like accuracy, handling, and recoil. Early on, attachments are usually locked to the weapon they drop with, so you trade the entire weapon when you want a better setup.
Pay close attention to any weapon you find that has strong attachments already equipped, since these can dramatically improve performance without needing extra upgrades.
Health, Trauma Damage, and First Aid Cabinets
Your health bar is more than a simple line. The bright red portion shows recoverable health, while a dark, crosshatched section represents Trauma Damage. Trauma lowers your maximum health, so normal healing items cannot push your bar past that trauma limit.
Support items like Bandages restore a chunk of health, while Pain Meds give temporary health that sits on top of everything, including trauma.
This temporary health is excellent just before a big fight or a horde, because it lets you take more hits even if your actual max health is low. Medkits offer stronger healing that can stabilize you or a teammate in tough sections.
To fix trauma, you need special healing. Wall-mounted First Aid Cabinets are the best example. These stations often give one free use and then require Copper for extra uses, depending on difficulty.
They can both heal missing health and reduce or remove trauma, restoring your maximum HP. Using these stations wisely keeps your team alive in long missions and stops your health bars from shrinking into useless slivers.
Stash Rooms, Tool Kits, and Copper Economy
Hidden stash rooms can turn a rough mission into an easy one. These side rooms are usually locked and require a Tool Kit to open.
Inside, you often find extra ammo, healing items, and sometimes high-rarity weapons or upgrades. Carrying at least one Tool Kit in the squad is almost always worth it, especially on higher difficulties where every advantage matters.
Throughout each level, you collect Copper from piles on the ground, containers, and sometimes off beaten paths. When you pick up Copper, the entire team gains that amount, so you never steal money from your teammates by looting quickly.
The more Copper you collect, the more options you unlock in the safe room shop for healing, guns, and team upgrades.
Spending Copper smartly is a core skill. Ideally, you prioritize team upgrades and crucial healing first, then weapons and extra tools once those basics are covered.
Special Ridden, Crowd Control, and Rescues
Special Ridden are the enemies that most often wipe teams. Each type has its own way of disrupting you. Some charge in and slam you into the ground, some grab and hold you, and some pin you from a distance.
One key threat is the Hawker, part of the Stinger family of Special Ridden. Hawkers shoot projectiles that pin you to the floor. When this happens, you cannot free yourself. A nearby teammate must run over and bash you to break you out.
Other Special Ridden, such as Crushers, grab you in their massive arm and slam you repeatedly until friends save you. The general rule is simple: when you see a teammate outlined in orange, assume they are stuck and get to them quickly.
You can also be knocked or pinned off ledges, which usually leads to a fast death if your team cannot reach you. Staying aware of your positioning, especially near drops or open ledges, is just as important as killing enemies quickly.
Bash, Stamina Management, and Reload Safety
You always have access to a basic melee Bash, even when using guns. Bash costs stamina, but it has no cooldown, so you can spam it as long as your stamina bar holds. This attack shoves Ridden away and does a bit of damage, making it perfect for creating breathing space in tight corridors.
The most important detail is that bashing does not cancel your reload. You can start reloading, then repeatedly bash enemies away while the reload animation continues.
This means you do not need to choose between reloading and staying alive at close range. Learn to reload first, then bash aggressively until your weapon is ready, and you will survive many situations that would otherwise overwhelm you.
Playing as Ridden in Versus Mode
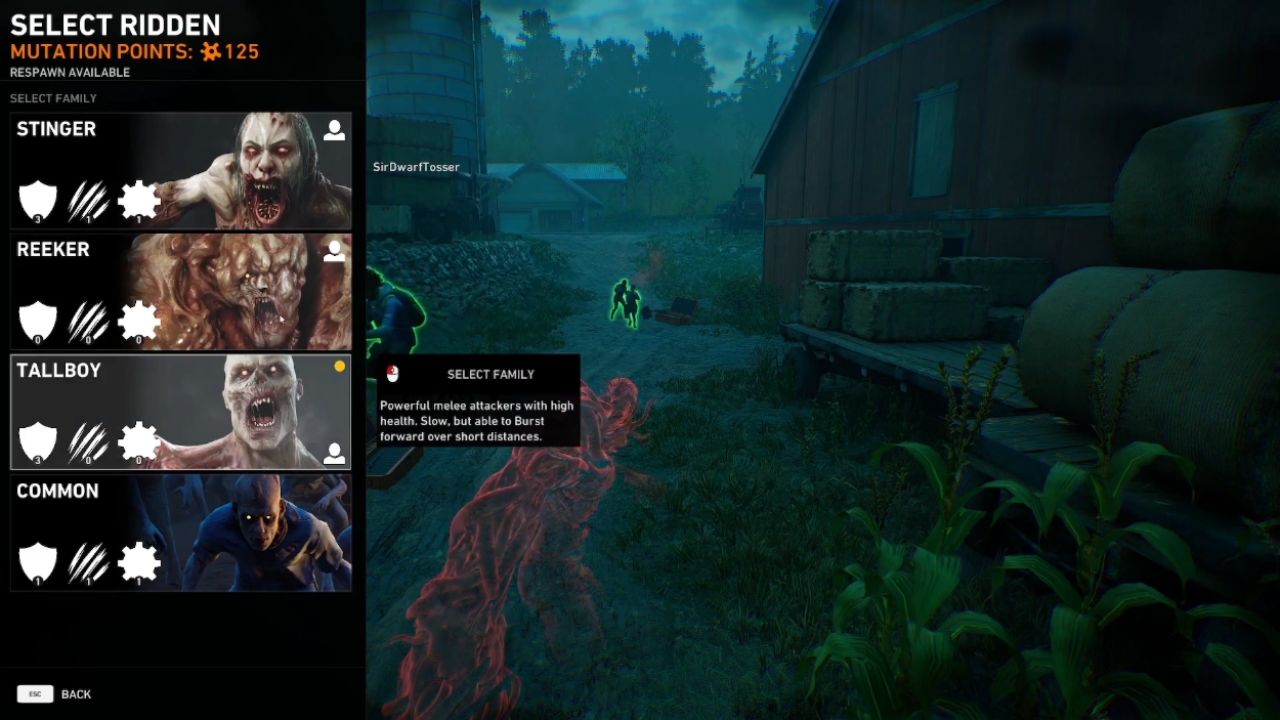
When you switch to the Ridden side in Versus, the game shifts into a different style of play. You earn mutation points as your team damages, incapacitates, and kills Cleaners. These points go into a shared pool for the entire Ridden team, and you spend them on upgrades that improve all Special and Common Ridden types.
There are three main Ridden Families. Tallboys serve as the frontline tanks. Within this family, types like Bruiser and Crusher excel at charging into Cleaners, soaking damage, and disrupting formations.
Reekers are explosive and disruptive, with types such as Wretch that vomit bile to slow and damage Cleaners, and Exploder that rushes in and detonates for heavy area damage.
Stingers are agile ranged enemies. Within that family, Hawker focuses on immobilizing Cleaners, while Stinger deals solid ranged poke damage from afar.
You have a respawn timer and must spawn outside the Cleaners’ line of sight. You can freely change which Ridden type you will become before each spawn, but team composition has limits, so you cannot run four of the exact same Special Ridden.
Smart Ridden teams swap types constantly, pick counters for certain Cleaner positions, and coordinate attacks to overwhelm the group from multiple angles.
Playing as Cleaners in Versus: Scavenging and Surviving
On the Cleaners side of Versus, each round starts with a Scavenge Phase. During this period, Ridden cannot spawn, and you are free to loot the arena.
Your main goal here is speed. You should sprint around the map, open every crate you can find, and grab healing items, ammo, and upgraded weapons before the timer expires.
Keeping track of crate locations matters. After fights, you can run back to opened crates to restock while the safe zone still allows you to move. As rounds progress, gear quality improves, just like in Campaign.
Early rounds may only give you common weapons, while later rounds offer blue or purple guns with very strong attachments. Each new round is a fresh chance to improve your loadout, so you should almost always switch to better weapons when they appear.
As time passes, the Swarm circle closes in on the map. The safe area shrinks, forcing you and your team to leave strong defensive positions and move into new zones. This keeps rounds from dragging on and creates dramatic late fights where Ridden can punish bad rotations.
The team that survives the longest as Cleaners wins the round, so smart looting, patient positioning, and good use of healing items are just as valuable as accuracy.
Final Tips to Stay Alive and Progress Faster
To perform well in Back 4 Blood, you should think beyond pure aim. Build decks that match your Cleaner and your role.
Communicate about ammo types so your team does not all fight over the same resources. Carry a Tool Kit whenever possible to open stash rooms. Use Pain Meds before huge fights, and save First Aid Cabinets for serious trauma damage.
Most of all, treat each run as a learning experience. The more you understand Corruption Cards, Special Ridden behavior, and shop upgrades, the easier it becomes to reach deeper parts of the campaign and to dominate rounds in Versus.
Over time, you will start to anticipate threats before they appear, adapt your builds for each map, and turn every safe room door into another checkpoint on a long, successful run.
Also, check our Back 4 Blood Xbox Series X Review and other guides below:
Contributor, NoobFeed
Latest Articles
No Data.