
Dead By Daylight Guide | Survivor for Beginners
Here is a beginner's guide to playing as survivor in Dead by Daylight.
Game Guide by Mash Rahman on Oct 16, 2025
Dead by Daylight can feel like being dropped into a slasher film and told to improvise your own survival. It's equal parts paranoia, quick thinking, and small victories—a generator finished here, a pallet dropped there, and suddenly you're the friend your teammates brag about in post-game chat.
In this guide, I will help you play as a survivor in Dead by Daylight.
First Steps: The Tutorial and Early Progression. The game tutorial exists for a reason: it shows you the basics and gets you ahead. Completing it earns you a lot of bloodpoints, which you can utilize to buy items and perks on your Bloodweb.
Having completed the tutorial, leveling up a beginner-friendly survivor with general, heavy-duty perks should be your top priority. Meg Thomas is an excellent choice for beginners.
Her kit possesses two extremely useful benefits that stay useful after you level up: Sprint Burst, which provides a speed burst when you start running, and Adrenaline, which heals you and gives you a quick speed boost once the last generator is used up.
Both of these benefits can win you a match on their own and are easy to understand for beginners. When you enter the Bloodweb, try to pick up good general-purpose perks first and then move on to flashy or special ones.
Déjà Vu helps you see generators more easily. We'll Make It accelerates healing upon saving a teammate from a hook, and Kindred allows all players to see other players' auras if one gets hooked. Each of these bonuses gives your team more awareness and communication, which is handy when you're learning the gameplay.
With a few good perks in hand, you can start spending on useful items like toolboxes and medkits, or bloodpoint sacrifices for speeding things up.
Core Mechanics: What Really Matters. Dead by Daylight is a one-to-four asymmetrical game where one player plays the killer and the other four play as survivors. On paper, the survivor's mission is simple: repair five of the seven generators scattered around the map to unlock the exit gates and get away.
The killer's task is to hook, capture, and murder all survivors. The key to staying alive is knowing how each position interacts with the others. Survivors play in third-person, which lets them peer around corners and over barriers and keep an eye on the murderer. Killers play in first-person, which makes it harder for them to see, but provides them with other benefits.
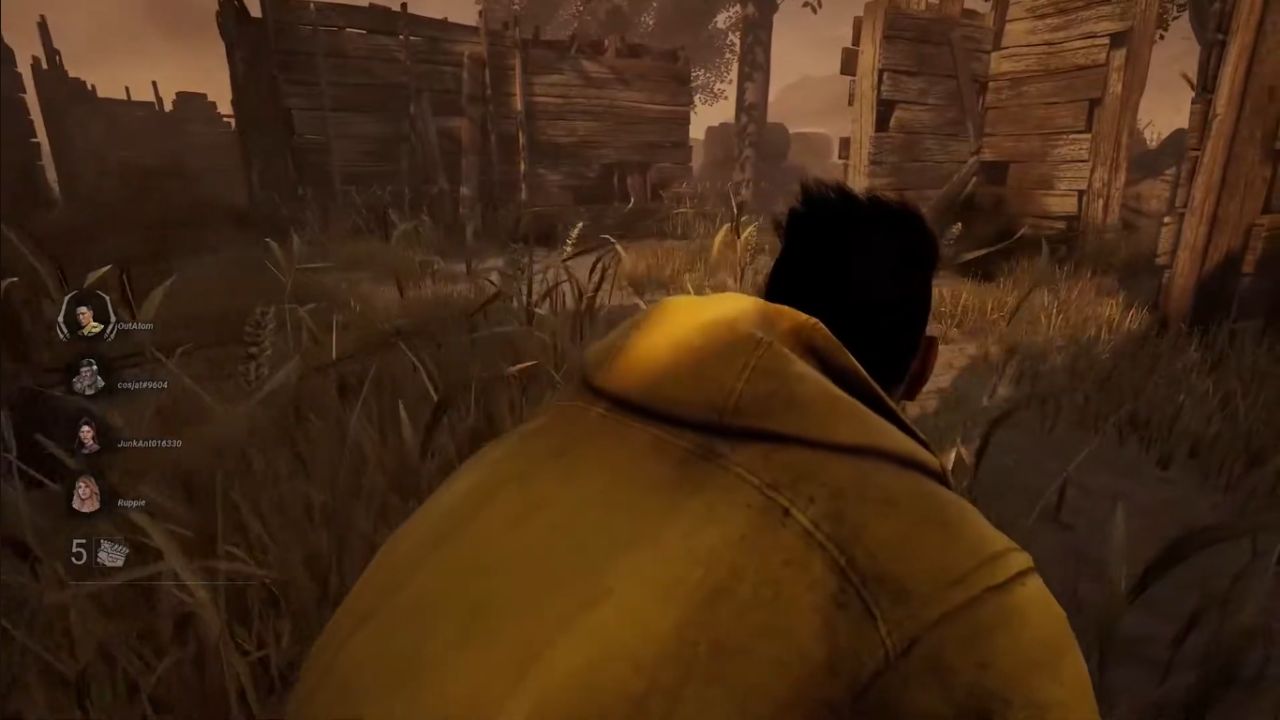
As a survivor, freeing your camera from the direction you're moving and constantly scanning your surroundings can be the difference between spotting the killer early or getting ambushed. Your HUD is your greatest asset. The small icons to the side of your teammates' names tell you directly what they're doing.
A wrench icon indicates that they're repairing a generator, a healing icon indicates that they're healing someone or themselves, and a pair of claws indicates that they're chasing. Watch out for these, and you will make better choices: if you have two survivors fixing generators, maybe you should try to rescue a hooked survivor first.
Skill checks are also something you must learn to adapt to. When you're repairing or mending, you will at times receive a cue and a skill check circle.
Tap the highlighted area to keep the same progress; if you fail, the killer receives a warning, and you lose progress.
Early Game Survival Habits: Split Up, Scout, and Keep Calm. When a trial starts, it's easy to stay close to your team, but splitting up is the smart move.
This will complicate the killer's ability to find and chase multiple survivors simultaneously and ensure that generators on the map receive attention. The killer usually spawns away from the survivors, so take a few seconds to scout out.
The Generator lights are easy to spot—they light up above most of the buildings and show you where you have to go. The Terror Radius, or heartbeat, is your initial warning. When you hear it, the killer is nearby, and the sound gets louder as the killer comes nearer.
If it sounds more subdued, then you can safely assume that the killer isn't in that location anymore. Early on, if you have to retreat, running back to your spawn point is generally the safest option, as it's one of the only places the killer won't be willing to come directly up after you after it respawns. During the time that the Terror Radius disappears, use that time to work on generators.
Work on gens that are somewhat isolated from one another to minimize the chance of multiple survivors being caught in the same chase.
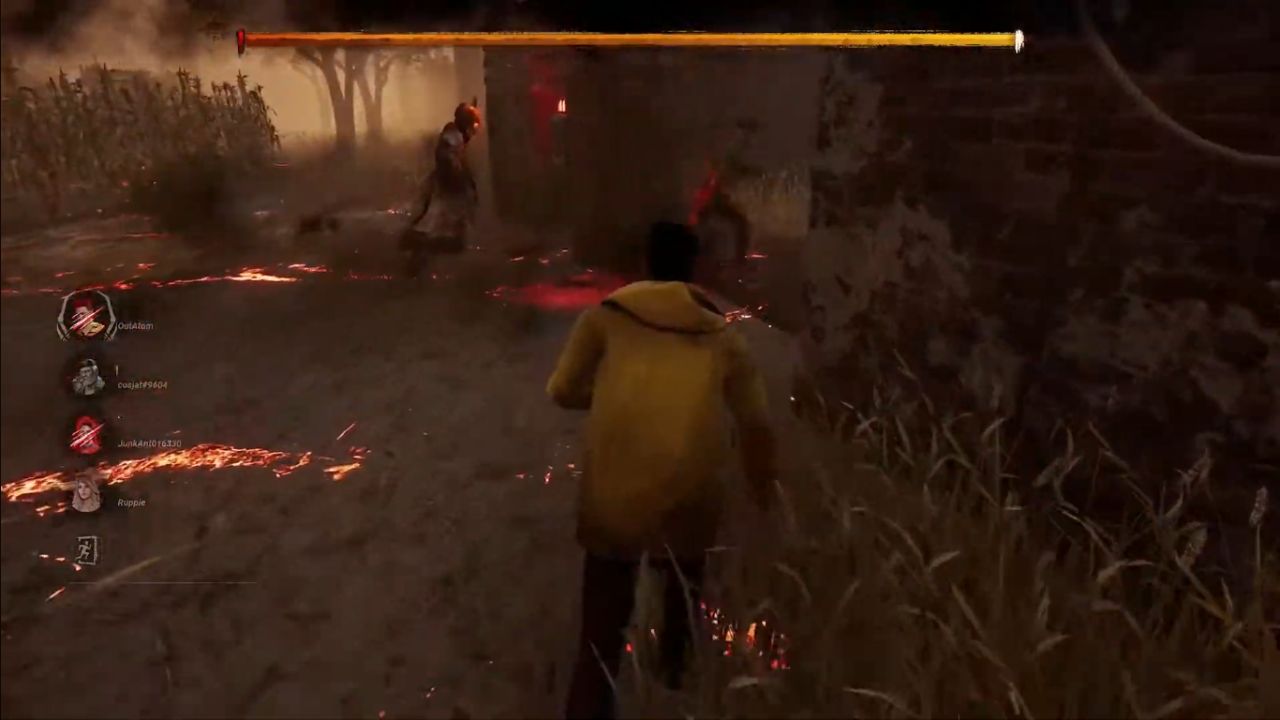
Chases and Loops: Using Panic for Time When the killer sees you, the chase is on — and your purpose is no longer to immediately escape but to waste as much time as possible for the killer so your teammates can complete objectives. Every second you stay in chase is a second your team has to progress. The best way to extend a chase is to make the most of the map's resources.
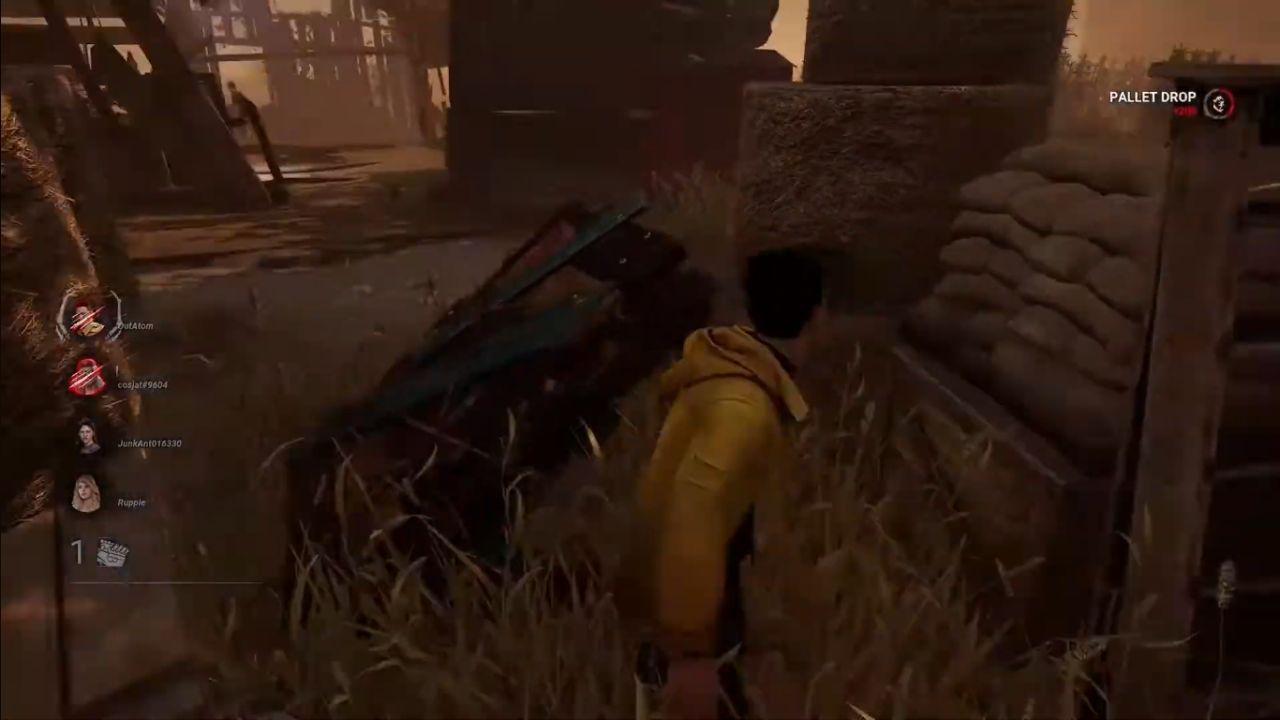
Learn where pallets and windows spawn on each map and use them to create distance. Pallets are your go-to defense tool. If thrown at the right time, they will shock the killer and leave you with a few seconds. But over-reliance on them or pallet camping can come back to haunt you.
Intelligent killers will expect your drop and bait it, or travel around it. Use mind games instead: pretend to run in one direction, turn back, or drop the pallet sooner than planned to remain unpredictable. Windows are also worth their weight in gold. They don't wear off after use, but can be temporarily blocked if used excessively within a limited time.
Fast and slow vaults differ in application. Fast vaults let you clear the open promptly while running, while slow vaults are more sneaky and ideal for sneaky getaways. Distance is the most important skill to pursue.
All the killers are quicker than survivors, but you can outplay them as you make tighter turns and always look about yourself. Observe the killer's red mark — it shows the direction in which they're facing, and you can expect when they'll turn the corner or swing. When you get hit, you get a temporary speed increase called the injury boost.
Use it to go to another safety loop or building, and do not move in a direct line that is easy for the killer to track you.
Hooked, Unhooked, and Endurance
Being hooked and downed is not the end of the world—it's a part of the game pace. You can squirm while being carried to make the killer take longer, and while being hooked, take your time and examine the battlefield from your HUD. Use that downtime to check where your teammates are and what they're up to.
Survivors take two hooks before they die on the third hook, so each rescue matters. If you're unhooked, you may have a brief window of stamina where you're able to absorb another hit before being instantly killed. It is meant to give you enough time to escape from the hook safely.
Healing while you're under the hook can be risky, as killers tend to circle back soon. It is better to move over to a closer place first before healing.
Perks like We'll Make It can speed up this process, helping your team recover quickly and return to objectives.
Mid- and Late-Game: Handling Pressure and Killer Perks
The killer becomes more aggressive as the game progresses. They might attempt to isolate a survivor or block key areas with camps to hinder generator progress. The main objective of the survivors now is to find a balance between productivity and safety — repair generators when it is safe to do so, but do not hide out.
Every minute spent idly gives the killer more freedom. Once five generators are completed, the endgame begins. Exit doors open, and any advantages this interval brings are triggered. Adrenaline, for example, fixes you up and makes you temporarily faster, an occurrence that typically alters the fate of a game.
But killers generally hold their strongest perks in reserve for this phase too. One of the scariest is Hex: No One Escapes Death, or NOED. When active, it makes the killer down survivors instantly upon hitting them. To neutralize it, survivors need to find and purify the lit hex totem on the map.
Watching for glowing totems during the game can avoid a last-minute catastrophe.
The Hatch and the Exit: Last-Resort Escapes. If only one survivor is remaining, the Hatch is your would-be rescue route. It appears that, when all the other survivors have perished, a single survivor can escape.
Typically, its position is random, but sacrifices can affect where it hatches. Knowing regular hatch spawn areas — like in the central building or outside the killer shack — allows you to prepare for where it may hatch.
In others, it's wiser to take cover outside a suspected hatch area than to attempt fixing the last generator by yourself.
If more than one survivor remains when the last generator finishes, send power to the exit gate first. Once both gates have power, survivors can open them to leave the trial. Communication is key here — if one survivor is being hunted, the others should spread out between gates or have a save attempt in place. It's sometimes worth going back for a friend, but it's best to know when to quit; a good survivor is as much about bravery as they are realism.
Building Your First Loadout
For a beginner loadout, simplicity rules. Meg Thomas with Sprint Burst, Adrenaline, Déjà Vu, and We'll Make It is a solid and well-rounded foundation. These bonuses teach movement control, timing, awareness, and cooperation simultaneously.
Throw in a medkit or toolbox for extra utility, and a bloodpoint offer to advance your progress. Once you feel comfortable, you can build out into stealth, altruistic, or endurance-based builds to fit your playstyle.
Mindset and Last Thoughts
Dead by Daylight is as much a psychological game as it is mechanical. Every chase, every missed skill check, and every close escape teaches something new. Focus on small improvements rather than perfection. Learn how each killer behaves, study map layouts, and practice using your camera independently of your movement.
With time, you'll start predicting killer paths, saving teammates in style, and mastering the tension that makes every match thrilling. Enjoy most of all the chaos.
The most thrilling parts of Dead by Daylight are when you do something that seems impossible, like saving someone at the last second, nailing a skill check, or jumping out of the Hatch just as the murderer is about to slash. Every game has a tale, and with experience, you'll be the one who decides how it goes.
Check out our other guides:
Editor, NoobFeed
Latest Articles
No Data.