
Ghostwire: Tokyo Guide | Best Meika Farming Route
A fast Meika loop using the Shokichi Omikuji buff, repeatable Ether Crystals, and Golden Maneki Neko pickups.
Game Guide by Faviyan Mustafiz on Jan 11, 2026
The most efficient way to farm money in Ghostwire: Tokyo is to put on the appropriate buff and take a somewhat short route. With this approach, the entire run is transformed into a manageable loop that may be repeated.
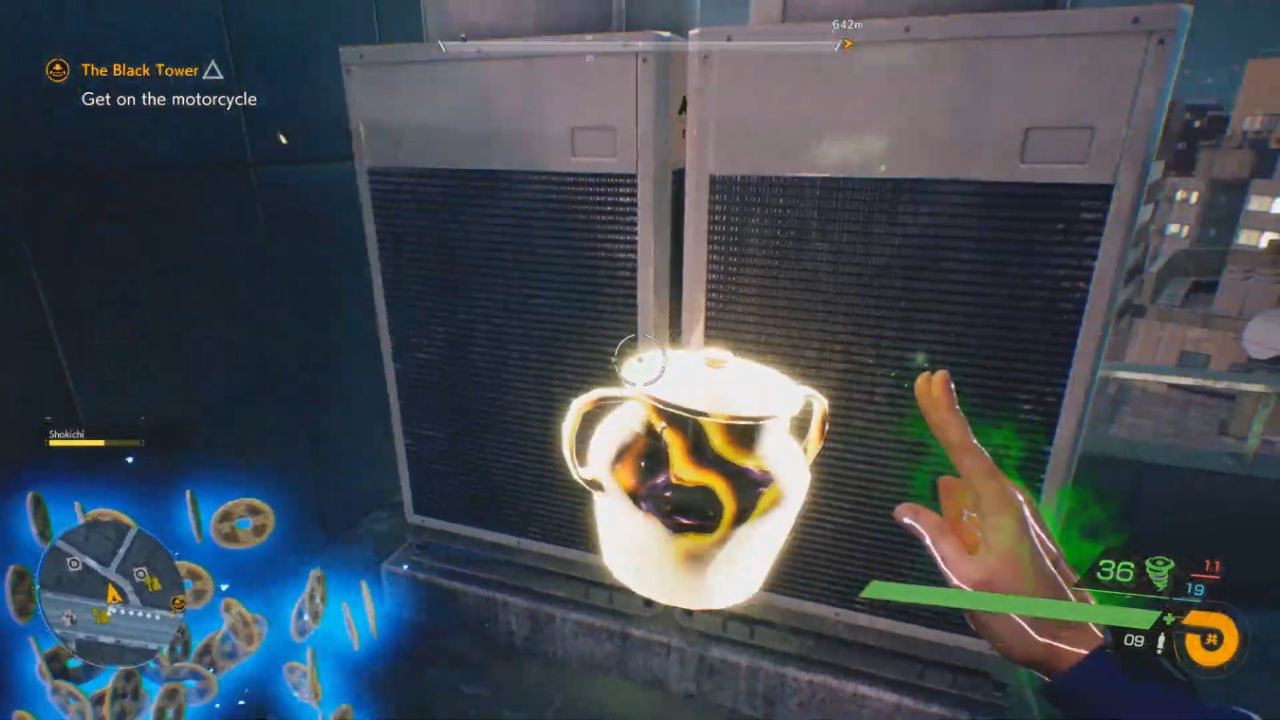
To acquire a significant amount of Meika, you will begin with an Omikuji effect, run down a predetermined path beginning at Yashin Shrine, and gather high-value yellow Ether Crystals such as Pots of Gold and Golden Maneki Neko.
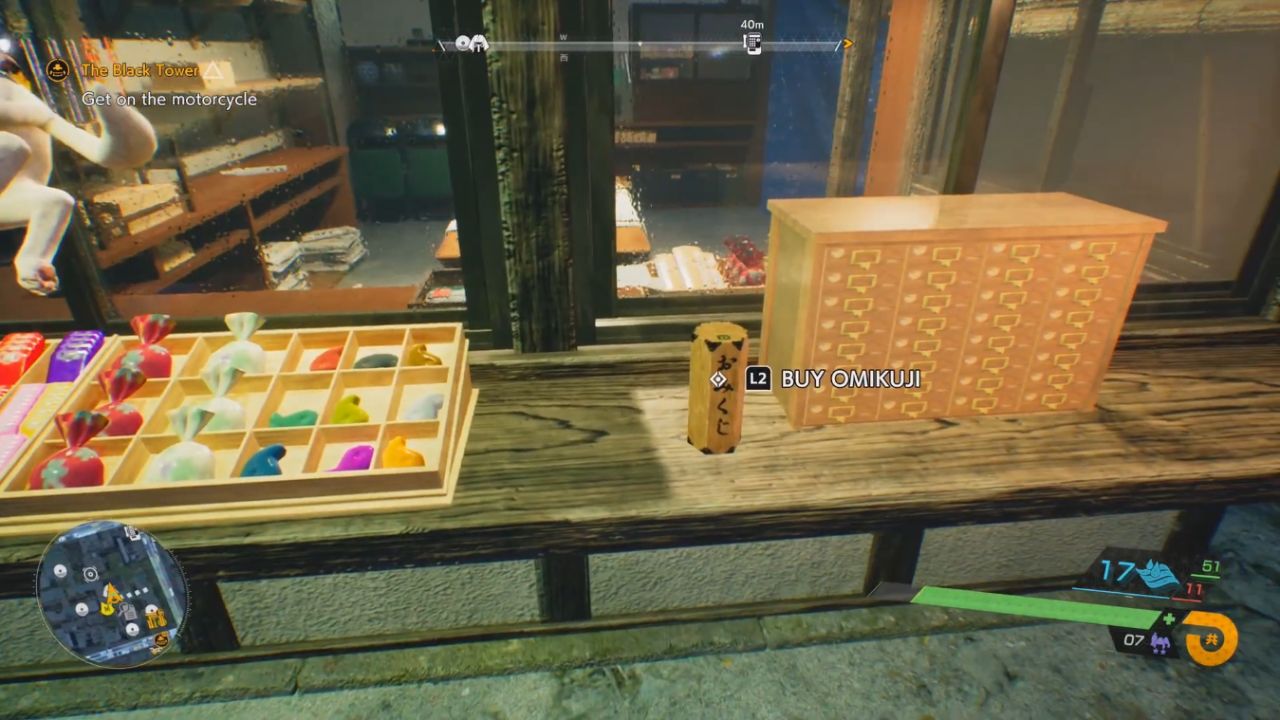
Pull the Shokichi Omikuji Effect
You need an Omikuji effect before the route starts. Omikuji are temporary buffs you get at certain shrines for about 200 Meika, and the result is random. Shiroyama Shrine, Antenna Shrine, and Kirigaoka Shrine can give this effect. Still, Antenna Shrine is the easiest because the pull is close to where you spawn.
From the spawn at Antenna Shrine, move straight, then turn right. The Omikuji pull is beside the shrine's cat statue area. Save the game first. If the pull gives Suekichi, reload and pull again. You want Shokichi because it doubles the Meika you get during the farming run.
Start the Route at Yashin Shrine
Fast travel to Yashin Shrine when Shokichi is active. Yashin Shrine is only the starting point, because this route is a full run. From the shrine, head back and use a Tengu grapple to get up. To ensure that the spawns are aligned, you should move outside of the vicinity of the shrine and continue in the same direction each time.
Begin by going left as you get closer to the exit, then take two small jars. Continue running in the direction of the subsequent group of pickups. Therefore, it is more important to move neatly than to aim precisely in the early part, because it is about creating rhythm.
Follow the Shibuya Loop and Collect the Gold Spawns
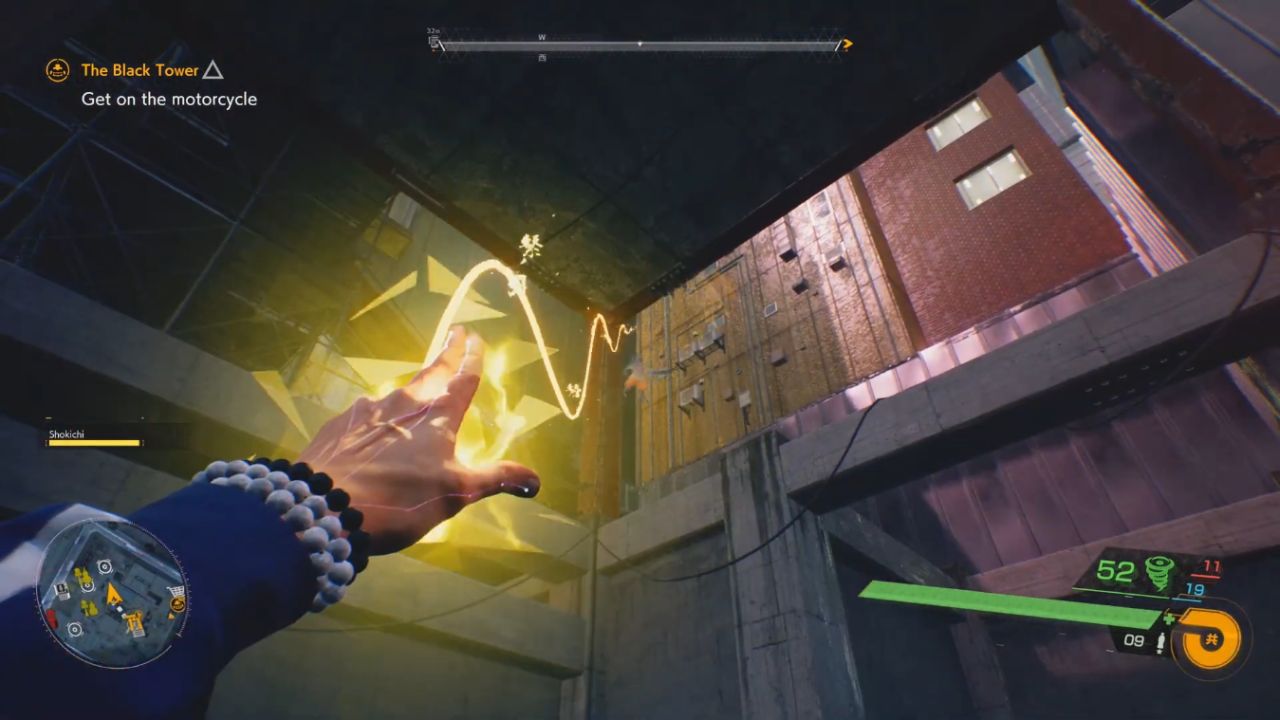
Push forward and head under the Shibuya sign area, then keep the route tight. You will keep finding yellow Ether Crystals in jar clusters, plus larger targets like Pots Of Gold and Golden Maneki Neko. If you find aiming uncomfortable, try breaking jars up close rather than trying to hit them from a distance.
After passing a construction stretch, you will hit additional jars positioned around vehicles, such as a dump truck. When you reach a turn in the path, you should continue running in the direction of the earlier parts because the trail intentionally doubles back.
Be on the lookout for more Tengu points. Several grapples will hoist you up to roofs, where you will be able to glide to the next cluster and jump between buildings along the way.
Use Tengu Grapples and Glides to Stay Fast
The middle of the route is built around chaining Tengu grapples and short glides. When you reach rooftop jar pairs, hitting the center between them often breaks both quickly. After each rooftop section, drop down, collect the next golden jars, then look up again for the next Tengu to keep the pace.
To access another rooftop line, a crucial segment uses a bus leap. After reaching that point, you will continue to ascend, glide, and circle to reach other jar clusters and secure another Golden Maneki Neko pickup.
Finish the Run and Reset the Spawns
Later in the journey, you will travel through regions with parked cars and more difficult leaps, as well as landmarks such as Ebisu Bank. The loop will remain consistent if you continue along the same path.
Move quickly to clear any foes blocking your path, then continue running. Feeding the dogs can also result in more Meika at the end of the journey, a minor bonus that can be obtained while the route is being completed.
After you have completed the loop, you should move on to other activities and then come back to the farm when the yellow crystal spawns return. Because the true reward comes from repeated runs with Shokichi engaged, the route performs best when the movement is smooth.
Best Beads and Charms for More Meika
Prosperity Beads gives the most significant boost to the equipment. Your Meika from yellow Ether Crystals, including the rewards for Pots of Gold and Golden Maneki Neko, will be increased by a factor of two as a result of this. The Chishima Shrine must be unlocked by cleaning the Torii Gate to obtain the Prosperity Beads.

Next, use Astral Beads. Astral Beads I come from completing three quests for the Musical Nekomata found in Matsumi Shrine. The higher tiers depend on where you go next.
Astral Beads II come from the Doll Fanatic Nekomata near Namihara Shrine, and Astral Beads III come from the Archaeology Nekomata near Tatsui Shrine after finishing the full set of quests for that NPC.
For longer buff uptime, use Tanuki Hardiness Charm and Tanuki Hardiness Charm II. The first is earned after locating 10 Tanuki and doubles the duration of the temporary buff.
The second requires finding all Tanuki, and it triples the duration. Even if the effects are not fully multiplicative, using both gives much more time to search for Meika during each farming run.
Also, check our Ghostwire: Tokyo PC Review and other guides below:
- Ghostwire: Tokyo Beginner's Guide | Gameplay Tips & Tricks
- Ghostwire: Tokyo Guide | Best Early Skills To Unlock
- Ghostwire: Tokyo Guide | All Visitors, Yokai, and Bosses
- Ghostwire: Tokyo Guide | How To Cure Affliction Fast
- Ghostwire: Tokyo Guide | Fast Tanuki Locations, Jizo Statues, and Relics
- Ghostwire: Tokyo Guide | How To Get The Fallout 4 Vault Suit
- Ghostwire: Tokyo Guide | Shibuya Kagerie 24th Floor Relic Location
- Ghostwire: Tokyo Guide | Forlorn and Forsaken Locations
- Ghostwire: Tokyo Guide | Musical Nekomata Relic Locations
Contributor, NoobFeed
Latest Articles
No Data.