

Sea of Thieves Guide | Solo Player Tips & Tricks
Here's everything you need to know about how to survive solo in Sea of Thieves
Game Guide by Ornstein on Aug 03, 2025
Navigating the treacherous waters of the Sea of Thieves alone can be daunting. As a solo sailor, you are responsible for every task—from steering your vessel to fending off enemy attacks. This guide distills five essential lessons to help you master solo play.
With these tips, you'll learn how to prepare correctly, make the most of your Sloop's strengths, go on the offensive, defend against boarders, and use key finishing moves to win games.
Lesson One: Preparation
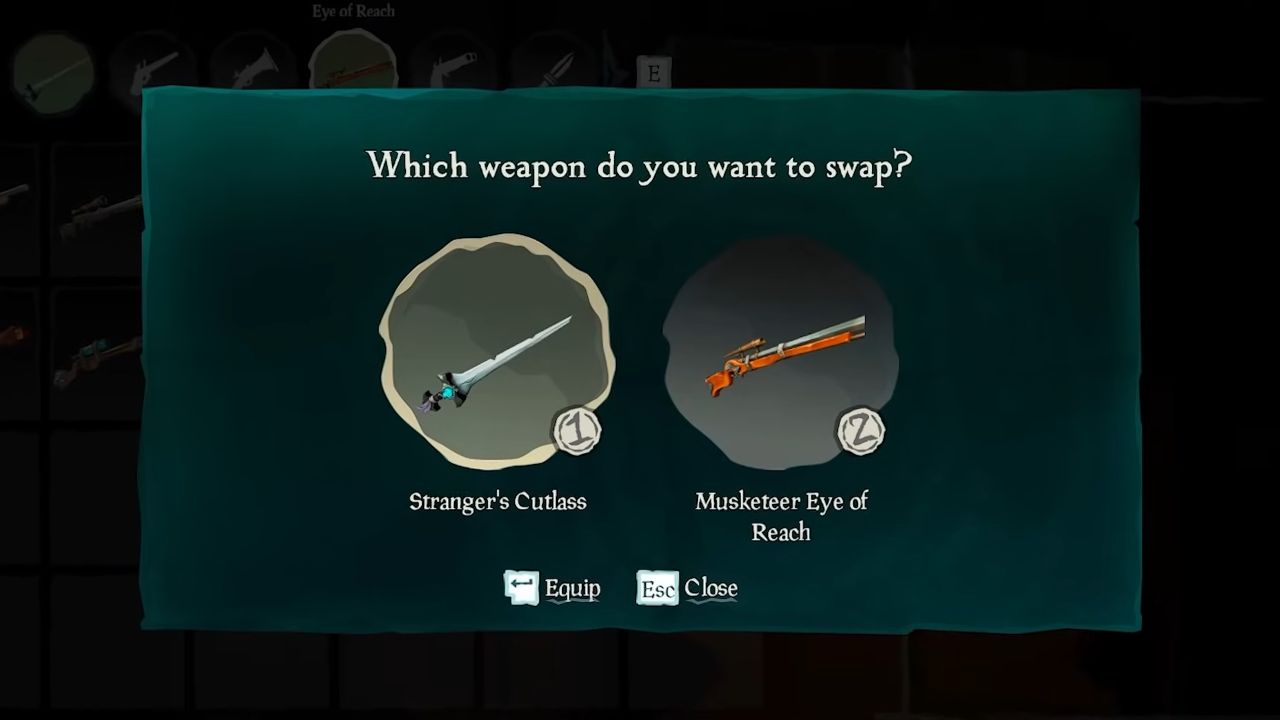
Choose what weapons you will bring before you set sail. Always pick the Sword and Sniper because they can both fight close up and far away. The Sniper excels at long to medium distances, while the Sword, paired with Blunder Bombs, handles close-quarters combat.
Practice switching tactics: if an enemy wields a firearm, close in with your Sword; if they brandish a Blunder Bomb or cutlass, keep your distance and pick them off with the Sniper and Blunder Bombs.
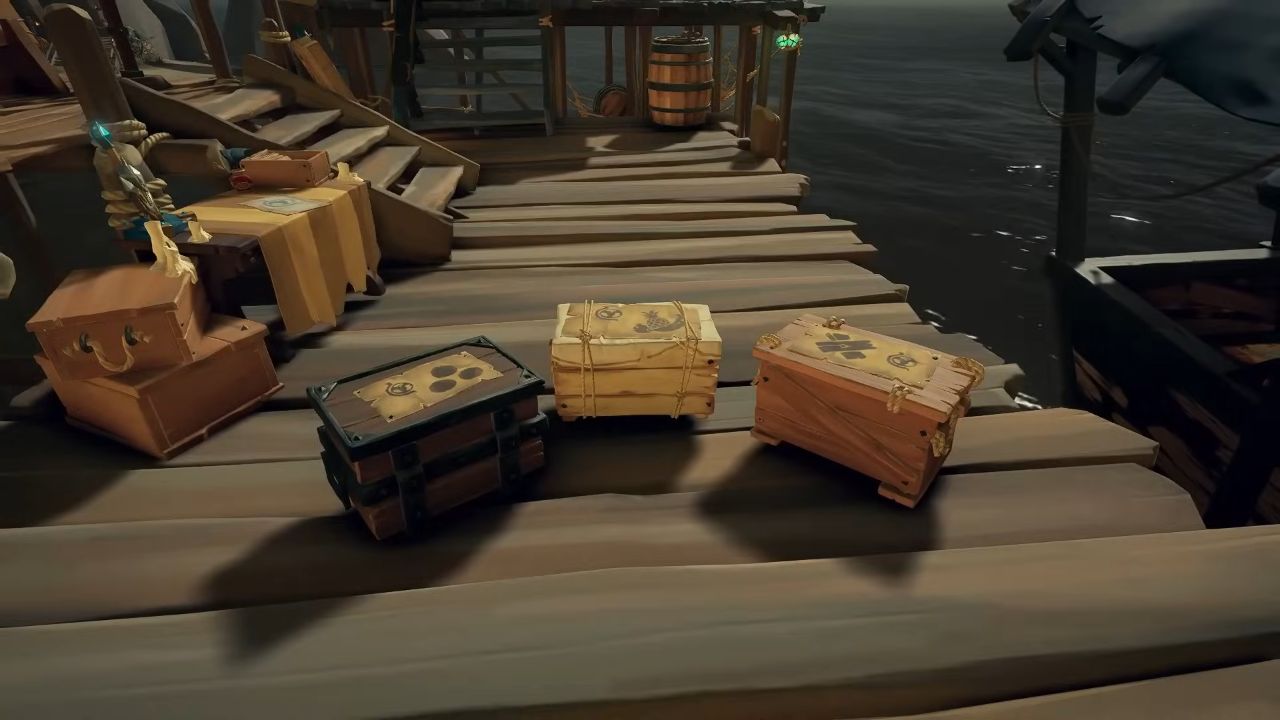
Next, stock up on supplies every time you dock. Purchase Wood, Cannonballs, Fruit, and Storage Crates from the merchant. Transfer supplies into your Storage Crates, then siphon extras from nearby barrels. Position one Storage Crate directly behind your left-side Cannon for quick reloading during naval combat.
Surround that Cannon with empty crates to form a Turkey Wall, preventing enemies from harpooning you off the deck. Finally, make sure you keep any grubs you catch in your collection. They only heal you a little, but they can save you in a pinch.
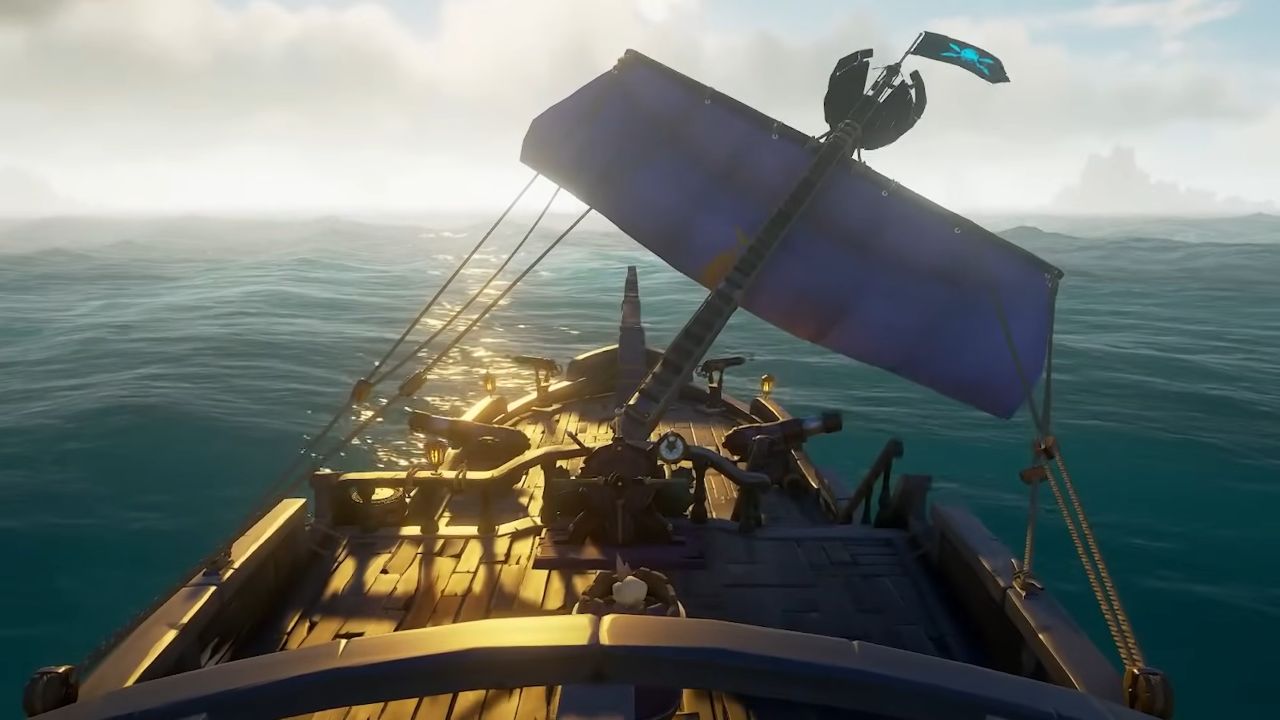
Lesson Two: Sloop Strategies
Your Sloop is faster and easier to turn than other boats. When you sail up against another Sloop, set your mainsail to half or three-quarters to get the best mix of speed and turning ability.
If your opponent keeps full sail, match them to avoid being outmaneuvered, and pepper their crew with Sniper shots to delay their maneuvers.
When facing larger vessels, close in quickly and unpredictably to avoid broadside volleys. As soon as your enemy's hull is breached or their anchor is dropped, apply pressure by staying alongside and firing into their lower deck.
Avoid relying on Blunder Bombs against the enemy's cannon line unless their anchor is down; cannonballs are more reliable. Always present your left side to the foe, since that side can sustain fewer holes, and any fallen debris tends to land on the right, keeping your Cannon clear. Finally, when needing to retreat or reposition against the wind, angle your sails toward the wind's direction— a change introduced in a recent update that restores windward speed to the Sloop.
Lesson Three: Offense
First impressions matter: open with a volley at the enemy's cannon line using Cannonballs to disrupt their gunners. Follow up with Chain Shots to immobilize the ship; if unavailable, target individual masts with three well-placed cannonballs each.
As opponents attempt to escape your firing angle, perform a "death spiral" by raising your sail and turning partially so your vessel circles them, then resume cannon pressure to knock crews off the wheel, masts, and cannons.
When close enough, use the Harpoon to pull a lone sailor into the sea, reducing their numbers and shifting odds in your favor. Before boarding, ensure your ship has no holes and a clear path, and confirm the enemy vessel has more damage so it sinks quickly after your assault.
If confident, board to drop their anchor, then return to your Sloop to continue the spiral. As a distraction, put a monkey in your Cannon to make it look like a crew member is flying. This will make your enemies rush, giving you valuable seconds to fire.
Lesson Four: Defense
When a boarder ascends your ladders, intercept them with a Blunder Bomb before they reach the deck, or execute a well-timed sword lunge at the ladder's bottom rung.
If forced into melee, remain on the top deck; venturing below traps you in chokepoints where you become vulnerable to bombs or Sniper fire through grated planks.
To confuse pursuers while bailing water, put a bucket beside the map table so you can drop into the sea and reboard quickly.
Advanced movement techniques—such as the Ladder Juke, in which you jump onto an Ammo Crate and interact with the ladder from outside your window—allow instant repositioning. Alternatively, drop off the side of the Sloop onto the ladder to foil chasers.
Prioritize maintaining cannon angle and delivering return fire over constant repairs; only fix holes when out of the enemy's line of fire, then rush back to pressure them.
If caught in an enemy death spiral, keep your left side toward the foe and juggle repairing with firing until escape is possible.
Lesson Five: Final Tips
Always carry Blunder Bombs, as they are indispensable in both offense and defense. Maintain at least 75% health to avoid instant death from a lucky Sniper shot. Do not shy away from disengaging to repair; prolonging the fight can be more advantageous than risking a quick defeat.

In hand-to-hand combat, never stand still—jump, run, and strafe like a caffeine-fueled rabbit to remain unpredictable. By incorporating these final tips, you will elevate your solo Sloop play from mere survival to outright mastery.
Also, check our Sea of Thieves Review and other guides below:
- Sea of Thieves Beginner's Guide | Gameplay Tips & Tricks
- Sea of Thieves Guide | PVP Tips & Tricks
- Sea of Thieves Guide | Best Weapons in the Game
- Sea of Thieves Guide | How to Level Up Golden Hoarders
- Sea of Thieves Guide | How to Use the Sloop
- Sea of Thieves Guide | How to Level Up Merchant Alliance
- Sea of Thieves Guide | How to Level Up Order of Souls
- Sea of Thieves Guide | How to Level Up Reaper
- Sea of Thieves Guide | How to Level Up Hunter's Call
Contributor, NoobFeed
Latest Articles
No Data.