

Sea of Thieves Guide | How to Use the Sloop
Using a Sloop goes a long way, and here is everything you need to know about how to use it effectively.
Game Guide by Ornstein on Aug 05, 2025
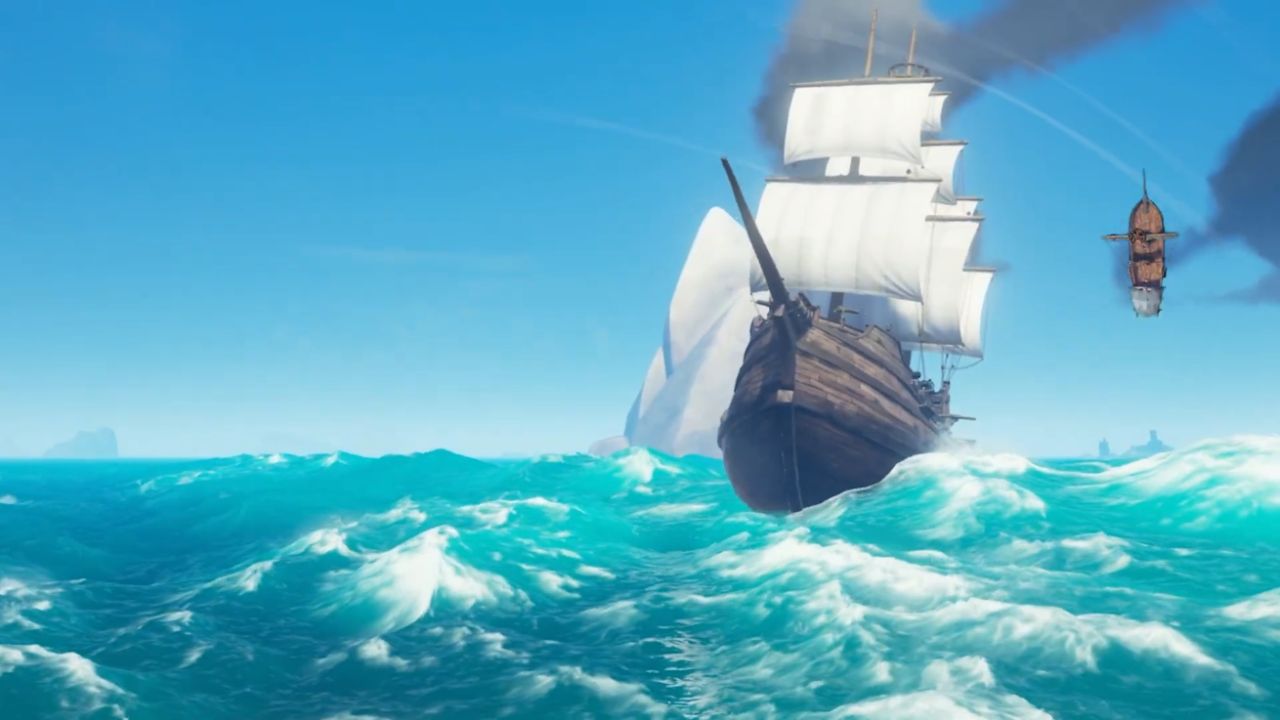
Mastering the Sloop as a solo sailor in Sea of Thieves demands finesse, quick decision-making, and knowledge of every trick in the book. In this guide, you will learn how to outfit your ship, exploit its unique strengths, and outmaneuver larger crews.
By following these organized lessons, you'll be able to turn the Sloop's flaws into strengths and make it through even the roughest waves.
Lesson One: Preparation

You need to choose the right Weapon Loadout and stock up on goods before you set sail. You need to have both the Sword and the Sniper on.
The Sniper does significant damage from long to medium range, and the Sword works great with Blunderbombs for close fighting.
If your enemy has a pistol or a sniper rifle, close the gap with your Sword. If they use a blunderbuss or a cutlass, stay back and kill them with your Sniper.
Next, purchase Captain Supplies—Wood, Cannonballs, Fruit, and Storage Crates—from any merchant. Fill a Storage Crate with supplies and position it behind your left-side cannon for quick reloads during battle.
Use the remaining crates to build a Turkey Wall around the same cannon, preventing enemies from harpooning you off the ship.
Finally, carry any Grubs you find; while they restore minimal health, they can be a lifesaver when you're out of food, and they let you puke to blind pursuers.
Lesson Two: Sloop Strategies
The Sloop's greatest asset is its agility. When dueling another Sloop, sail at half or three-quarter speed to weave turns and land shots; match a Full Sail opponent's speed to prevent being outflanked.
Keep your Sniper loaded and fire occasional shots to disrupt their aim. Against larger vessels, use hit-and-run tactics: stay unpredictable, engage briefly to inflict holes, then retreat before their cannon crews can react.
Once they're damaged, wait for their anchor or mast to drop and close in to apply further pressure.
Always present your ship's left side to enemies. The left side can sustain fewer holes, and falling masts land to the right, keeping repairs fast.
Lastly, sloops can sail against the wind fastest when their sails are pointing in the direction of the wind. This lets you kite enemies or go back to fix your ship without slowing down.
Lesson Three: Offense
Your opening salvo sets the tone for any engagement. Begin by targeting the enemy's cannon line with Cannonballs to force their crew off the guns.
Then employ Chain Shots to topple their mast and immobilize them; if unavailable, fire three Cannonballs into the mast's base.
When they attempt to flee, execute the Death Spiral: raise sail, turn halfway, and reevaluate into them to rain cannon fire as you spin. Focus on knocking crewmates off the Wheel, Mast, and cannons to cripple their response.
To further tilt the odds, you can harpoon a lone opponent overboard and eliminate them, delaying repairs.
If you plan to board, ensure your ship is free of leaks and won't ram anything; only attempt boarding when your opponent's boat has more holes than yours.
Alternatively, you can board to drop their anchor, return to your Sloop, and resume the Death Spiral—though only if you're confident in your PvP skills.
A final offensive trick is launching Monkeys from your cannon: their screeches mimic player screams, causing foes to scramble for ladders and granting you precious seconds for a one-ball kill or to reposition.
Lesson Four: Defense
Defending a Sloop alone demands rapid reactions. If an enemy boards via ladder, knock them off by lobbing a Blunderbomb at the climber.
Without Blunderbombs, time a Sword lunge to strike them off the ladder just as they reach the deck.
If you miss, interact with the Wheel and release it to avoid the lunge cooldown, keeping them off balance.
Should an intruder make it aboard, stay on the top deck—venturing below traps you for easy long-range picks. Bucket next to the Map Table when under attack to constantly refill from the water.
Use advanced movement techniques like the Ladder Juke—hopping on an ammo crate and interacting with the ladder to instantly return to the top deck, or dismounting the ladder on Sloop's side to confuse attackers.
Contrary to instinct, repairs aren't always your top priority. Focus on maintaining cannon angle and pressure; only patch holes when outside the enemy cannon range. If caught in their firing arc, unload 20–30 Cannonballs before repairing.
When they press you, turn opposite their course to escape; you'll tank some shots, but as long as your mast remains standing, you'll survive.
If trapped in a Death Spiral, pray for a window to align your left side, balance repairs with cannon fire, and attempt to break free. Even if you're sunk, you'll know you fought admirably.
Lesson Five: Final Tips
Blunderbombs are indispensable—always carry them. Keep your health above 75% to avoid being one-shot by a Sniper. Don't fear tactical retreats to repair; prolonging the fight often wins more than a reckless engagement.
In a boarding battle, you should never stay still. Instead, you should jump, strafe, and sprint like a nervous rabbit to remain unpredictable.
If you learn these skills, you'll be able to handle any task on the Sea of Thieves as a strong solo Sloop captain.
Also, check our Sea of Thieves Review and other guides below:
- Sea of Thieves Beginner's Guide | Gameplay Tips & Tricks
- Sea of Thieves Guide | PVP Tips & Tricks
- Sea of Thieves Guide | Solo Player Tips & Tricks
- Sea of Thieves Guide | Best Weapons in the Game
- Sea of Thieves Guide | How to Level Up Golden Hoarders
- Sea of Thieves Guide | How to Level Up Merchant Alliance
- Sea of Thieves Guide | How to Level Up Order of Souls
- Sea of Thieves Guide | How to Level Up Reaper
- Sea of Thieves Guide | How to Level Up Hunter's Call
Contributor, NoobFeed
Latest Articles
No Data.