
Warframe Beginner's Guide | Gameplay Tips & Tricks
Starting on Warframe? Here are some tips and tricks to help you get started.
Game Guide by Faviyan Mustafiz on Aug 03, 2025
Warframe can be a challenging game unless you learn its essential mechanics, equipment choices, and progression strategies. Those new to the game, each chapter in this guide will help you to understand a key aspect of the early Warframe experience, offering clear explanations and actionable advice.
By following these steps, you'll establish a strong foundation for your journey through the Origin System.
Beginning Your Warframe Journey (Which Frame to Start With)
At the outset, you must choose one of the three starter Warframes. Each frame is relatively easy to acquire early on, so if you later decide you prefer a different style, you can farm another one without much delay.
Excalibur excels in melee combat, featuring a passive 10% bonus to attack speed and damage with melee weapons.
Its Slash Dash closes the gap between you and enemies, Radial Blind disables foes, Radial Javelin strikes at range while snaring targets, and Exalted Blade summons a powerful energy sword that scales with your mods. If fast-paced melee is appealing, Excalibur offers excellent synergy.
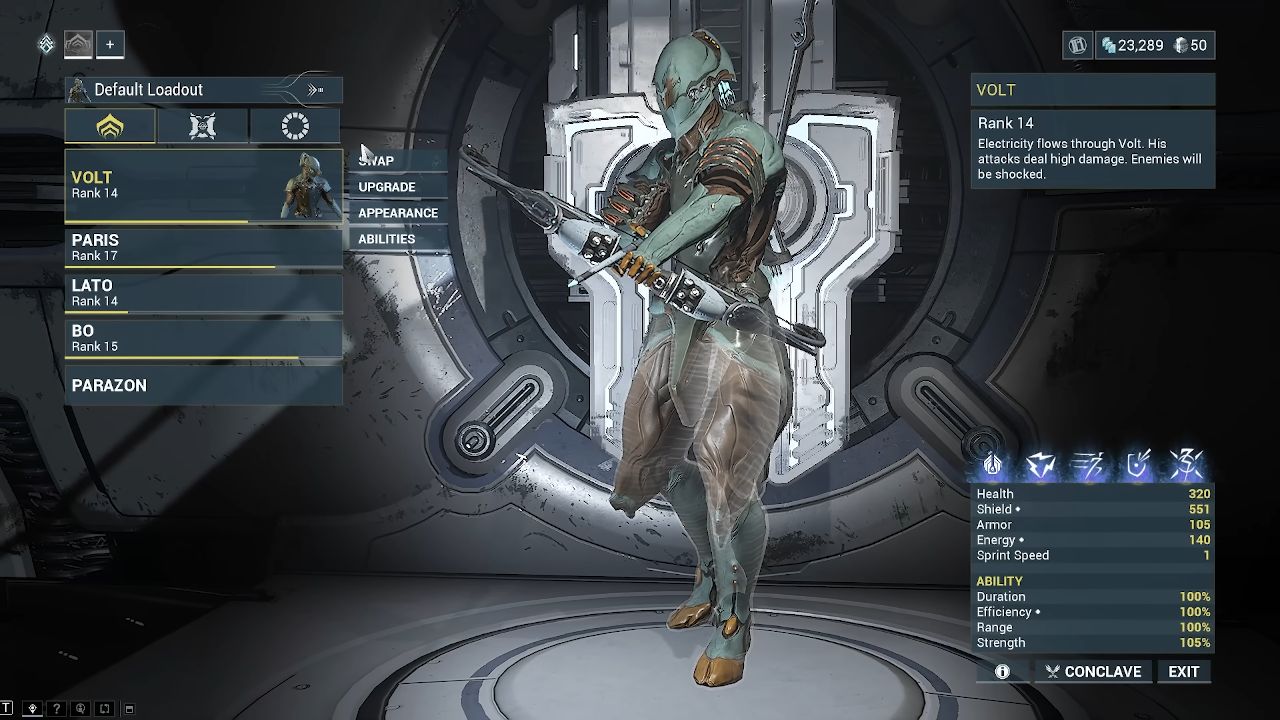
Volt focuses on speed and utility. Its passive charges electrical damage based on distance traveled, and Shock stuns targets with area damage. Speed boosts your movement and reload rates, while Electric Shield enhances weapon damage when firing through it.
Discharge delivers a radial stun and damage effect. If you value a mix of burst, crowd control, and mobility, Volt provides versatile tools.
Mag is ability-centric, with a passive that vacuums pickups in an 8 m radius. Pull gathers and stuns enemies. Magnetize can either snare and damage over time or, when held, generate a protective shield that absorbs and reflects damage.
Polarize drains enemy shields and armor while restoring your own, and Crush inflicts area damage to clustered foes. Mag excels at crowd control and support, though energy management is important.
Choose the frame that seems most fun, knowing you can easily acquire the others within your first week.
Warframe Settings
Customizing your settings can significantly enhance comfort and performance. Lower the default camera sensitivity to a level that feels natural, then adjust rifle and Archwing sensitivities later if needed.
Enable "Melee with Fire" input to use your mouse button for melee attacks, improving ergonomics. Under Interface, set the mini‑map rotation to fixed so north remains upward.
In Video, maximize Field of View for a wider perspective, and disable Motion Blur, Depth of Field, Distortions, and Film Grain for a cleaner appearance.
In Accessibility, enable "Manual Trigger Weapons" to convert tap‑to‑fire weapons into automatic firing, disable screen shake for steadier visuals, and apply a subtle enemy highlight to spot foes in dark areas.
These adjustments serve as a starting point—an experiment to discover your ideal configuration.
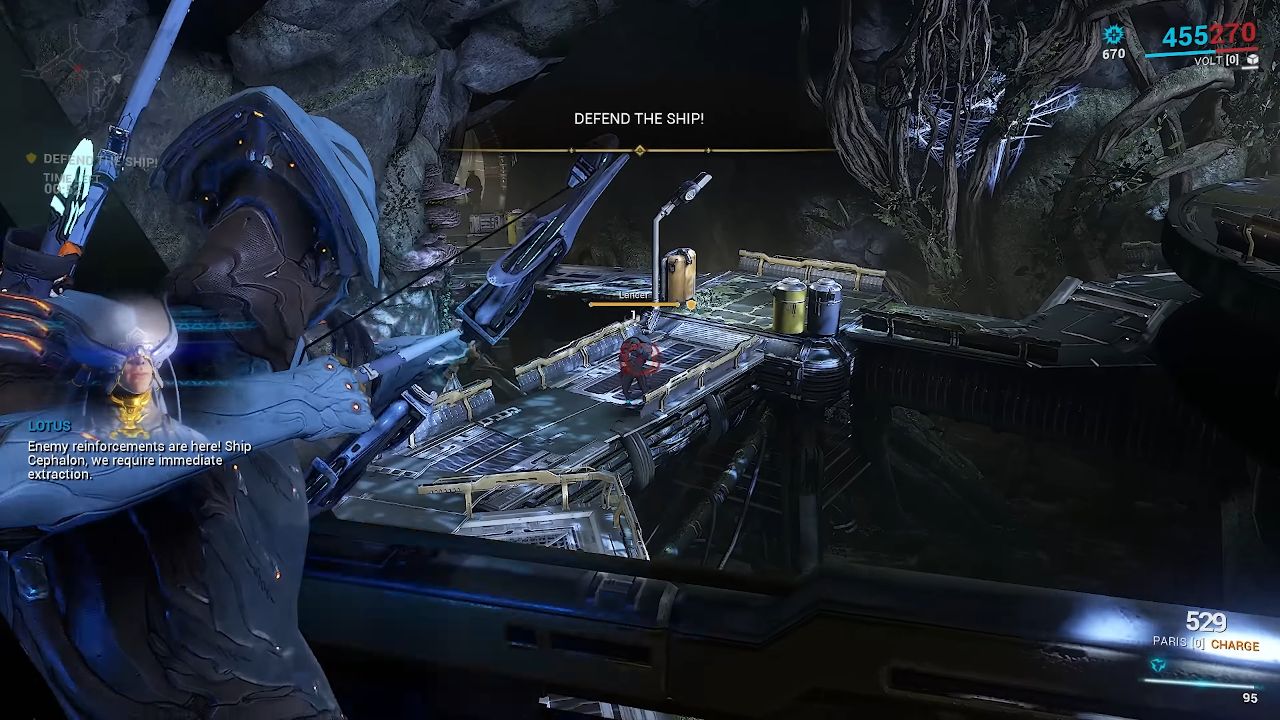
The Introduction Mission (Objective, Movement, and Choices)
Your first mission introduces the tutorial quest, guided by colored markers: yellow for objectives, red for targets, and green for extraction.
You will also experience the core movement mechanics: Bullet Jump (crouch plus jump), Slide (sprint plus crouch), Aim Glide (hold aim mid‑air), and Dodge Roll (tap roll or sprint).
Combining these moves—for example, slide into bullet jump, double jump, aim glide, then roll—maximizes traversal speed. Experiment with wall ledge interactions by aiming at walls to hang and reposition.
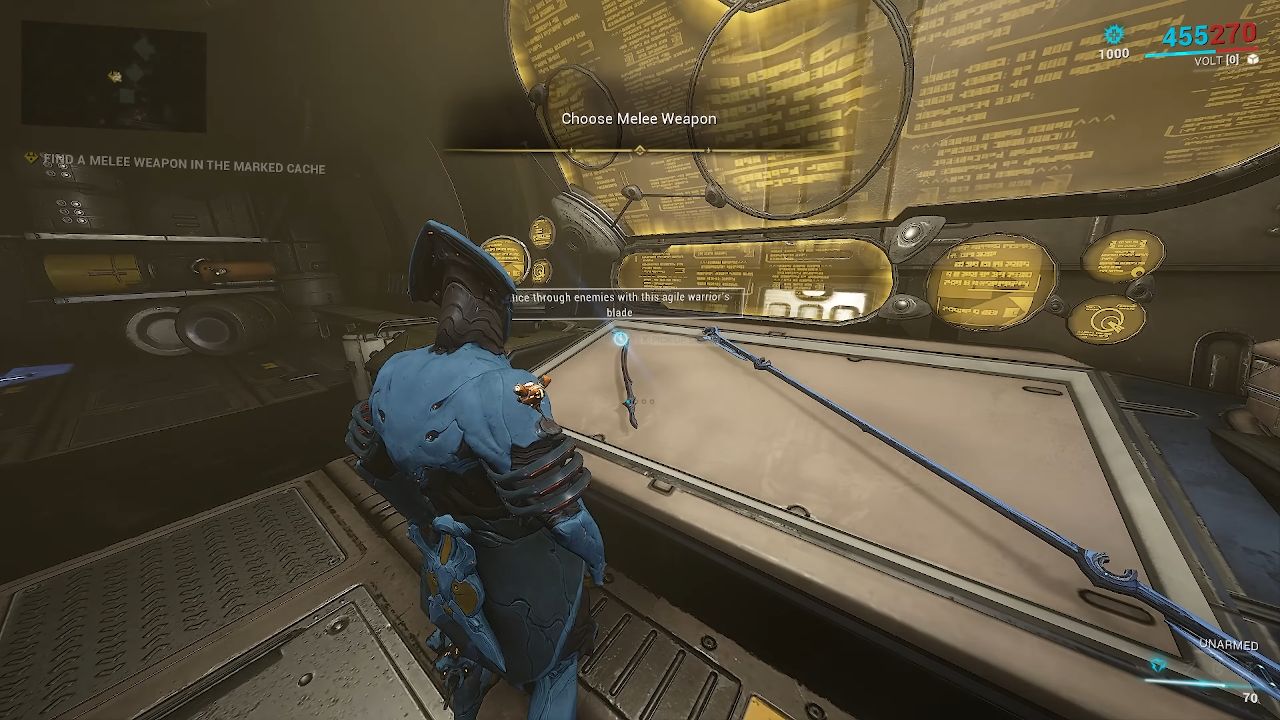
When prompted, choose your melee, secondary, and primary weapons from the intro mission offerings; these selections are temporary, as all starter weapons can be purchased later for credits.
For melee, consider Bow Star; if you choose Excalibur, a sword may better leverage its passive. Secondary and primary choices are less critical early, so select what feels best.
The Orbiter and Main Systems (Daily Tribute, Inbox, Arsenal, Navigation)
Upon mission completion, you arrive in the Orbiter, your base of operations. The Daily Tribute grants login rewards, with milestone bonuses every 50 days. Missed days do not reset your count.
Enable crossplay to trade and play across platforms. Check your Inbox (Communications menu) for rewards, including a 7‑Day Affinity Booster if you used a referral link.
In the Arsenal, you can customize loadouts, swap appearances, and—once unlocked—install the Mod Station.
Initially, only basic weapon slots are available; blueprints cost credits, while platinum weapons should be avoided early. Save your starting platinum for additional frame and weapon slots.
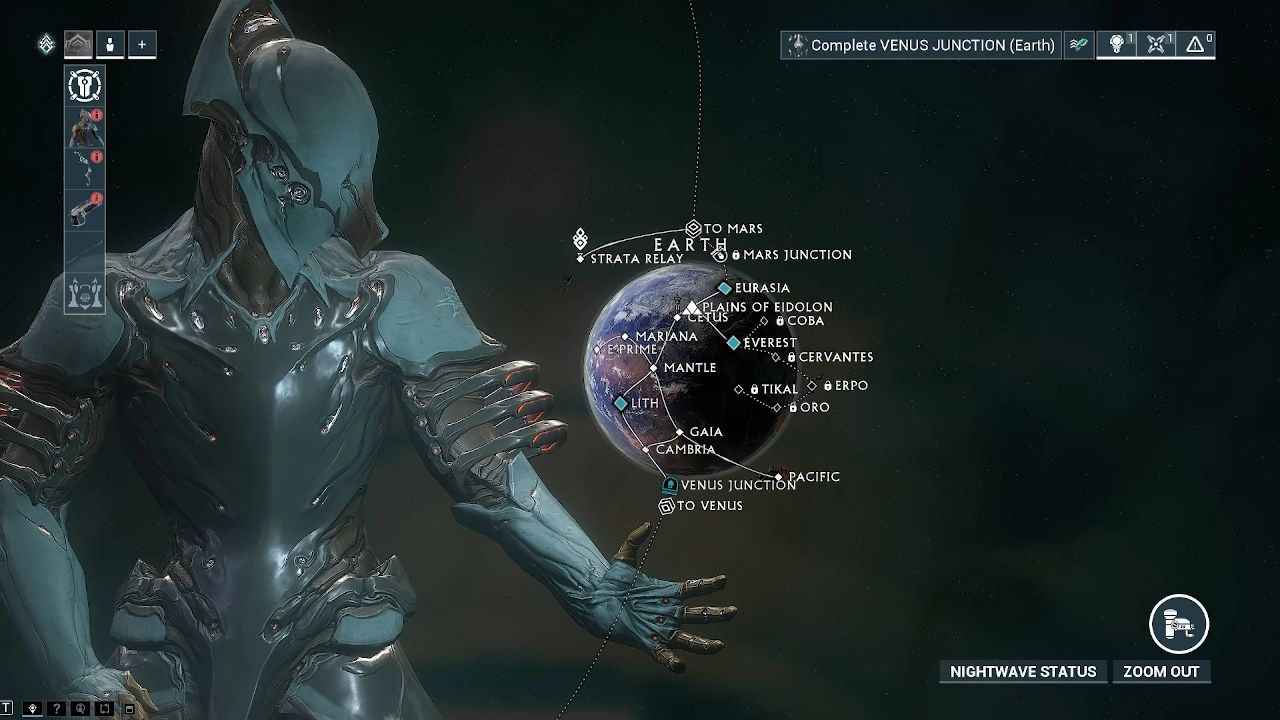
At the Navigation station, the Star Chart displays mission nodes; complete junction nodes to unlock new planets. You may also "taxi" with friends to nodes you haven't unlocked yet.
Restoring the Orbiter, Codex, and Looting Resources
Continuing the quest on Earth, you will collect Mod Segments and Foundry Segments to install essential Orbiter systems. Destroy loot containers and Orokin Caches during missions to gather resources.
Completing missions yields mods, credits, and resources, and you'll earn Codex Fragments to restore the Codex Station.
The Codex comes with lore entries and mission information. So, explore its Training and Mission tabs to familiarize yourself with mechanics.
Vor's Prize – Mod Segment and Upgrading Weapons and Frames
The Vor's Prize quest introduces Davo, a rescue mission that unlocks the Mod Station. After rescuing Davo, install the station and access modding in the Arsenal.
Mod capacity is capped at 30 for level 30 gear, doubling to 60 with an Orokin Catalyst or Reactor.
Each mod has a polarity; matching slot polarities halves the cost, while mismatches increase it. Upgrade mods with Endo and credits, mindful that capacity costs rise with higher mod ranks. For now, equip basic mods to test functionality.
Finishing Vor's Prize – Foundry & Navigation Segment (Crafting Explained)
Completing Vor's Prize also grants the Foundry Segment, enabling crafting. Simply install it to access blueprints for weapons, gear, and resources. Hover over ingredients to see common drop locations.
Follow the quest to build the MK1 Braton in the Foundry, then retrieve the Navigation Segment to unlock full Star Chart access. With crafting and navigation in place, you can easily gather materials and expand mission options.
Saya's Vigil and Nightwave
Begin the Saya's Vigil quest on Earth to unlock the Venus Junction. Navigate to Cetus, speak with Konzu, and utilize the open‑world map and fast travel points. Along the way, you'll encounter Nightwave, Warframe's free battle pass.
Access Nightwave behind the Codex in the Orbiter and complete Daily and Weekly challenges to earn Standing, Nightwave Creds, and rewards such as Orokin Catalysts, reactors, cosmetics, and slots. Check the Nightwave shop regularly for rotating offers.
Junctions – Rushing to Get Your First Companion
Completing the Venus Junction grants the Taxon blueprint, your first companion equipped with vacuum loot functionality. You will also receive an Orokin Reactor blueprint, mods, and Venus access.
Craft Taxon in the Foundry—this takes 24 hours—so begin early. Narrows, required for crafting, appear on Earth, Lua, and Deimos; farm the Marianas on Earth until you collect at least one. Having a companion with a vacuum saves time gathering resources in future missions.
Mastery and Ranking Up Your Mastery (Explained)
Mastery Rank reflects your overall progression. Leveling a Warframe or weapon to 30 for the first time grants Mastery XP—6,000 XP per frame and 3,000 XP per weapon. View your breakdown under your Profile tab.
To increase Mastery Rank efficiently, always level new gear to 30 once. Instead of selling weapons or frames, save platinum to expand your Arsenal with additional slots.
When you accumulate enough XP, a Mastery Test unlocks; each test varies in objectives, such as completing waves with only your primary weapon. Tests can be retried until passed, but you must wait 24 hours between attempts.
Joining a Clan (Clemmunity)
Joining a Clan grants access to trading, group resources, and Clan‑specific items. To join the Clemmunity, use the Discord invite provided by current members, then submit your in‑game alias in the "Invite to Clan" channel.
Once officers approve, accept the invite in your Warframe Inbox. Craft a Clan Key in the Foundry to enter the Dojo, where you can benefit from research labs, trading posts, and collaborative crafting projects.
Recommended Next Steps: Farming Spy Missions
While waiting for Taxon or mastering new gear, tackle the Earth Spy mission, Cambria. Complete all three vaults without detection to earn Rotation C rewards, which include valuable mods like Vigilante Armaments, Frost, or Volcanic Edge.
Farming these missions early provides powerful mods to enhance melee and ranged builds as you progress.
Contributor, NoobFeed
Latest Articles
No Data.