
Destiny 2: Renegades Guide | How to Get the Praic Blade Exotic Sword
A fast, step-by-step walkthrough to unlock the Praic Blade on Legendary, with clear tips for every puzzle and boss phase.
Game Guide by Faviyan Mustafiz on Dec 10, 2025
The Praic Blade—often nicknamed the lightsaber—lands as a headline Exotic in Destiny 2: Renegades. You earn it by completing an Exotic mission woven into the Renegades campaign, not from a random drop.
That means you must clear the chapter where the quest log tells you to visit the Praic Temple with Aunor. The mission demands tight movement, smart add control, and quick puzzle reads, especially on Legendary. This guide walks you through every step in simple language so you can clear it cleanly and claim the Praic Blade with confidence.
How to Start the “Fire and Ice” Mission
When your quest tracker shows step 33/45 and points you to the Praic Temple with Aunor, launch the mission marked Fire and Ice. Push into the Imperium Base ahead. Defeat the Doorkeeper to acquire the door codes, then input the codes to open the main gate.
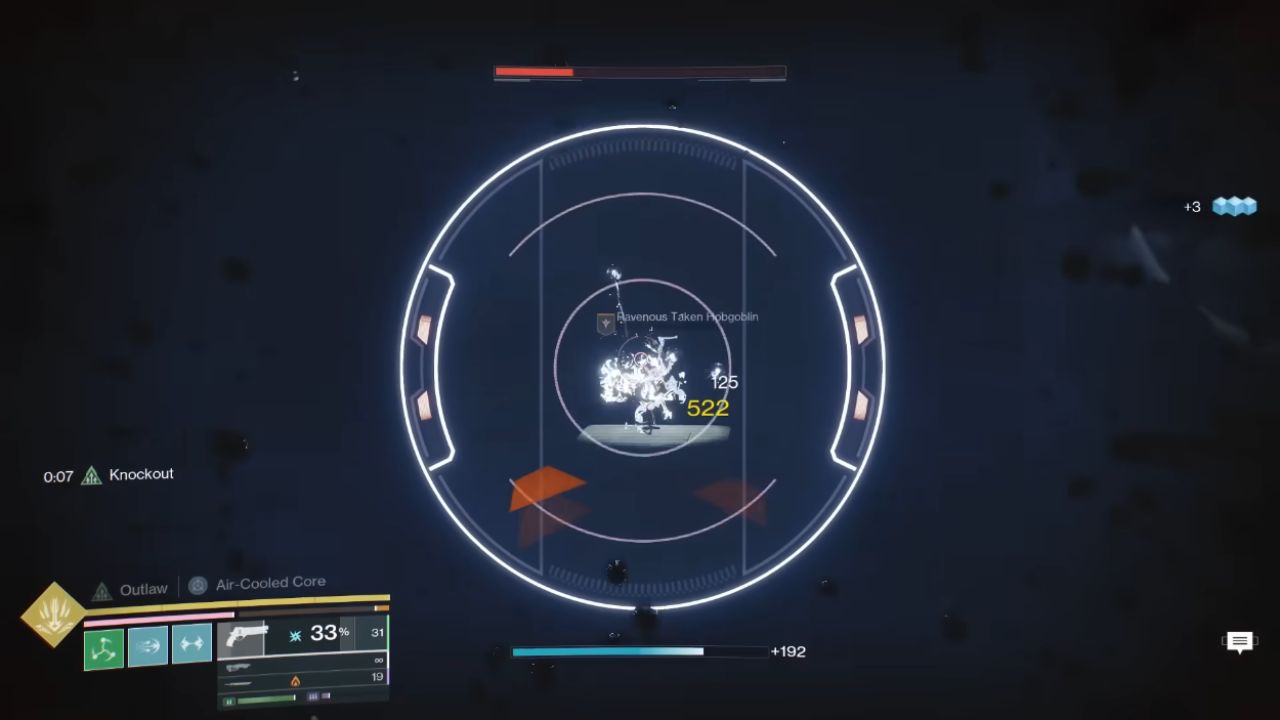
Enter the next chamber and clear the Taken wave, including the Taken Ogre. A portal opens; step through and pick up the Imbalanced Octant to progress. From here, head to the central spire, climb up, then drop through its center to reach the traversal section that follows.

Finding the Hidden Route Through the Exterior Wall
Follow the ledges in front of you until you reach a towering outer wall. Crouch and sidle along this wall while avoiding push-trap protrusions that try to knock you off. Hug the route to the end, make the jump around the far corner, and land safely.
Double back on the upper ledge above the same path you just traveled. Aim for the midsection where another push-trap hides the real route; slip behind it to find the concealed corridor that moves you forward.
Mastering Disappearing Block Symbols
The next space teaches a core mechanic. Touching certain wall-mounted symbols makes the blocks holding those symbols vanish, letting you pass. Touching the wrong sequence loops you back to the room you started in, so watch your path.
Instead of dropping all the way down, veer into the side passage revealed near the symbol wall. This detour carries you into a maze of disappearing floors and gates. The trick is to probe quickly, note which gates materialize, and chain the real openings before they vanish. Expect a few resets, but keep momentum; speed helps you clear to the staircase that ends the section.
Vertical Climb and Backtrack Over the Vanishing Floors
Look to the side for broken wall columns that form a climbable route. Jump between the broken columns and rise toward the upper platforms. Continue into a tighter crawlspace, then balance along the upper beam.
This backtracks over the same disappearing-floor arena from above, now safe to traverse with care. Keep pushing until a glowing doorway appears ahead.
Pass through it, shoot the interactable object across the gap to open the path, and be mindful of Taken snipers lining the hall. Move past the last set of vanishing blocks and reach the stable platform on the far side.
The Tower Interior and the Imbalanced Octant Use
From the stable floor, leap across small jutting ledges and climb onto the underside rim of a massive tower. Enter the tower and ascend inside. Do not over-climb; drop one level lower than the highest landing.
Exit through the window and step across the bottoms of inverted pillars outside. These have just enough space to stand if you keep your footing steady. Cross to the next platform and interact with the device there to use the Imbalanced Octant.
A new portal opens; take the portal and rally at the Rally Flag to refill ammo before the first major encounter.
Energy Cleave Basics: How Light and Dark Motes Work
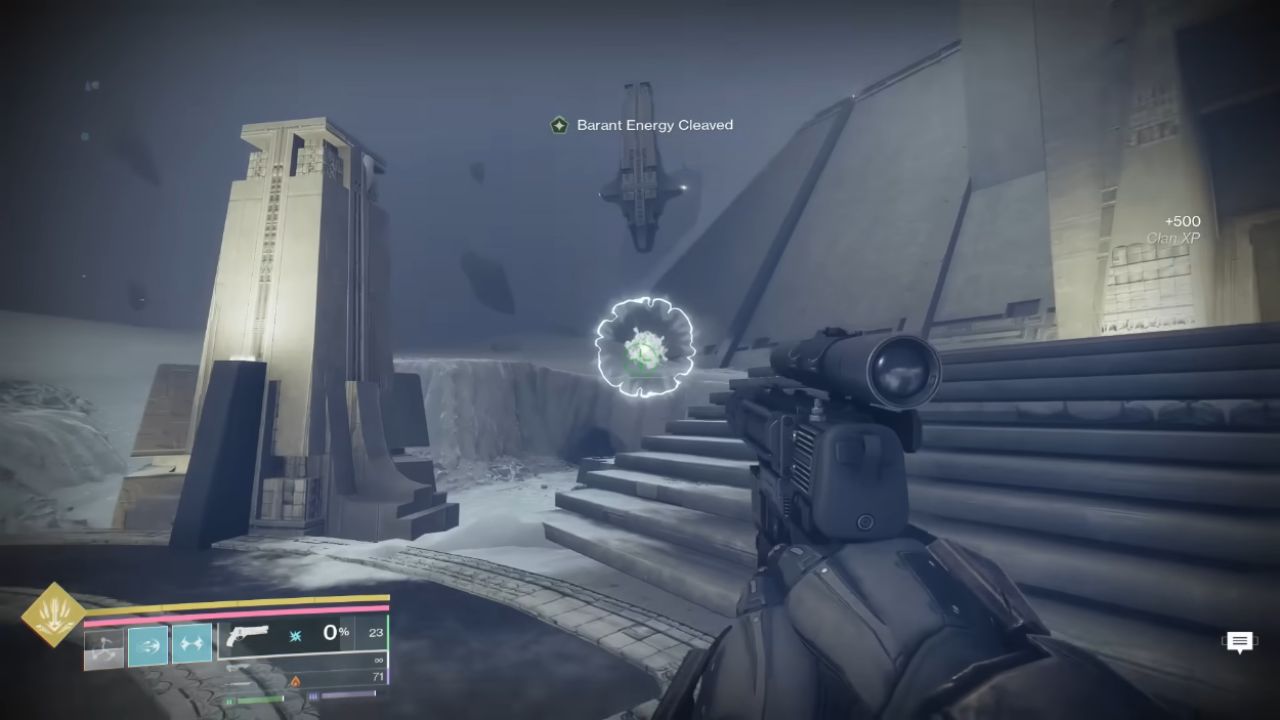
The first encounter teaches the “cleave” system and energy balancing. In the arena, look for Cleaved Imperium Centurions and Cleaved Taken Centurions.
Defeating one type grants a temporary energy alignment (for example, Barren Energy Cleaved), which determines the motes you’ll spawn from future kills.
If your current alignment is sourced from an Imperium foe, killing another Imperium centurion generates Light Motes; killing a Taken centurion generates Dark Motes. The reverse applies if the alignment comes from a Taken foe. In practice, do not overthink it.
If you need Light and you just spawned Dark, switch targets to the other faction and fix the flow. Interact with motes on the ground to pick them up, then throw them into matching receptacles around the arena—Light to white-lit receptacles and Dark to dark-lit receptacles.
The Balancing Rule for Deposits
Each element has two matching receptacles, and they must stay balanced. Dumping multiple motes into only one Light receptacle triggers a “tilt” warning and resets progress on that side. Keep the sides even by alternating throws: one for the left, one for the right.
Coordinate with teammates in callouts, or if solo, rotate your deposit points deliberately. Fill both Light receptacles evenly, then do the same for both Dark receptacles. When all four sides are topped off and balanced, the arena flips, ushering you into the next phase and eventually toward the boss fight.
Boss Encounter: The Disciple Of Harrow
The boss, the Disciple Of Harrow, arrives after the world inverts. The early health bars are straightforward DPS windows punctuated by shield gates. Damage the boss, then break Cabal shields that appear at set plate positions to open the next damage phase.
Repeat this loop to push the health down. Weapons with burst damage work well, but survivability and add clear matter more than raw peak DPS here because mechanics keep breaking up the burn phases. Keep moving, pre-clear the next shield location, and time your abilities for waves of reinforcements.
Final Health Bar: Reusing the Cleave Mechanic
The final health bar changes the rules. Instead of pure damage checks, you must redo the cleave-and-deposit mechanic with Dark Motes in the boss arena. Obtain the correct cleaved alignment first.
If you carry an alignment from an Imperium kill and need Dark, interact with the central device to spawn the opposite cleaved enemy, then defeat that enemy type to generate the motes you want.
Pick up Dark Motes and throw them into the matching Dark receptacles, again staying balanced between the two deposit points. Fill both to advance a short alignment sequence that spawns more cleaved enemies.
Repeat until the alignment completes and the boss becomes vulnerable again. With the shield down, finish the Disciple Of Harrow and wipe remaining adds to trigger the post-fight teleport.
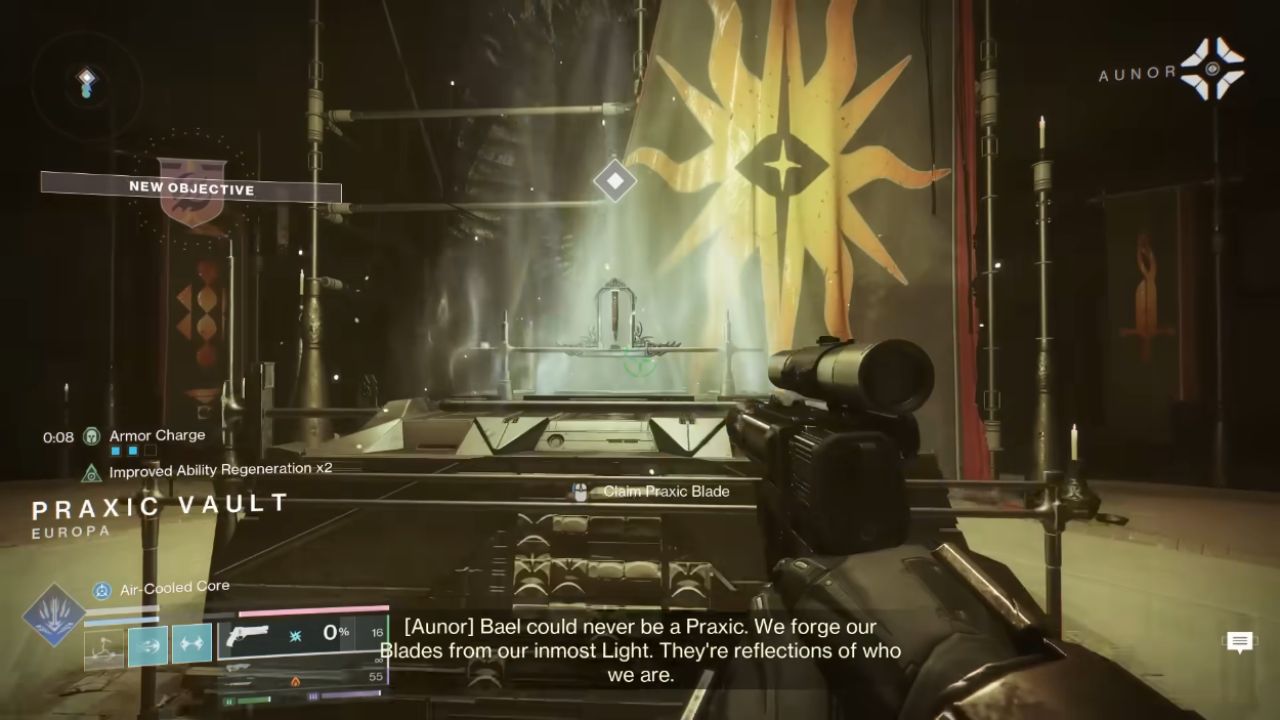
Claiming the Praic Blade
After the teleport, claim your Praic Blade from the reward altar. The initial blade color is random; you might see green while someone else gets blue. Inspect the weapon to preview additional color crystals and where they drop.
You will also see a deep upgrade board with cosmetic hues, stat enhancements, stance modifiers, and elemental keywords—effects that change your melee strikes, projectile throws, or guard blocks based on your Super element.
A Catalyst path sits there as well. Note these are long-tail unlocks and require separate chases; the mission gives you the Exotic and the testing arena, not the full suite of upgrades.
Post-Mission Test Area
Before the mission fades out, the game floods the area with special ammo so you can try the Praic Blade against fresh enemy packs. Use this brief arena to sample the guard timing, practice projectile throws, and feel the stance transitions.
Get a sense for tracking lunges and the distance on neutral light attacks, since those details decide how smooth the Exotic feels in strikes, seasonal activities, and endgame content. The mission ends soon after this sandbox; the Exotic remains in your inventory once the screen fades.
Legendary Tips: Surviving the Route and Puzzles
Legendary difficulty punishes sloppy platforming and slow puzzle reads. During the wall-hug section, pause a half-step before each push-trap and strafe past its path instead of sprinting through.
In the disappearing-blocks maze, keep your camera level and test gates in short bursts so you can reverse instantly if a panel vanishes. When climbing the tower, count landings to avoid over-climbing; dropping one level is easy to forget mid-fight.
In the cleave arena, anchor a simple rule—if the motes are wrong, switch enemy types—to cut confusion. Balance the deposits like clockwork: left, right, left, right. This rhythm keeps progress safe even with hectic add pressure.
Solo and Fireteam Considerations
The mission can be cleared solo, but a fireteam smooths every step. With multiple Guardians, assign roles: one person farms Imperium centurions, another farms Taken centurions, and a floater collects motes and deposits them in alternating receptacles.
During boss shields, split to preset plate spots so the shield breaks instantly. If solo, slow the arena down by clearing adds first, then spawning the enemy type you need for motes.
Carry only as many motes as you can safely deposit without risking a tilt. The balancing rule does not change with team size, so planning deposits makes runs consistent.
Weapon Progression and What to Chase Next
Earning the Praic Blade is only the start. The blade’s upgrade board includes color crystals, stance improvements, and elemental keywords that tailor the Exotic to your playstyle. Prioritize unlocks that match the activities you run most.
If you live in high-add content, consider keyword effects that strengthen guard and wide-arc light strikes. If you prefer boss damage, experiment with throw builds and stance nodes that tighten heavy inputs.
The Catalyst adds another layer and will require a focused pursuit later. Keep an eye on sources that list dark matter crystal drops for new colors, and plan a route that overlaps with your weekly pinnacles so your chase feels efficient.
Quick Recap
Start Fire and Ice from the Praic Temple step with Aunor. Clear the Imperium Base, defeat the Doorkeeper, and grab the Imbalanced Octant. Navigate the vanishing-block maze via the hidden side path, climb the broken columns, and backtrack over the arena from above to the glowing door.
Use the Octant in the tower, portal to the encounter, and learn the cleave system. Generate Light Motes from Imperium or Dark Motes from Taken based on your current alignment, then balance deposits across both receptacles for each element.
In the inverted arena, fight the Disciple Of Harrow and repeat the cleave mechanic for the final bar using Dark deposits. Finish the boss, teleport to the reward room, and claim the Praic Blade, then test it in the post-mission arena before extraction.
Why This Exotic Matters Right Now
The Praic Blade slots into current sandbox trends as a flashy, high-impact sword with customization that rewards practice. Its stance and elemental keyword flexibility make it a natural fit for seasonal modifiers that boost melee and Void/Arc/Solar/Strand interactions.
With strong crowd control and a learnable throw cadence, it bridges ad-clear and boss burn better than most swords. Unlocking it through the Renegades campaign ensures you add a reliable, scalable Exotic to your endgame toolkit the moment you finish the mission, making this chase one of the most valuable time investments you can make this season.
Also, check our Destiny 2: Renegades Review other guides below:
- Destiny 2: Renegades Beginner's Guide | Gameplay Tips & Tricks
- Destiny 2: Renegades Guide | All Praxic Blade Exotic Catalysts Locations & Time Trials
- Destiny 2: Renegades Guide | How To Use Heat Weapons (Blasters) Efficiently
- Destiny 2: Renegades Guide | Best Praxic Blade Titan Build (Unkillable Stronghold Prismatic Setup)
- Destiny 2: Renegades Guide | How To Max Syndicates Fast For Tier 5 Loot
- Destiny 2: Renegades Guide | How To Get Praxic Blade & Master The Equilibrium Dungeon
- Destiny 2: Renegades Guide | How To Maximize Weekly Shipments, Vanguard Alerts & Bright Dust
- Destiny 2: Renegades Guide | How To Beat The Renegades Legendary Campaign
- Destiny 2: Renegades Guide | Unkillable Praxic Blade Stronghold Titan GM Build
- Destiny 2: Renegades Guide | New Xur Exotic Weapons & Armors
- Destiny 2: Renegades Guide | How to Beat Equilibrium Dungeon
- Destiny 2: Renegades Guide | How to Farm Vanguard Alerts for Tier 5 Loot
- Destiny 2: Renegades Guide | Everything About Equilibrium Dungeon Contest Mode
- Destiny 2: Renegades Guide | Vanguard Alerts Best Loot Farm (Fast Tier 5 Rewards)
Contributor, NoobFeed
Latest Articles
No Data.