
Destiny 2: Renegades Guide | How to Beat Equilibrium Dungeon
Beat the Equilibrium dungeon fast with this short, clear boss and mechanics guide.
Game Guide by Faviyan Mustafiz on Dec 14, 2025
The Equilibrium dungeon in Destiny 2: Renegades takes you from Tharsis Outpost on Mars to a Cabal carrier in orbit, ending with the fight against Dredgen Sere.
You unlock it by talking to Aunor Mahal at Tharsis Outpost and then launching Equilibrium from the map. After dropping into the cave system and following the tunnel, you reach the first open arena and the encounter to board the Cabal ship Harvester.
Harvester Boarded – First Encounter
In the first arena, you start the encounter by interacting with the central prompt to board the Harvester. Around the outer ring you find three Cabal generators protected by large red Cabal Shields and guarded by Behemoths and a nearby Nameless Apprentice.
Stand near a generator so the Nameless Apprentice walks up and begins its explosion. When it charges, activate the console next to the generator to open the inner core, then let the explosion hit it. This destroys the generator and drops the connected Cabal Shield.
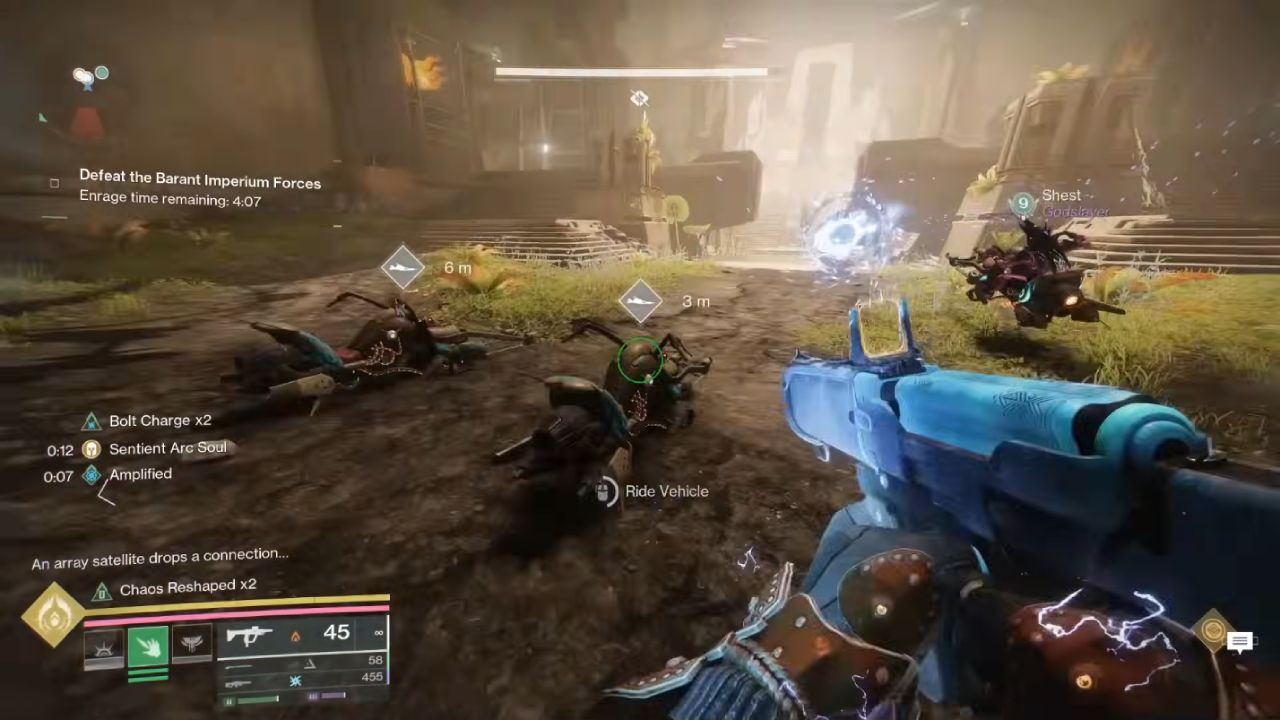
You repeat this on all three sides to unlock rooms with Falcons, the Lawless Frontier-style vehicles with mounted guns.
Once the side rooms are open, ride a Falcon or your own sparrow around the ring and drive through pools of Darkness to gain stacks of Gathering Shadow and the timer Creeping Shadows.
You must keep hitting new pools before Creeping Shadows runs out while filling the Gathering Shadow bar. When the bar fills, you gain the Shadow Novice buff, which replaces your grenade with a Darkness push that you swap through the same button used for your Renegades abilities in The Lawless Frontier.
Use Shadow Novice to interrupt and kill Nameless Apprentices as they charge explosions, while you also clear regular and red-bar Behemoths. Killing enough Nameless Apprentices with your shadow grenade and defeating the three strong Behemoths ends the encounter and drops the first chest.
Carrier Entry and Jumping Section
After looting, you board the Harvester again and ride up to the Imperial Carrier. Inside the ship, you follow a short path of vents, corridors, and small mechanical puzzles.
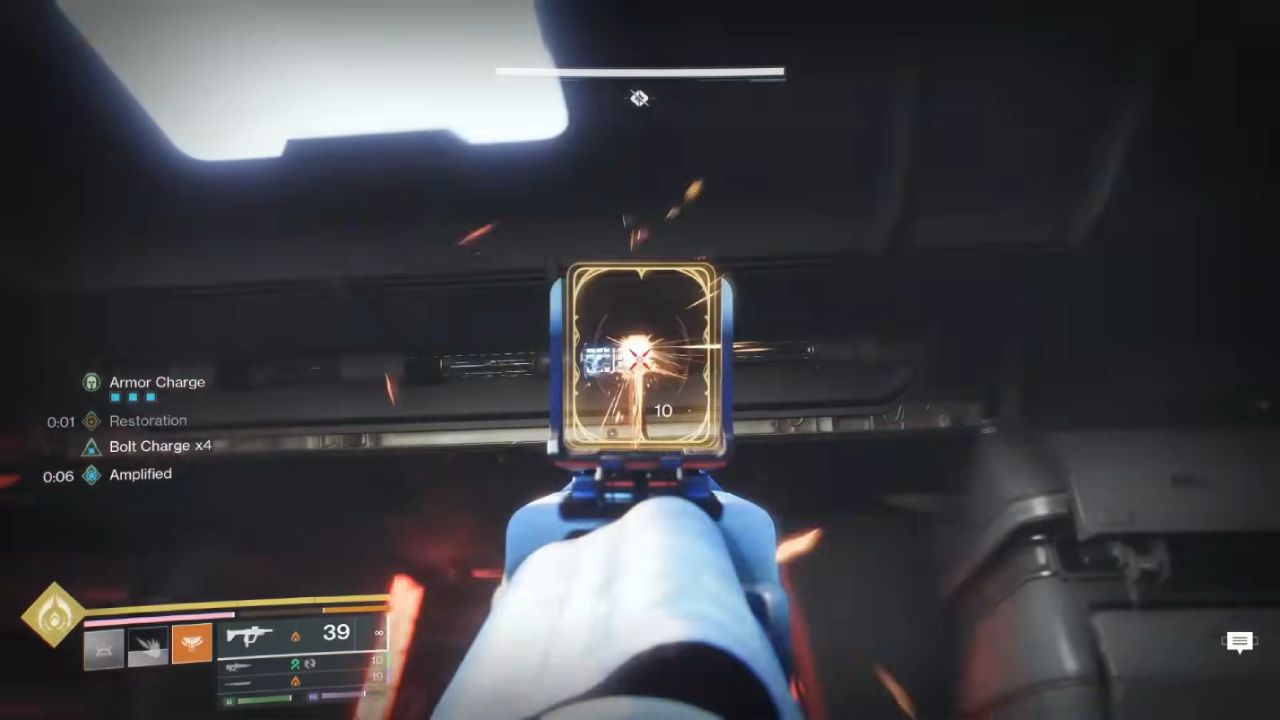
You shoot vents to crawl through, stack up with your fireteam at doors marked by three green lights, and destroy small power cores that open windows and remove Cabal Shields.
In the outer section, you cross open space where the carrier’s movement pushes you sideways, so you jump from safer left platforms or use movement tech to reach the other side.
You keep shooting cores and moving forward until the floor drops out beneath you and you fall into the arena of the next boss, Harrow.
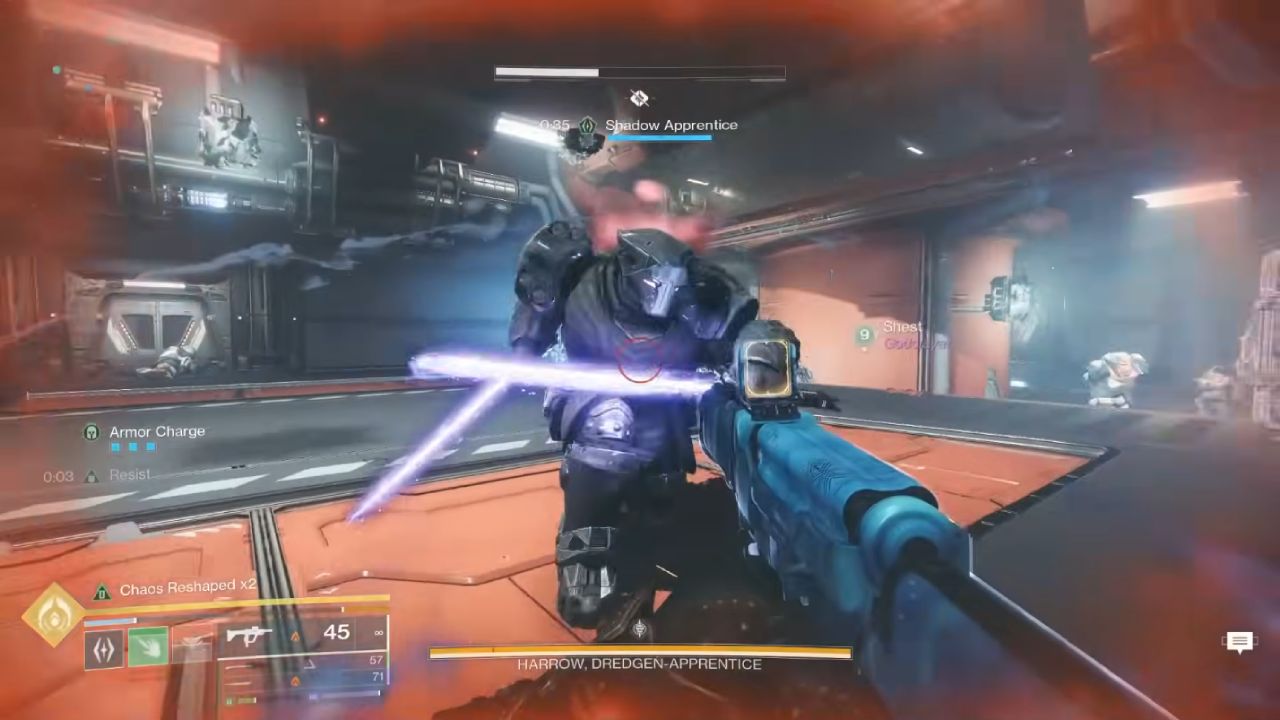
Harrow – Second Encounter
The fight with Harrow starts inside a dark central room. You are trapped at first, and enemies push in through the doors. Kill the enemies quickly and slip through the doors as they open, or you risk being locked in with Harrow.
Outside this room, you find three side chambers and outer halls filled with Scion Lackeys that drop Darkness pools. By collecting these, you build Gathering Shadow up to Shadow Novice, Shadow Apprentice, and eventually higher tiers.
While you explore, Harrow roams the outer area. When you see the debuff Harrow’s Decree, the boss is about to trigger a huge explosion. You can either run out of range or, if you have a shadow grenade from Shadow Novice or Shadow Apprentice, interrupt the explosion by hitting Harrow with it.
In each of the three outside rooms, three switches must be activated with your shadow ability; the panel on the exit door shows three lights, and all must be green before the room is complete. The switches reset if you are too slow, so you plan the route and hit them in quick order.
Back in the central arena, you use Shadow Apprentice to trigger more switches and power up electrical generators around Harrow. You drop Harrow’s shield by baiting him over trap floors that open when you shoot ceiling fuses, or by drawing his melee into powered generators so they explode on him.
After three shield breaks, the damage phase begins. Harrow is a melee boss, so close-range weapons like the exotic axe Wolfsbane or the lightsaber Praxic Blade, combined with debuffs and supers, work well. If Harrow survives, you repeat the room switches, generator traps, and shield breaks until he goes down.
Second Puzzle and Wall Climb
Once Harrow is defeated, you press deeper into the carrier and reach a room with another Behemoth and a central console. You kill the Behemoth, then activate the console to bring massive crane platforms online.
Jump onto the moving cranes to reach higher ship sections, clear more Cabal, and look for vents that mark the correct path. One vent route hides a collectible, while another continues the dungeon.
Eventually you exit to a huge exterior wall section where you can again build Shadow Novice and Shadow Apprentice from Darkness pools, then use platforms and ledges to climb the wall. At the top, you hit a switch that extends a huge bridge to the final arena and the last boss, Dredgen Sere.
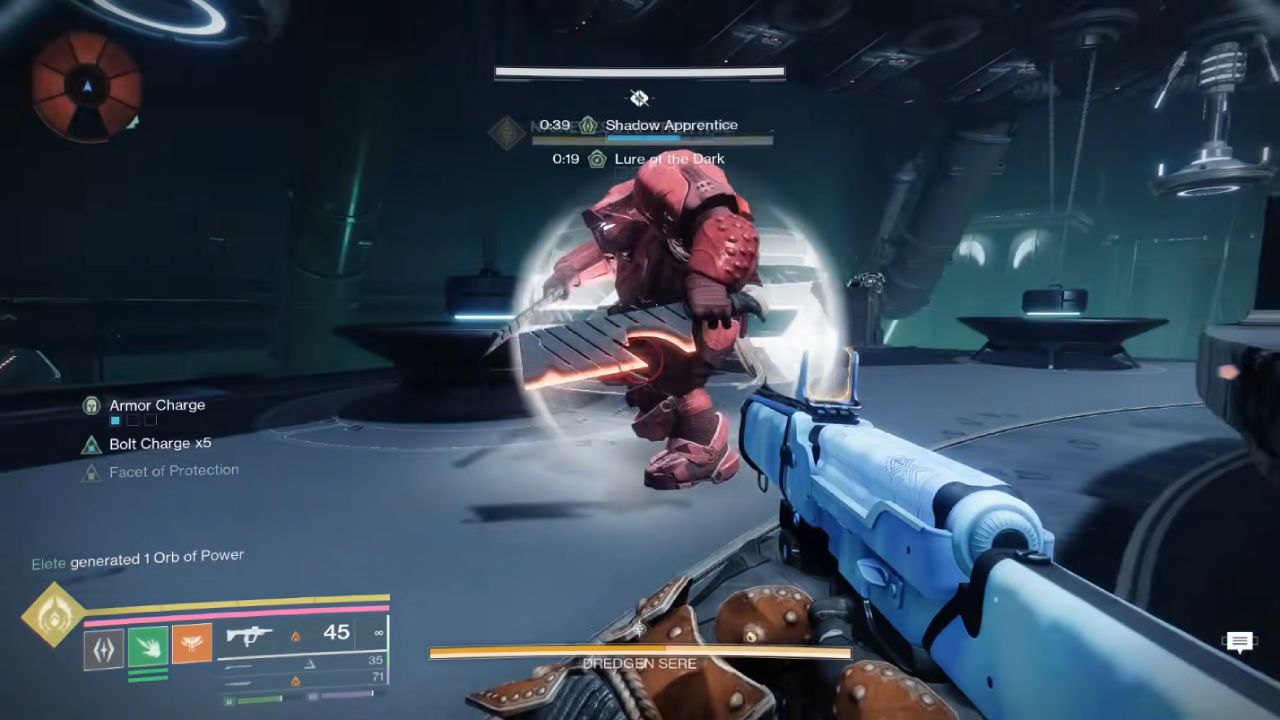
Dredgen Sere – Final Boss
The final encounter against Dredgen Sere revolves around lightning beams, dimensional swaps, and orb destruction. Dredgen Sere targets you or your teammates with a tracking lightning channel that cuts through cover. When this happens, you must shoot the boss’s hands to interrupt the beam before it kills you.
Behind Dredgen Sere, five central orbs hover in the normal arena, and a matching set exists in a shadow “upside-down” version of the room. At the top of your screen, the timer Lure of the Dark counts down with several small squares underneath. When the timer reaches zero, you teleport between the normal and shadow arenas.
In both dimensions, you kill Scion Lackeys to gain Darkness pools and rank up from Gathering Shadow to Shadow Novice, Shadow Apprentice, and Shadow Master. In the normal arena, Nameless Apprentices return and again channel large explosions.
Use your shadow grenade to interrupt and kill them, then shoot one of the central orbs after each shadow kill until all five orbs in the normal arena are destroyed. In the shadow arena, tall shadow bosses stand around the edges.
If you have Shadow Master, you can Compel a shadow boss instead of killing it, filling one square of Lure of the Dark and letting you shoot an orb without healing Dredgen Sere.
Killing a shadow boss also unlocks an orb shot but restores a white chunk of the boss’s health and clears a square from Lure of the Dark, so you must balance speed against boss healing.
One shadow boss hovers high above the arena and can only be reached by using your shadow ability on switches to spawn Taken-style platforms, then climbing up. If you skip this boss, you cannot clear all five shadow orbs.
When all orbs in both arenas are destroyed, you trigger the damage phase in the normal arena. Lightning strikes rain down from ceiling nodes and cover the middle of the room, so you stay at the outer edge where the impact zones are safer.
You usually drop a Well or other strong healing on the safe edge and use long-range weapons such as a Finality’s Auger turret plus a primary like Mint Retrograde, sniper rifles, and heavy burst damage.
If you fail to kill Dredgen Sere in one phase, the lightning continues until you use Shadow Apprentice on special objects to shut it down, then the rotation of building Darkness, managing Lure of the Dark, destroying orbs, and surviving lightning repeats.
With clean orb management, good interrupts on the lightning beams, and strong ranged DPS, you finish off Dredgen Sere and claim the final chest, completing the Equilibrium dungeon in Destiny 2: Renegades.
Also, check our Destiny 2: Renegades Review other guides below:
- Destiny 2: Renegades Beginner's Guide | Gameplay Tips & Tricks
- Destiny 2: Renegades Guide | How to Get the Praic Blade Exotic Sword
- Destiny 2: Renegades Guide | All Praxic Blade Exotic Catalysts Locations & Time Trials
- Destiny 2: Renegades Guide | How To Use Heat Weapons (Blasters) Efficiently
- Destiny 2: Renegades Guide | Best Praxic Blade Titan Build (Unkillable Stronghold Prismatic Setup)
- Destiny 2: Renegades Guide | How To Max Syndicates Fast For Tier 5 Loot
- Destiny 2: Renegades Guide | How To Get Praxic Blade & Master The Equilibrium Dungeon
- Destiny 2: Renegades Guide | How To Maximize Weekly Shipments, Vanguard Alerts & Bright Dust
- Destiny 2: Renegades Guide | How To Beat The Renegades Legendary Campaign
- Destiny 2: Renegades Guide | Unkillable Praxic Blade Stronghold Titan GM Build
- Destiny 2: Renegades Guide | New Xur Exotic Weapons & Armors
- Destiny 2: Renegades Guide | How to Farm Vanguard Alerts for Tier 5 Loot
- Destiny 2: Renegades Guide | Everything About Equilibrium Dungeon Contest Mode
- Destiny 2: Renegades Guide | Vanguard Alerts Best Loot Farm (Fast Tier 5 Rewards)
Contributor, NoobFeed
Latest Articles
No Data.