
Fellowship Guide | Best Ardeos Build & Rotation
A fast, practical blueprint for maximizing Ardeos DPS in dungeons and boss fights.
Game Guide by Faviyan Mustafiz on Oct 17, 2025
Ardeos is a fire-focused caster who excels at stacking damage-over-time effects and detonating them for explosive burst windows.
This guide walks you through how Ardeos works, which abilities to prioritize, how to manage resources efficiently, and the exact single-target and AoE rotations to dominate early dungeons and scale into endgame.
Expect a smooth learning curve, powerful sustained damage, and satisfying bursts when you line up multiple effects and trigger Detonate at the perfect time.
Ardeos Overview

You wield a toolkit built around maintaining multiple burning effects on enemies and converting that sustained pressure into spikes of damage.
The core plan is simple: apply several DoTs, build resources, and trigger Detonate to compress multiple seconds of ticking damage into an instant hit. Haste-driven gameplay makes your burns tick faster and your casts feel snappier, so tempo is everything.
Core Resources and Mechanics
Your basic casts generate Cinders, and every 100 Cinders converts into one Burning Ember. Burning Embers fuel Detonate, which instantly deals a chunk of the “average ticking damage” of each DoT currently active on the target.
The more unique burns you have rolling, the stronger your Detonate becomes. Plan around maintaining uptime on your key DoTs so that every Detonate hits like a truck.
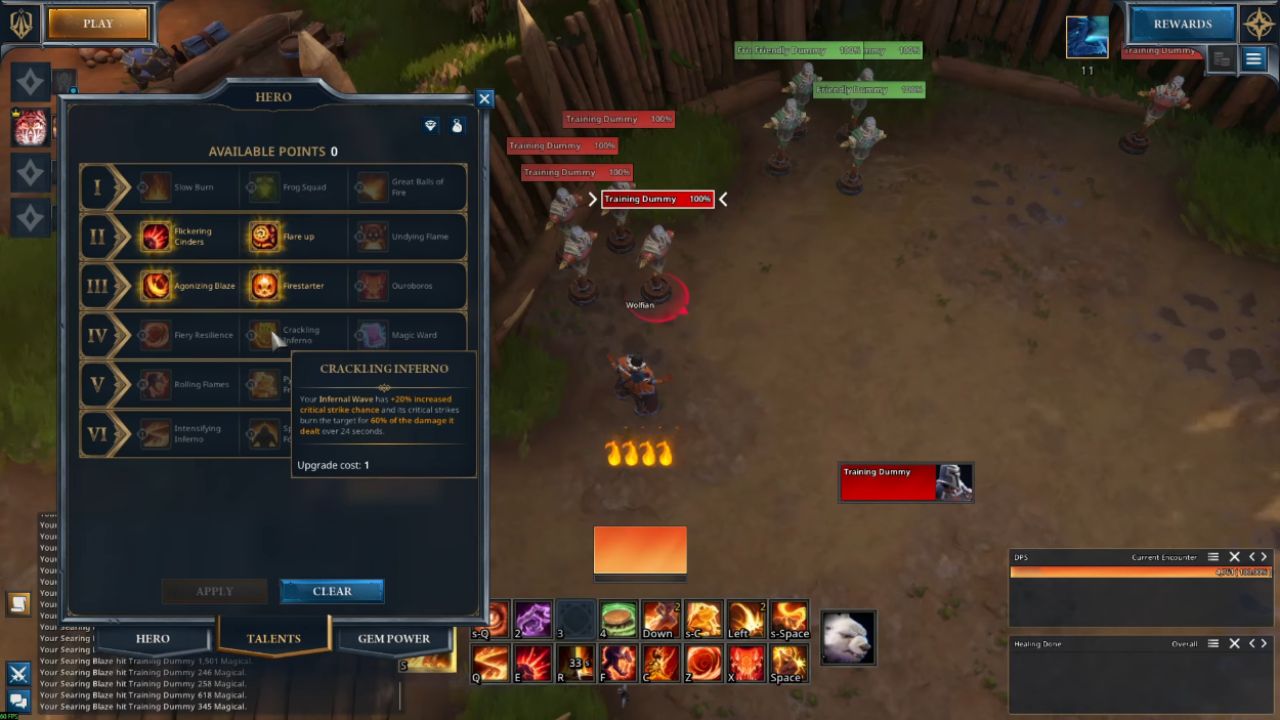
Key Abilities and How They Interact
Your foundation is Searing Blaze, a long-duration burn that keeps steady pressure while feeding Cinders over its full duration. Pair it with Engulfing Flames, a shorter burn with a cast time that you should lead with on priority targets.
Fireball adds another damaging hit that also applies a separate burn and comes with two charges on a longer cooldown, letting you frontload pressure before your Detonate windows.
Infernal Wave (your spammable filler) and a standard nuke akin to Incinerate provide raw damage and Cinders generation in between DoT refreshes. Mobility is handled by Blink, letting you reposition without dropping pressure. Your summon-style utility, Fire Frogs, conjures amphibians that leap at enemies and apply yet another burn—crucial for pumping up multi-DoT Detonate combos.
Finally, Apocalypse is your premium AoE applicator that spreads your burning effects across packs while dishing out big damage, setting the stage for devastating detonations moments later.
Single-Target Priority and Rotation
On a boss or lone elite, open with Engulfing Flames to get your first significant burn ticking, then immediately apply Searing Blaze to establish long-duration pressure. Followed by weaving in Fireball to land its hit and add its burn, then summon Fire Frogs to stack yet another effect.
With multiple DoTs active, build Cinders through your filler casts (Infernal Wave and your nuke resembling Incinerate) until you have enough Burning Embers to fire Detonate. The ideal timing for Detonate is when Engulfing Flames, Searing Blaze, the Fireball burn, and Fire Frogs are all active.
Repeat the cycle by refreshing DoTs just before they fall off, maintaining near-100% uptime. If available, weaving Apocalypse at pull or when adds spawn can supercharge your opener and set up a monstrous Detonate sequence.
AoE Priority and Rotation
In large packs, begin with Apocalypse as a wide-area primer that applies your burning effects efficiently across multiple targets. Immediately follow with Fireball to frontload damage on the priority kill target while still contributing AoE pressure.
Apply Engulfing Flames on the main target and cast Fire Frogs to add a further spread-friendly burn. Use Infernal Wave and your primary generator to build Cinders rapidly; then Detonate when several DoTs are active on your focus target amid the pack.
Continue cycling Apocalypse on cooldown for consistent spread and capitalize on every burst window by ensuring multiple burns are rolling before each Detonate.
Playstyle Tips for High Uptime
Maintain burn uptime above all else. Recast Searing Blaze and Engulfing Flames before they drop to keep Cinders flowing and Detonate empowered. Use Blink proactively to dodge ground effects without interrupting your rhythm.
In pulls that chain quickly, carry over Burning Embers and start the next pack with an immediate, buffed Detonate after reapplying core DoTs—this momentum is a major strength of Ardeos when movement is heavy, lean on instant or charge-based tools like Fireball and Fire Frogs to maintain pressure until you can hard-cast again.
Stat Priority and Gear Philosophy
Haste is your premier stat because it accelerates DoT tick rates and reduces cast times, letting you cycle burns and resource generation faster.
As baseline gear improves, secondary choices such as critical strike add consistency, but Haste remains the most reliable way to boost both sustained damage and the quality of your Detonate windows. Faster ticks mean more Cinders, more Burning Embers, and more frequent, harder-hitting detonations.
Opener Examples and Burst Windows
For bosses, start with Engulfing Flames, then Searing Blaze, leverage Fireball charges, add Fire Frogs, and pump with filler until you can Detonate with all burns active. If the fight allows, pre-plan an Apocalypse opener as the tank engages to instantly seed the battlefield with burns and elevate your first Detonate into a massive burst.
For dungeon packs, lead with Apocalypse, layer Fireball, apply Engulfing Flames to the main target, unleash Fire Frogs, build resources with filler, and Detonate during peak burn overlap. Repeat as cooldowns come back, always prioritizing DoT uptime and detonation timing.

Why This Build Feels So Strong
This system gives huge awards to DoT managers who are responsible. The cycle is easy to get into (apply, build, detonate), but the ceiling stays high because timing is everything, smart cooldown use, and tight refresh windows make results much better.
With Haste stacking and practiced resource flow, you achieve both excellent sustained DPS and eye-popping bursts when every burn converges into a single Detonate.
Also, check our Fellowship Review other guides below:
- Fellowship Beginner’s Guide | Gameplay Tips & Tricks
- Fellowship Guide | Best Mara Build & Rotation
- Fellowship Guide | Best Sylvie Healer Build & Rotation
- Fellowship Guide | Best Helena Tank Build & Rotation
- Fellowship Guide | Best Meiko Tank Build & Rotation (Early Game)
- Fellowship Guide | Best Rime Build & Rotation (Quick Start)
- Fellowship Guide | Best Vigour Healer Build & Rotation (Quick Start)
- Fellowship Guide | How to Pick the Right Class
Contributor, NoobFeed
Latest Articles
No Data.