
Painkiller Beginner's Guide | Gameplay Tips & Tricks
Here is a guide to the Rogue Angel mode in Painkiller, and some gameplay tips and tricks.
Game Guide by Shadi on Nov 06, 2025
Rogue Angel mode in Painkiller infuses roguelike elements into the co-op shooter experience, making each run play out differently. You will acquire weapons, upgrades, and Tarot Cards in new ways. Maps feature new modifiers, such as parkour challenges, and you must avoid perma-death before reaching the final boss.
This mode presents a harder challenge than the main campaign, as resources are more limited and you are expected to be skilled. You can take on Rogue Angel at any time to test your abilities.
Rogue Angel Overview
To start a Rogue Angel run, you must go to the Game Mode Summoning Circle, located next to the main Raid Mode campaign maps. There are four difficulty settings: Slumber, Daydream, Insomnia, and Nightmare.
Higher difficulties spawn more enemies but provide a greater payout of Gold and Ancient Souls. These resources are used to fund permanent unlocks for your weapon trees.
At the beginning of a run, you will pick from a randomized selection of weapons for your primary and secondary slots, each with different alternate fires. As you progress, each room offers two routes. The Dual Pistol Symbol leads to a weapon upgrade.
The Item Symbol takes you to resources, such as consumable items or an extra life. The Card Symbol provides a passive bonus from Tarot Cards. You can equip two of these cards in the in-between Rest Area.
Lanterns in this area light up to indicate your progress. It is generally recommended to seek out weapon upgrades or Tarot Cards first to make your character stronger. If you run low on lives, you should take the item path to earn one back.
Weapon Tips and Loadouts
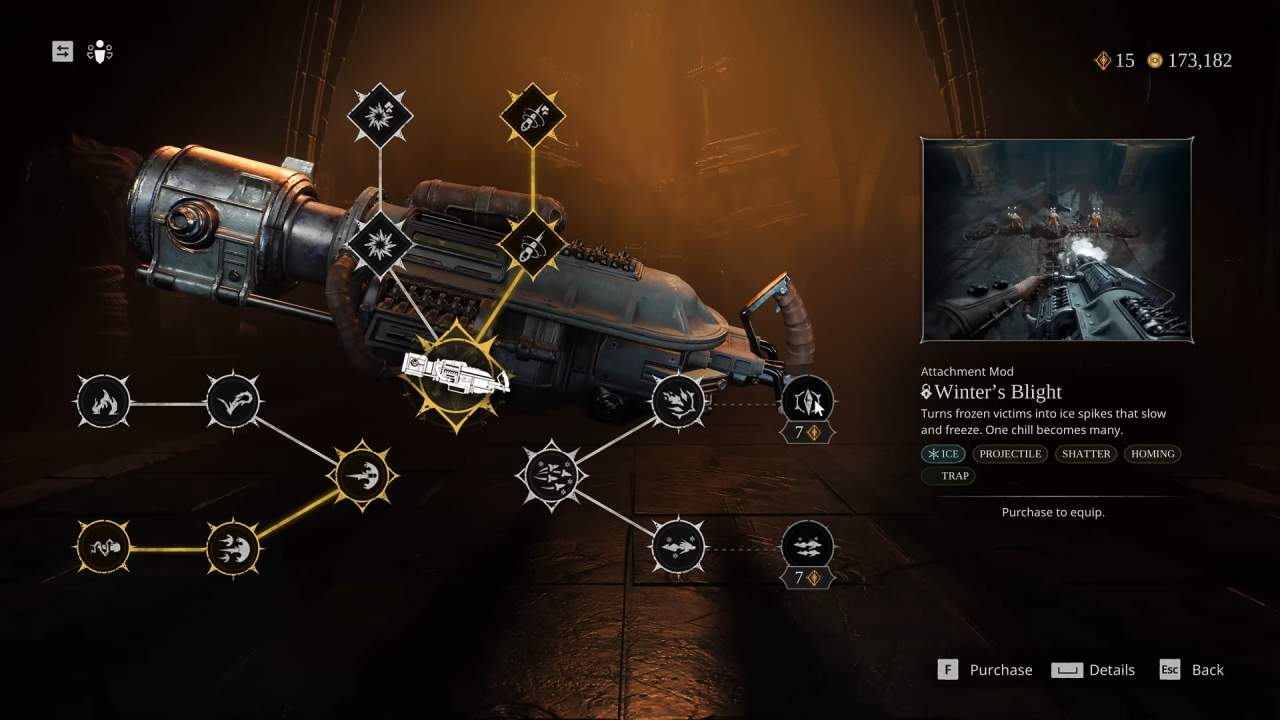
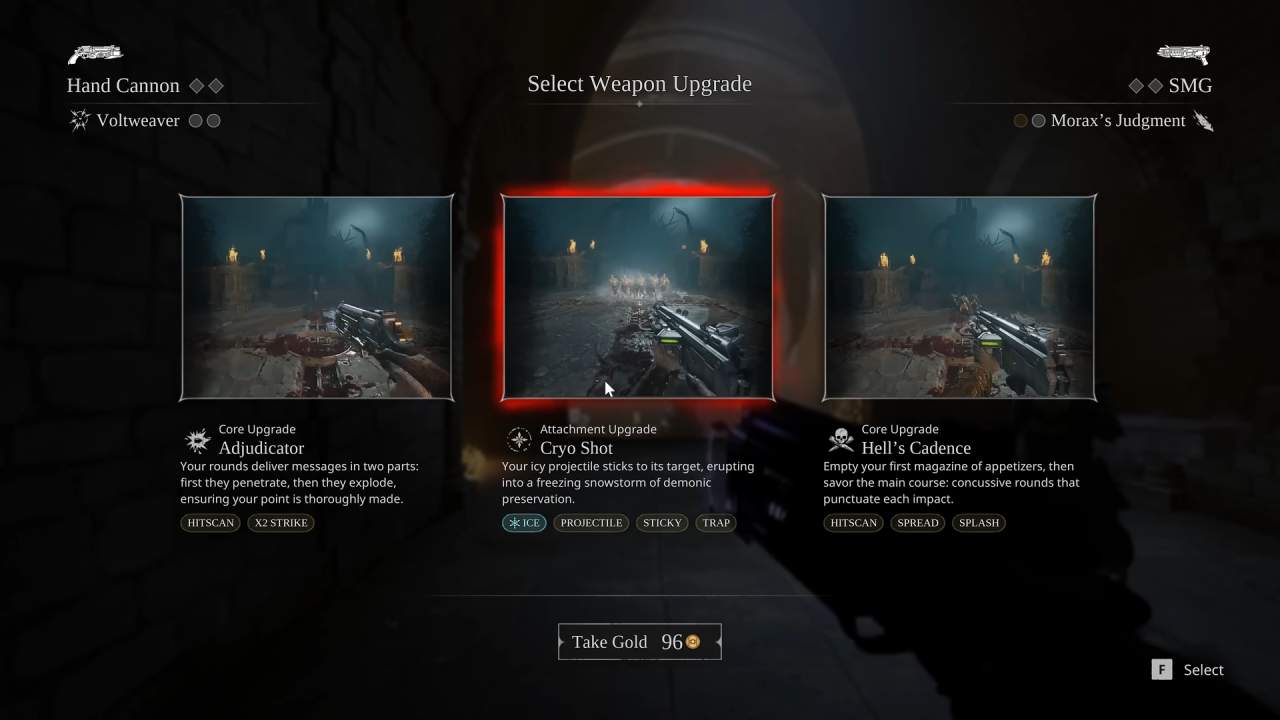
When upgrading weapons, you will find two types: Attachment Upgrades and Core Upgrades. Attachment Upgrades improve your weapon's alternate fire, while Core Upgrades improve the basic primary firing mode.
Each weapon can have two Core Upgrades and two Attachment Upgrades. When selecting your two weapons, you should try to grab one built for multi-targets to clear hordes and a secondary weapon built for single targets to take down larger elite demons.
Weapon Recommendations
The Revolver's precision is effective against single-target elites, and its alternate fire paths are versatile. The Stake Gun can be built for single-target headshots, but its alternate fires are highly effective against hordes, making it a good all-around choice.
The Rocket Launcher is potent against multiple grouped-up targets and synergizes well with alternate fires that freeze, electrify, or group enemies. The Electro Driver is good for multi-target horde cleanup, as both its primary and secondary fires skew towards widespread AoE damage.
The SMG is an all-around weapon built for both multi-target and single-target DPS. The Shotgun's core firing mode can be upgraded for wider or more precise shots, but it is generally better against multiple targets at close range.
Recommended Upgrade Paths
For the Revolver, look for the Volt Weaver alternate fire, into Synaptic Embrace, into Synaptic Shock. This has a sticky property that attaches an electrical degen effect.
Stacking elemental effects like electric, cold, or fire will build up the stagger gauge on elite demons, allowing you to take them down faster with a Painkiller instakill prompt. This alternate fire can also create tether points on the ground, forming electrical traps.
For the Stake Gun, the Snare, Vortex, and Maelstrom path is effective. This launches an anti-gravity orb that pulls lesser enemies into the air in a pile, setting them up for other attacks.
For the Rocket Launcher, taking the core upgrade path first with Generous Malice into Aftershock is a good option. This increases the rocket's detonation area and leaves a lingering Aftershock Trap that sends out shock waves.
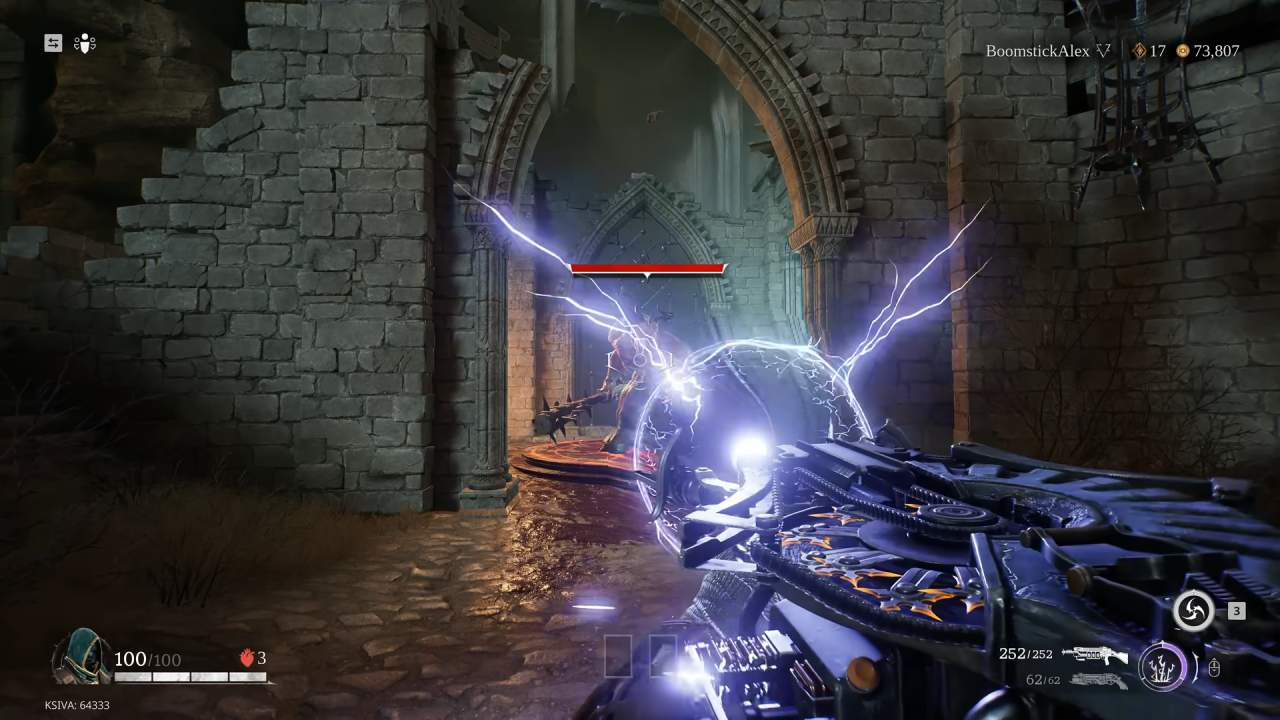
For the Electro Driver, seek out Uriel's Promise alternate fire, into Harbinger, into Tempest. This lets you charge an electrified ball that, when upgraded, leaves behind a large AoE storm that calls down lightning. This is useful for levels where you need to fill Blood Tanks.
For the SMG, the Judgment alternate fire into Cryoshot into Cold Reception is a useful combination. This can be used for horde crowd control or to slow elite demons by attaching the frozen orb to them, setting up shots on their weak points.
For the Shotgun, building with cold damage using the Freezer alternate fire, followed by Semile's Breath and then Permafrost, is effective. This blasts an area freeze effect and leaves a spiky ice trap. You can shatter entirely frozen enemies by dashing or sliding into them.
Using the Painkiller Attack
Remember to use your Painkiller Shredder Attack when the gauge is full by tapping E on PC or the right bumper on the controller.
This is a long-range grapple attack that pulls you to an enemy. If it kills the target, it leaves behind purple gems that restock your energy gauge.
Map Objectives and Progression
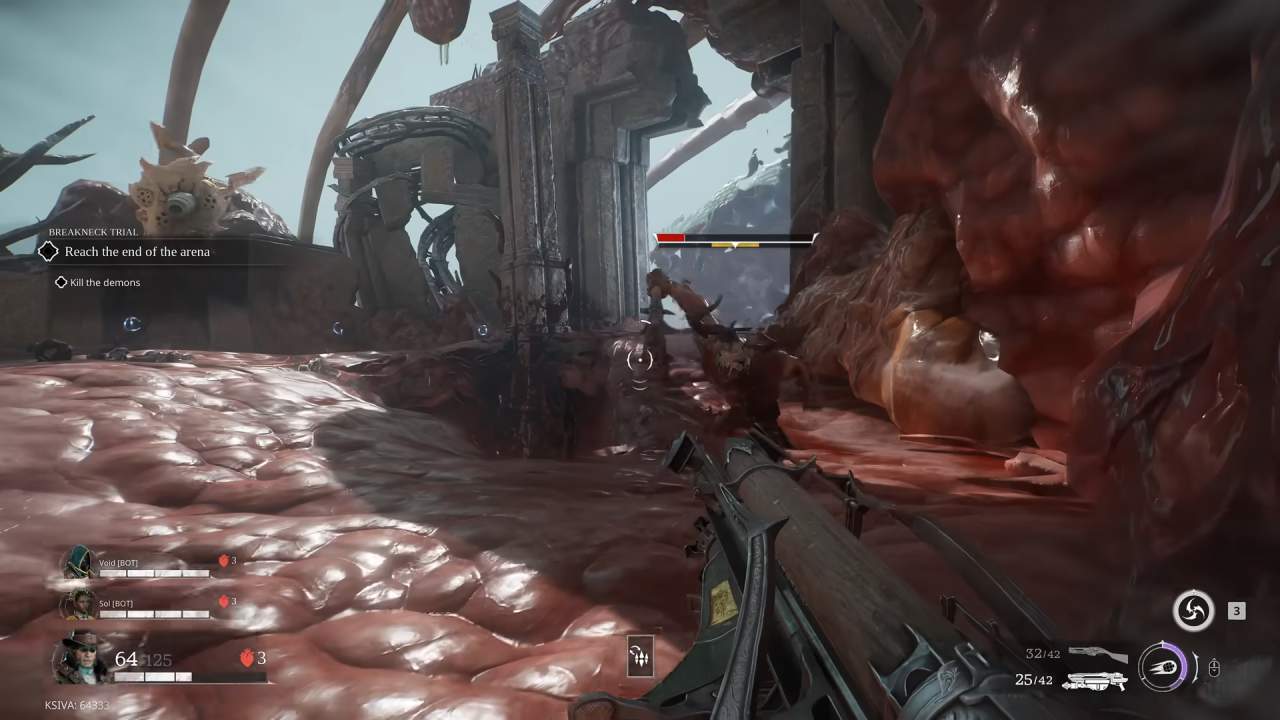
Each Rogue Angel run chains together different arenas with varying objectives. You may encounter Breakneck Trial rooms, which are speed-based platforming gauntlets that continually sap your health.
These require using the Wall Bounce mechanic, where you can jump a second time in the air if you touch a wall while pressing jump. Sliding also increases your speed. The Painkiller Shredder Attack can be used to take shortcuts by grappling with enemies.
Another objective is Soul Cage, where you need to grab and transport Lanterns to toss into glowing orbs. Some maps have shortcuts, like air vents, to propel the Lanterns up.
You may also find Static Blood Tanks. These require you to fill tanks locked in place by killing enemies near them. If playing with bots, you can use the middle mouse button or the D-pad down to command them to a location. Before leaving a map, try to get within 50 health of being full, as the Rest Area always restocks 50 health.
The basic Blood Tanks objective requires you to find and shoot an eyeball that spits out the tank. These tanks can be moved, so you can throw them within range of dying enemies to fill them quickly. You might also get the Defeat Enemy Waves objective.
Boss Guide: Orion the Blood Swarm
Once you complete enough maps to light every Lantern, the final gate opens to the end-of-run boss, Orion the Blood Swarm.
This boss has two main phases. It starts on the ground, rushing you. You should focus on DPS while dashing out of the way of its lunges. On the arena's outer edges, you can shoot eyeballs to spawn an Explosive Barrel.
The second phase triggers when the boss jumps onto the bell in the middle and sends out waves of blood. You must strafe the tall individual waves, jump the ground circle waves, and slide under the face-high circle waves.
Shot types with the sticky property are good here to attach and continually sap damage, building the boss's stagger gauge. When fully staggered, it reveals weak spot eyeballs. Destroying each one spits out a consumable item, like a Health Flask or Ammo Restock.
Using Seeds
Each Rogue Angel attempt will play out differently. You can enter a Seed Number when starting a run if you want to replay the exact layout you just tried or share the Seed Number with a friend to see who can speedrun that layout the fastest.
Also, check our Painkiller Review and our other guides listed below:
- Painkiller Beginner's Guide | Gameplay Tips & Tricks
- Painkiller Guide | Mastering Advanced Movement & Combat Tactics
- Painkiller Guide | Best Card Builds for Co-op and Rogue Angel Mode
- Painkiller Guide | How to Not Get Shredded: Boss Fight Strategies for Every Nephilim
- Painkiller Guide | The Voice of the Creator: Full Campaign Raid Walkthrough and Secrets
- Painkiller Guide | Rogue Angel Mode: 10 Essential Tips to Survive
- Painkiller Guide | Best Perks and Loadouts for Ink, Void, Sol, and Roch
Subscriber, NoobFeed
Latest Articles
No Data.