
Guild Wars Reforged | Beginner's Guide | Gameplay Tips & Tricks
Here's a beginner’s guide on some gameplay tips and tricks in Guild Wars Reforged.
Game Guide by Rubaiyat Shihab on Dec 08, 2025
If you have just installed Guild Wars Reforged and want a direct, structured beginning, this guide walks you through the first decisions, campaign options, professions, user interface setup, combat basics, and early progression.
Every section is arranged so you can follow the steps during your first session and avoid confusion while learning the systems.
Starting the Game: PvP-Only or Roleplaying Character
When you reach character creation, the first choice is between a PvP-Only character and a Roleplaying character. A PvP-Only option immediately places you on a PvP island with access to max-level skills and equipment but removes the story path and PvE content.
For your first playthrough, choose a Roleplaying character. This gives you access to quests, missions, items, titles, and the core progression path while still letting you join PvP later.
Campaign Selection and Class Restrictions
Your account includes Prophecies, Factions, and Nightfall from the start.
These campaigns differ in pacing:
Prophecies provides the slowest leveling curve and allows new players to learn systems in a controlled way.
Factions levels faster and has a shorter storyline but can feel sharp for first-time players.
Nightfall introduces strong hero companions early and offers flexible builds later.
Certain professions are restricted by starting campaign:
Assassin and Ritualist require starting in Factions.
Paragon and Dervish require starting in Nightfall.
If you are not aiming for these specific professions, begin in Prophecies for a smoother introduction.
Understanding Pre-Searing in Prophecies
The starting region of Prophecies, often called Pre-Searing Ascalon, is a self-contained learning zone. You can explore it until about level 8, complete basic quests, and learn movement, skills, and combat at a controlled pace. Some players remain until level 20 to earn the Legendary Defender of Ascalon title, but for a normal playthrough, most players exit around level 7–8.
Choosing Your Primary Profession
Once you select a campaign, you choose your primary profession. Each one includes a unique primary attribute:
Warrior – Strength
Ranger – Marksmanship-related attributes
Mesmer – Fast Casting
Elementalist – Energy Storage
Monk – Strong support toolkit
For a first character, avoid Monk unless you plan to support groups. Elementalist, Warrior, Ranger, and Mesmer offer straightforward starts. You cannot change your primary profession later, so choose one you want to build around long-term.
Secondary Profession and Dual-Classing
Dual-profession mechanics allow combinations such as E/Me or W/Mo. You unlock secondary professions through early quests. You can test each option before confirming your final choice. After leaving the starting area, you gain access to NPCs that let you change your secondary profession whenever needed. Only the primary profession remains locked permanently.
Character Creation: Appearance, Colour, and Size
You can choose your character's body type, hair, face, skin tone, starting armor color, and size when you make them. Later, you can change the color of your armor by using paints that you find or trade for. In small spaces, extreme sizes might make it hard to see, so most players choose a size in the middle. People will use your name to ask you or send you messages, so make sure it's easy to read.
Your First Login: Skipping Intro and Setting Up the UI
Entering Ascalon City allows you to skip the cinematic and adjust your interface before playing. Press F11 to open Options, then reposition or resize windows like chat, party display, mini-map, and health/energy bars. A brief setup at the beginning improves clarity for the rest of the game.
Managing Inventory: Bags, Slots, and Currency
Your character begins with a 20-slot bag. In the starter region, you can earn:
A 5-slot Belt Pouch
Two 10-slot Bags
There is also a collector who provides a weapon set slot in exchange for 50 Iris Flowers, though most new players skip this early task and buy replacements later for 1 platinum.
Gold converts automatically: 1,000 gold = 1 platinum.
Monitor your inventory since limited space reduces loot gain.
Armour, Capes, and Visual Items
Your character screen shows your set of armor and weapons, as well as choices like hiding your hat. When you join a group, the group Cape slot turns on, and event-based outfits show up around holidays like Halloween and Winterday.
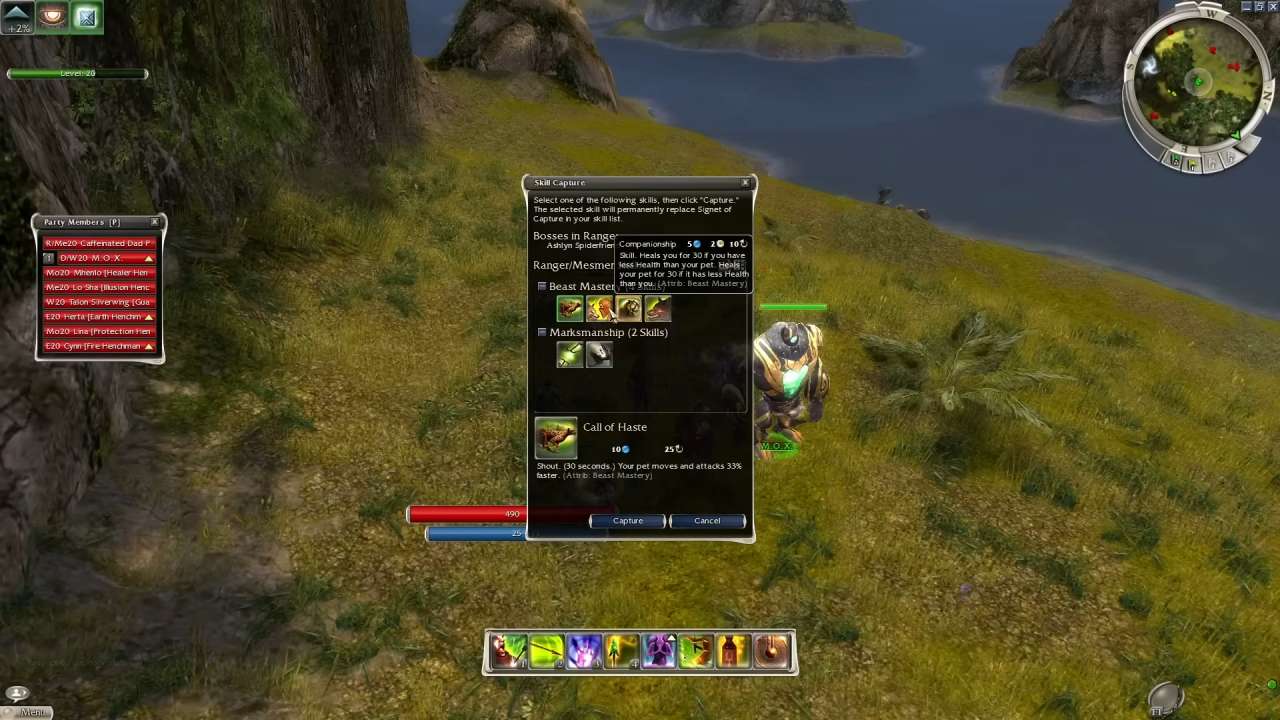
Using the Hero Panel: Skills, Attributes, and Titles
The Hero window tracks your level, experience, skill points, title progress, and campaign information. Skills come from both quests and trainers. You may reset attribute points and skills anytime while standing in a town or outpost. Only your primary profession is permanent; everything else can be adjusted when testing builds.
Questing, Maps, and Fast Travel
Accepted quests display markers on the mini-map such as green arrows or stars. NPC names appear clearly in quest logs. You can fast-travel to any unlocked area by selecting it on the world map. The Reforged version highlights tracked quests clearly, making navigation easier.
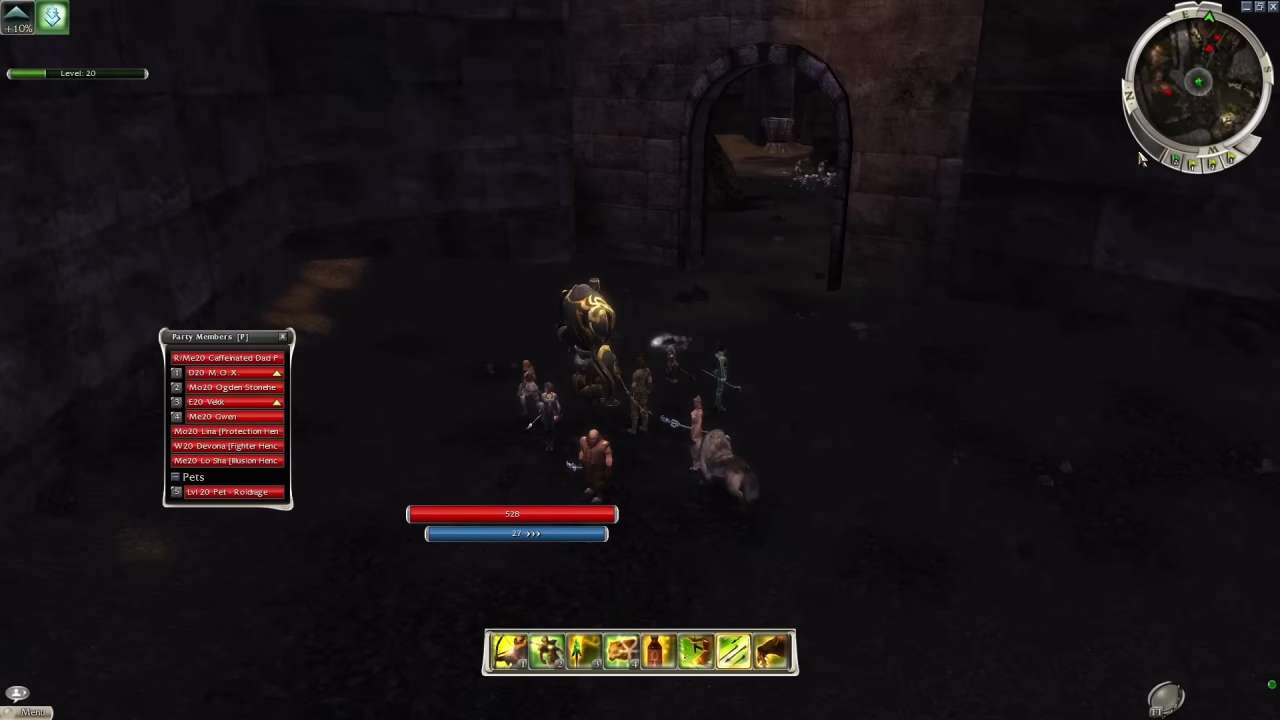
Districts, Population, and Server Choice
The top-left corner shows your current district, such as Ascalon City – America – District 1. Most social activity occurs in the America English District 1 of major towns. If an area looks empty, switch districts using the dropdown menu.
Friends, Guilds, and Social Features
The Friends panel allows you to add contacts, view online status, and manage your ignore list. The Guild panel lists members and their activity. The community is generally welcoming, and you can introduce yourself in All or Local chat to receive guidance or assistance.
Party Search and Trading
The Party Search window helps you find groups and buy or sell goods. Writing WTS (want to sell) or WTB (want to buy) in chat often adds your listing to the trade panel, letting others contact you even after you stop sending messages.
Example:
Typing “WTS Pink Dye” places it in the listing for anyone browsing trade options.
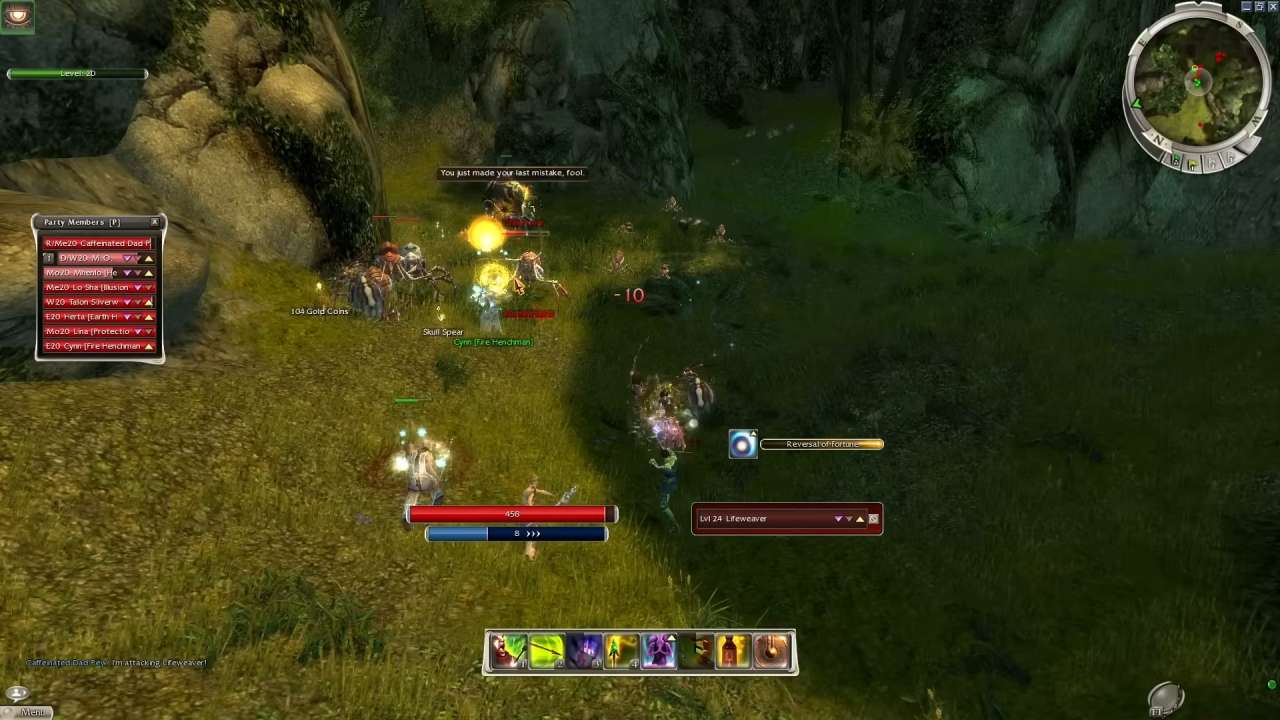
Early Combat and Profession Quests
Your first tasks involve profession-specific quests such as defeating low-level enemies or retrieving items. These grant early skills. For example, an Elementalist may receive Aura Of Restoration and Flare. Place skills on your bar and activate them using keys 1–8.
You also receive the Resurrection Signet, which revives one ally per area. Keep at least one resurrection option in group content.
Knowing When to Leave the Tutorial Area
A practical path is:
Level to 7–8
Complete profession quests
Test all secondary profession quests
Unlock basic armour and bag upgrades
You may exit earlier, but leaving too soon makes combat more demanding and reduces your early resource gains.

Additional Tips for New Players
You can ask questions in chat, as many veteran players share materials, bags, or gold with beginners. Joining a guild early provides structure, a cape, and easier group access. Experiment with builds freely since attributes and skills can be changed in towns. You may also use the /wiki command to open the official documentation for detailed information.
Editor, NoobFeed
Latest Articles
No Data.