
Hollow Knight: Silksong Guide | How To Get the Crest of the Witch
Here’s a guide on how to get the Crest of the Witch in Hollow Knight: Silksong
Game Guide by Mash Rahman on Sep 30, 2025
Crests are a crucial element of Hollow Knight: Silksong; they affect how you attack and the rest of your abilities. The Crest of the Witch is one of those crests that has already made its mark in Silksong.
In this guide I will help you find the Witch crest and explain the details of it to you.
Details on the Crest of the Witch
Hollow Knight: Silksong features some of the most elaborate side quests Team Cherry has ever designed, and the quest that is required to get the Crest of the Witch is among the most memorable. This crest transforms Hornet’s healing into an aggressive lifesteal mechanic, but obtaining it requires completing the long and often punishing Twisted Bud quest.
Preparing for the Quests
You have to collect all Needle upgrades, acquire all the Mask Shards, and have all the traversal abilities from Acts 1 and 2. These upgrades are the only ones that will affect the most once Bud’s curse is active.
If you want, you can also get a secret achievement that relates to the ending of the game; this preparation for this quest is extremely important since your healing and tools will be locked.
Getting to the Quest
With preparations complete, you need to head for the Songclave near the first Shrine Ventrica in the area of the Choral Chambers. You have to travel up and leftwards and defeat the Cogwork Dancers in order to activate the center console.
This opens access to the Cogwork Core, where you can unlock a map station and bench. You have to continue towards the right through mechanical traps and spikes until you reach a lever that rotates a wheel passage.
You have to set it horizontally, allowing you to pass into the Whispering Vaults. Here you will have to solve a box-pushing puzzle and survive an arena fight before reaching a chamber with a scroll reader and a dropdown ladder.
Hitting this ladder opens a shortcut for you that links the Whispering Vaults to Songclave. You can purchase the area’s map and rest at the Songclave bench you came past a while back before venturing deeper.
Using the shortcut, you have to descend through the Whispering Vaults, leading a zigzag path, eventually reaching a chamber that is filled with boxes. Push them towards the right, then you have to strike the upper one to lift it in order to use it as a platform to access a hidden passage in the top right corner.
Here you can get an optional Memory Locket, after which you can clawline a lever to open the way down into Bilewater. This area includes spike pits and waters infested with muck maggots, so stay wary.
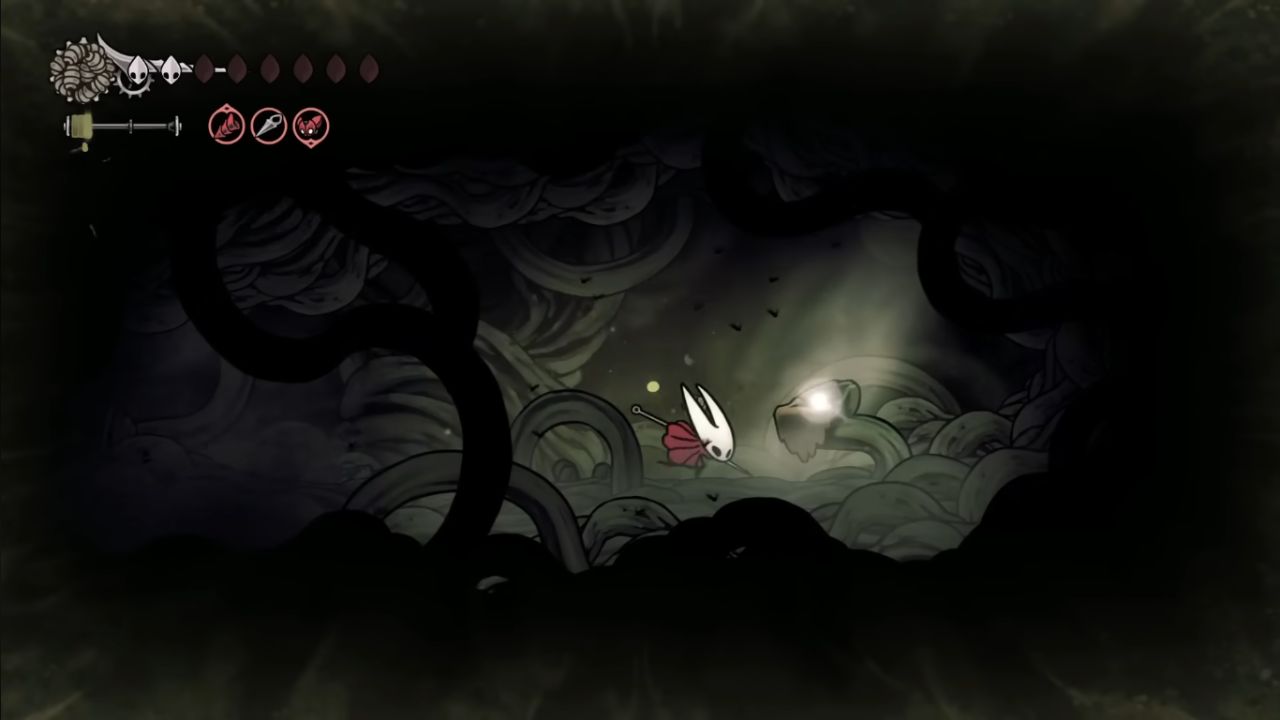
From here you have to go to the right, drop through a pit, and moving to the right, you have to listen for the sound of crying. When you find the noise, you have to break through root barriers on the right until you reach the Twisted Bud.
Once you have picked it up, Hornet becomes cursed. Your healing, all of your tools, and crest changes are disabled, and the sound of crying plays whenever you open the menu. This is effectively a point of no return until you have cured the Bud.
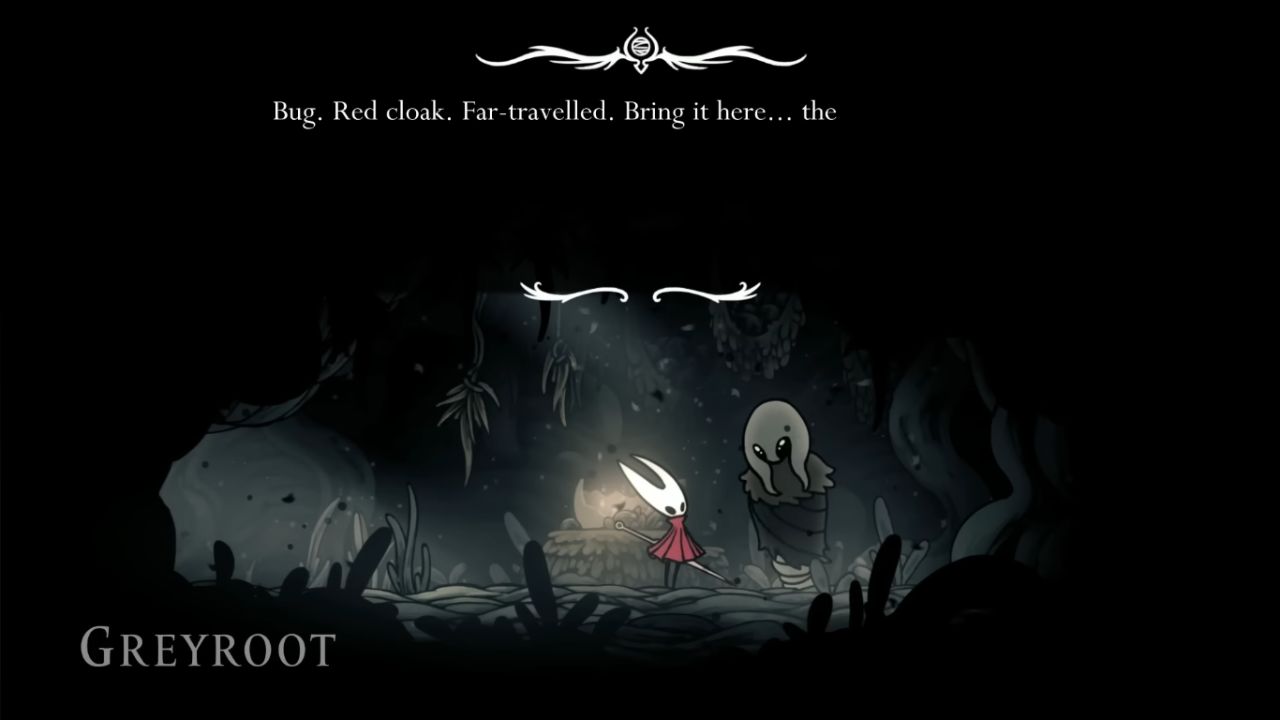
You must then take the Bud to Greyroot in Shellwood from here. She will only assist if you have already earned the Pollip Pouch by completing the Rite of the Pollip quest.
Give her the Bud, and she will offer the Rite of Rebirth after that condition is satisfied. Accepting this locks you into the cursed state and takes you to the Chapel of the Witch.
You have to push westward through new chambers after breaking free from your bonds. From here, you have the choice to try the optional challenge or make your way further towards the cure.
In order to get the “Twisted Child” achievement, make your way through the Bellway and Ventrica system to the Terminus and confront the final boss of Act 2 while still being cursed. Without healing or tools, this fight demands high precision and smart aggression from you.
Victory in this state grants the hidden achievement and some unique dialogue with NPCs if you speak to them beforehand, particularly Eva in Weavenest Atla. If you don’t care about the achievement or have already earned it, you can instead move on to the cure.
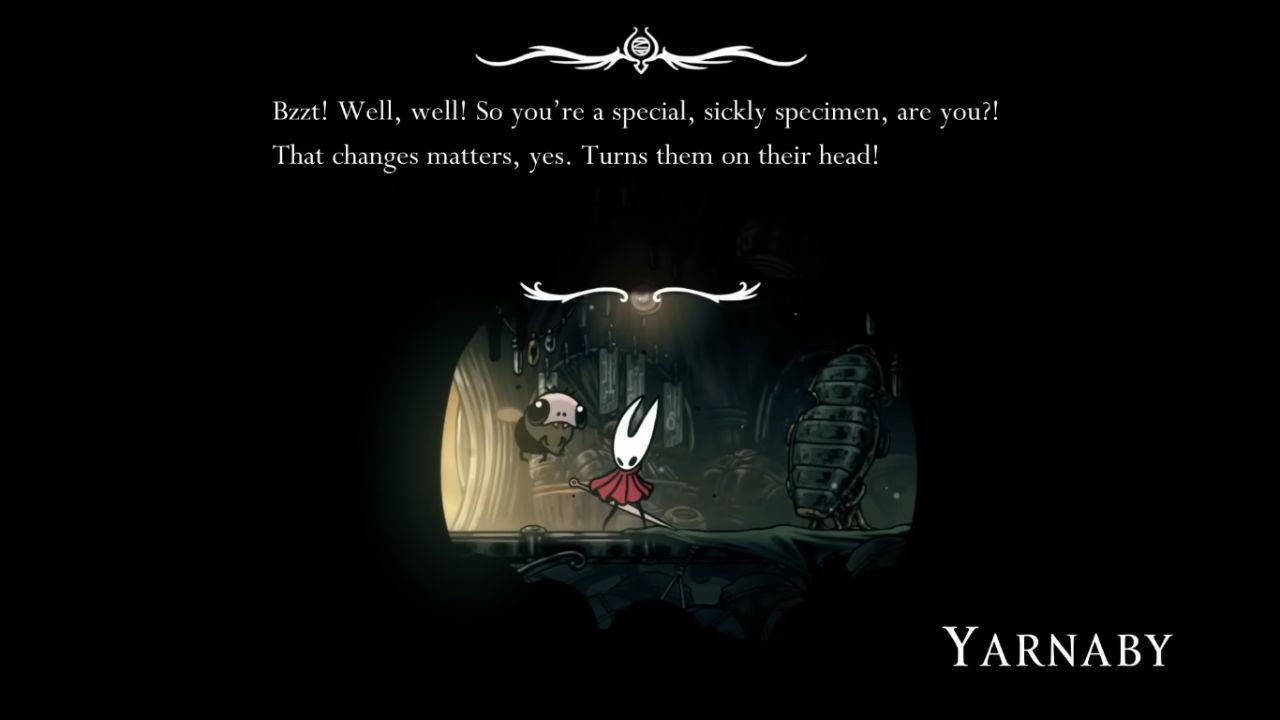
To end the curse, you have to head to Yarnaby’s bellhome near the Greymoor Bellway. You need to knock on his door multiple times until he lets you in, upon which it will be explained how to proceed.
He sends you on the Infestation Operation quest, which requires you to get the Steel Spines. You have to travel to the right into Sinner’s Road, activate the lift to Halfway Home, and rest at the bench you find on your way.
Continue towards the right and upward into a chamber filled with traps and enemies where, at the top, you can pogo off of a few spikes and head right until you reach the hut of Crull and Benjin.
If you have completed their Roach Guts side quest, they will sell the Steel Spines more cheaply, but even without it you can buy what you need. Once you have them, return to Yarnaby.
When you speak with him again, it triggers the operation. In a short cutscene Hornet’s curse is cured, and you receive the Crest of the Witch. Before leaving, you can talk to Yarnaby a few extra times for a humorous hidden interaction that many players miss.
The Crest of the Witch and combat
The Witch Crest will change your entire playstyle dramatically. As healing now requires striking enemies with the bind ability, which releases tentacles from Hornet’s body, effectively turning combat into the only way to recover health.
This forces you to play aggressively and rewards mastery of Hornet’s movement and spacing, as even in the animation, you can get hit with ranged attacks. As well as that, the bind also requires you to get three hits onto the enemies, healing 3 masks.
The crest pairs well with tools like the Claw Mirror, the Warding Bell, which prevents you from taking damage when you heal, and the Injector Band, which makes binding safer and more reliable. Combined with Needle upgrades, this setup transforms Hornet into a relentless fighter who sustains herself through constant offense.

The questline has had occasional bugs in earlier versions of the game, where NPCs wouldn’t advance dialogue while Hornet was cursed. If you encounter issues, ensure the game is patched, as updates have fixed most of these problems.
Unlocking the Crest of the Witch is one of Silksong’s most challenging and rewarding journeys you can go through. It requires solving puzzles in the Whispering Vaults, enduring the unsettling Twisted Bud, possibly conquering the Act 2 boss in a cursed state, and helping Yarnaby with the Infestation Operation.
The reward is a unique crest that reshapes combat and healing into an offensive mechanic, offering a fresh and daring way to play Hornet. It’s a questline that embodies the harsh beauty of Silksong: demanding, unsettling, but ultimately unforgettable.
Also, check our Hollow Knight: Silksong Review and other guides below:
- Hollow Knight: Silksong Guide | How to Get the Volt Filaments
- Hollow Knight: Silksong Guide | How to Get the Voltvessels Tool
- Hollow Knight: Silksong Guide | How to Beat the Last Judge
- Hollow Knight: Silksong Guide | Which Path to Choose—Sinner's Road or Blasted Steps?
- Hollow Knight: Silksong Guide | How to Get All 4 Simple Keys
- Hollow Knight: Silksong Guide | How to Get the Crest of Architect
- Hollow Knight: Silksong Guide | How to Get Secret Ending
- Hollow Knight: Silksong | How to Get the Plasmium Phial
- Hollow Knight: Silksong Guide | How to Get the Crest of Beast
- Hollow Knight: Silksong Guide | How to find the High Halls map
- Hollow Knight: Silksong Guide | How to get the Reaper Crest
- Hollow Knight: Silksong Guide | How To Get All 8 Tool Pouch & Crafting Kit Upgrades
- Hollow Knight: Silksong Guide | How to Get the Rosary Canon
- Hollow Knight: Silksong Guide | How to Get the Silkshot
- Hollow Knight: Silksong Guide | How to Complete the Roach Guts Quest
- Hollow Knight: Silksong Beginner's Guide | Gameplay Tips & Tricks
- Hollow Knight: Silksong Guide | All Important Items
- Hollow Knight: Silksong Guide | How to Heal
- Hollow Knight: Silksong Guide | How to Use Pogo
- Hollow Knight: Silksong Guide | How to Find Deep Docks Map
- Hollow Knight: Silksong Guide | How to Complete Crawbug Clearing Wish
- Hollow Knight: Silksong Guide | How to Complete Silver Bells Wish
- Hollow Knight: Silksong Guide | How to Get Thread Strom Skill
- Hollow Knight: Silksong Guide | How to Get Cling Grip Ability
- Hollow Knight: Silksong Guide | How to Complete My Missing Brother Wish
- Hollow Knight: Silksong Guide | How to Complete Rite of the Pollip Wish
- Hollow Knight: Silksong Guide | How to Complete My Missing Courier Wish
- Hollow Knight: Silksong Guide | How to Complete Lost Fleas Wish
- Hollow Knight: Silksong Guide | How to Complete Volatile Flintbeetles Wish
- Hollow Knight: Silksong Guide | How to Get Twisted Child Ending
- Hollow Knight: Silksong Guide | How to Get Mister Mushroom Ending
- Hollow Knight: Silksong Guide | How to Get Sister of the Void Ending
- Hollow Knight: Silksong Guide | How to Get Snared Silk Ending
- Hollow Knight: Silksong Guide | How to Get Weaver Queen Ending
- Hollow Knight: Silksong Guide | How to Get Clawline Ability
- Hollow Knight: Silksong Guide | How to Get Needle Strike Ability
- Hollow Knight: Silksong Guide | How to Find Secret Path to Citadel
- Hollow Knight: Silksong Guide | How to Complete The Lost Merchant Wish
- Hollow Knight: Silksong Guide | How to Complete Great Taste of Pharloom Wish
- Hollow Knight: Silksong Guide | How to Complete The Wailing Mother Wish
- Hollow Knight: Silksong Guide | How to Complete Final Audience Wish
- Hollow Knight: Silksong Guide | How to Beat Marrow's Boss
Editor, NoobFeed
Latest Articles
No Data.