
Tales of Arise Guide | Unlock the Quaking Continent Trophy
Here's a guide on how to unlock the quaking continent trophy in Tales of Arise
Game Guide by Mash Rahman on May 31, 2026
The colorful world of Dahna is full of incredible hidden quests that go far beyond the scope of the main story. Your main goal is to depose the tyrannical Renan Lords, but the real endgame challenge is chasing down the huge sources of primal energy left behind by the Wedge.
These concentrated anomalies have taken on the form of the legendary elemental spirits, forces of nature with the ability to alter the very land. Players who want to get everything and win every trophy need to systematically hunt these titans down and smash them.
.jpg)
Every one of these elemental fights is immediately associated with a specific high-tier accomplishment that demonstrates you’ve learned the game’s complex real-time combat systems. One of these great tasks is the encounter with the Earth Spirit, a gigantic creature buried deep within a forgotten sanctuary.
Players who successfully complete this particular trial are rewarded with the highly coveted Quaking Continent trophy, a multi-stage endurance battle against waves of defenders and an ancient draconic force. This complete guide will show you how to unlock the required quest, navigate the temple maze safely, prepare your active roster, and methodically destroy the phases of the boss.
How to Begin the Spirit Temple Sub-Quest
You can't open the gateway of the earth spirit in the early or the mid-way stage of your journey. This content was intentionally gated behind strict late-game progression milestones so that players have the mechanical tools and level scaling to survive. You must finish all the main story events in the fifth realm of Ganath Haros, defeat the ruler of that realm, and progress the main story far enough that fast travel is fully restored across the twin worlds of Dahna and Rena.
With this late-game freedom, you’ll want to pull up your map and fast-travel to the picturesque realm of Elde Menancia. You are making your way to the Traslida Highway, a massive rural expanse of open fields and grazing animals.
Follow the main road until you see a nervous male NPC standing in front of a white merchant's cart. Talking to this person will officially start the sub-quest called The Spirit Temple. He will tell them that in the adjoining region a dreadful, preternatural golden fissure has opened which menaces the stability of the whole continent.
Navigating the Labyrinth of Portals
With the quest active in your log, you must immediately head to the adjacent Tietal Plains. As you enter, you will easily spot a massive swirling golden portal hovering ominously over the landscape. Through this glowing rift, your party will walk into the heart of the Spirit Temple dungeon.
The monsters in this zone are not a problem at all, the problem is the structure of the environment itself. In this sanctuary, the game takes away your traditional mini-map entirely, compelling you to rely on your eyes and the structures themselves to navigate the maze.
This is where the inner sanctum is. If you do not know the right way to move on 4 different floors , you will get turned around or be stuck in infinite loops of unnecessary combat .
On the first floor, head straight down the main hall, ignore the side trails, make a sharp right turn, and walk through the portal. Materialize on the second floor and proceed forward into the chamber. Defeat the required group of elemental enemies that attack your position and take an immediate right into the next gateway.
The third floor is laid out in a tricky way, meant to trap the unwary adventurer. When you spawn, there is a portal right behind your character which will actually send you backward if you enter it. "Forget this rear entrance, march straight down the middle corridor, and make a right into the right portal."
Finally, on the fourth floor, go straight ahead, make one last right turn, and you will be right in front of the grand portal to the boss chamber. Once you cross this threshold, a permanent direct shortcut opens up from the Tietal Plains, so that if you ever need to leave and come back later, you can bypass the entire labyrinth.
Preparing the Party for the Shaking Trials
The enemies you will face inside the inner chamber are level sixty, so if you are under-leveled for this arena, you will be doomed to failure. If your active party is not currently level fifty-five or above, your attacks will be doing next to no damage, and the enemies will be draining your health pools with ease.
If you’re just looking to maximize your raw stats, grind out levels, or use combat-centric recipes at a nearby campsite. Alphen is your front-line attacker and should be controlled manually for optimal combat, as he has incredible physical burst damage.
Shionne is a must-have in the secondary slot to give you dedicated ranged healing and aerial disruption. Dohalim also offers flexible auxiliary healing and area-of-effect crowd control, while Rinwell needs to be included to take advantage of elemental weaknesses with high-tier magic. Before the fight begins, open your equipment menus to do some essential elemental tailoring. The enemies in this room utilize earth-attribute physical slams that can bypass normal armor defenses instantly.
To make high-tier Topaz accessories for all active members of your combat roster, you’ll need to visit a metalworking merchant. A well-made Topaz charm provides a substantial percentage reduction to incoming earth-elemental damage, turning lethal ground ruptures into manageable spikes.
Also, take some time to set up Alphen and Rinwell’s active artes, as you’ll want to have wind-attributed moves like Hurricane Thrust or Cyclone equipped. Since earth-based entities are naturally susceptible to the slicing properties of wind astral energy, focusing your offense around this element will drastically increase your total damage output.
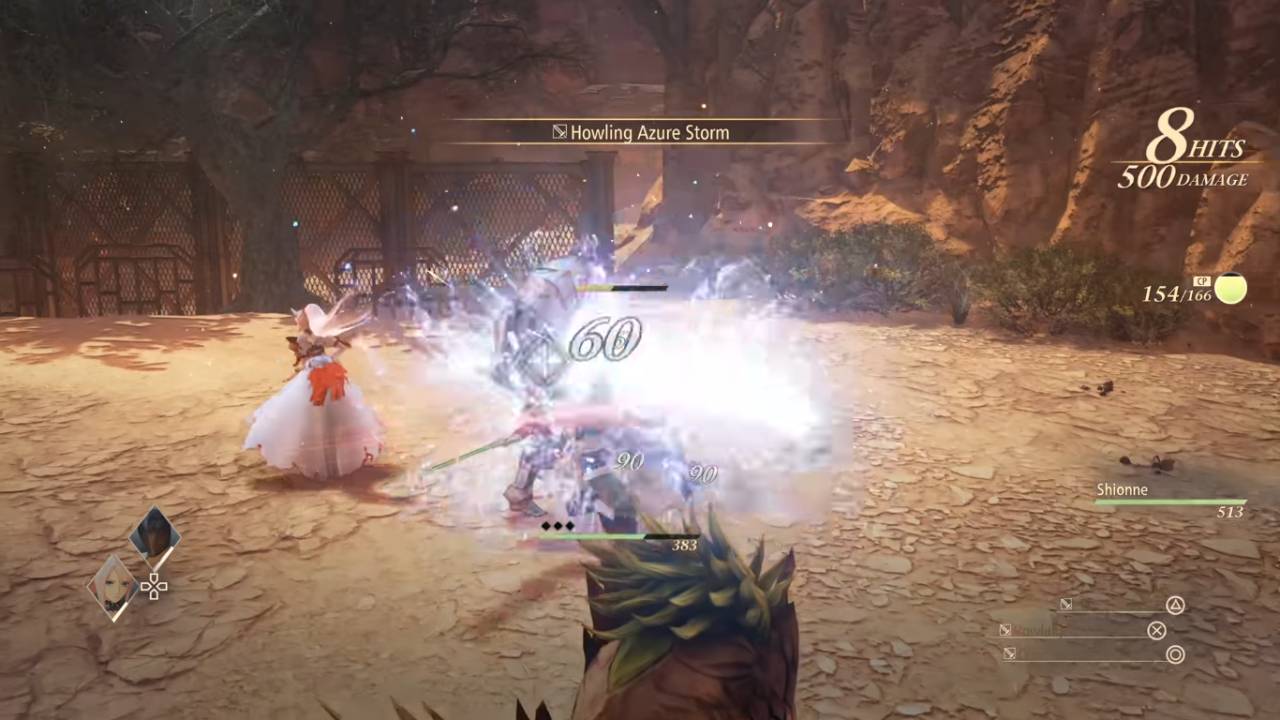
Surviving the Attack of Grand Gnome's Minions
Upon entering the arena, a spectacular cinematic plays that shows just how big and scary Grand Gnome is. The spirit of the earth is a crystal being of unimaginable mass, like a mountain, lying far back, completely beyond the physical limits of the stone platform for combat.
This sheer size makes it impossible to strike, attack, or otherwise deal damage to Grand Gnome by conventional physical means or magical spells in the early stages of the fight. Instead, the titan is a persistent environmental threat, raining destruction from afar.
Grand Gnome will periodically fire high-intensity tracking lasers at your active characters, scorching the stone floor. Glowing red target circles that follow you around before exploding make the danger of the strikes clear.
So you need to keep a fluid dodge rhythm to avoid getting launched into the air by these explosions. In order to make any real headway in this battle, you need to focus all of your offensive output directly onto the defensive proxies that Grand Gnome conjures directly onto the platform.
The boss will send out three consecutive waves of high-level elemental zeugles that act as his personal vanguard. These minions have large health pools and will aggressively try to swarm your fragile spellcasters. Your main role as Alphen is to act as a mobile vanguard that draws the aggression of the enemies by using wide-sweeping physical attacks to draw the enemies together.
This enables Rinwell to cast giant wind spells from the perimeter that have a wide area of effect, which efficiently melts away the waves. You have to make sure you don’t focus on one minion, as ignoring the background lasers will quickly have your controlled character hit from behind.
Vas Phein, the ancient dragon, defeated
Once the third and final wave of standard minions has been defeated, Grand Gnome will reveal his true weapon. The whole temple will shake violently as the massive ancient dragon Vas Phein crashes down onto the middle of the platform.
Like the big dragons of the main campaign, Vas Phein is the real mechanical test of this trophy quest, but with a lot higher damage scaling and more aggressive attack patterns. The dragon is going to want to restrict your movement right away with its massive tail sweep and toxic puddles on the floor.
These dangerous pools linger on the stone surface for a long time, and walking into them will quickly drain your characters’ health pools and inflict debilitating status effects. Vas Phein is a complicated arena to parse, so you’ll need to find the right balance of aerial mobility and well-timed boost attacks.
Because the dragon often flies to set up deadly diving attacks, you must watch its posture closely. As soon as Vas Phein takes off, quickly activate Shionne's boost attack. Her anti-aerial gun strike will instantly cut the dragon’s momentum, forcing it down to crash the beast hard into the stone floor.
When the dragon is grounded and temporarily restrained, you have to take advantage of your window of opportunity. Place Alphen directly behind the beast to strike its vulnerable underbelly and rear, and unleash your strongest wind-attributed physical artes to shred through whatever’s left of its health bar.
At the same time, keep an eye on your party’s magical cast gauges, and keep your healers topped off with Cure Points by manually using item jellies if the extended environmental damage starts to wear down your resources.
.jpg)
Breaking the Core and Harvesting the Legendary
Loot: With your coordinated offensive pressure and massive health pool, you will be able to bring down the ancient dragon, Vas Phein, and shatter it into harmless fragments of light. With its guardian dragon permanently destroyed, Grand Gnome will lose its remaining structural integrity and slump forward helplessly, exposing its massive, glowing yellow elemental core directly to your party.
You don’t need any complicated mechanical strategies or defensive maneuvers for this last sequence. Just run straight up to the exposed core, fire off a bunch of high damage physical attacks and destroy the earth spirit's astral anchor for good.
As the core shatters, a grand concluding cinematic will play out, showing the absolute purification of the earth energy across Elde Menancia and safely returning your party to the material world. When you regain control of your character, your profile will have the silver Quaking Continent trophy unlocked, which is a major step towards the full completion of your journey.
The tangible rewards of completing the quest are incredibly impactful, beyond the immense prestige of conquering one of the game's most difficult optional challenges.
Your party will instantly gain a huge amount of Gald and a decent amount of Skill Points to help you progress your advanced title nodes. Most importantly, you will be rewarded with a unique legendary artifact called the Golden Armor Suit for completing this mission.
Once this item is in your inventory and active, it gives an 80% permanent passive bonus to all experience points gained from combat encounters anywhere in the game. This awesome buff will totally change the way you progress in the late game, making future high-level rifts into very good grinding locations so you can easily take your characters all the way to level one hundred.
Check out our Tales of ARISE - Beyond the Dawn Edition Review and other guides:
- Tales of Arise Guide | Unlock the Billowing Cyclone Trophy
- Tales of Arise Guide | Basic Combat Mechanics
- Tales of Arise Guide | All Recipe Locations
- Tales of Arise Guide | All Fishing Spots and Fish Locations
- Tales of Arise Guide | All the Locations of the Artifacts
- Tales of Arise Guide | All Astral Flower Locations
- Tales of Arise Guide | Unlock the Big Game Hunter Trophy
- Tales of Arise Guide | Unlock the Wall Smasher Trophy
- Tales of Arise Guide | Unlock the Raging Current Trophy
- Tales of Arise Guide | Unlock the Night Blossom Trophy
- Tales of Arise Guide | Unlock the Veteran Rancher Trophy
- Tales of Arise Guide | Get the Diligent Counterattacker Trophy
- Tales of Arise Guide | Unlock Putting the Past in Its Place Trophy
- Tales of Arise Guide | Conquering the Ultimate Group Training
- Tales of Arise Guide | Ultimate Level 100 XP Farming Strategy
- Tales of Arise Guide | All Dahnan Owl Locations
- Tales of Arise Beginner's Guide | Gameplay Tips & Tricks
Editor, NoobFeed
Latest Articles
No Data.