
Total Chaos Guide | How To Get The Basement Key And Secret Head Easter Egg
Follow this route to unlock the Basement Key in Total Chaos with no effort.
Game Guide by Faviyan Mustafiz on Dec 04, 2025
In Total Chaos, several chapters hide small targets that you can shoot to unlock powerful rewards and a secret head easter egg. These secrets are easy to miss because the targets sit high up on buildings or tucked away near exits.
By following this guide, you will hit every hidden target in Chapters 4, 5, and 8, power up special mechanisms, grab early gear like the Miner Armor, obtain the Basement Key, and finally reach the hidden head easter egg.
Hidden Targets And Secret Easter Egg Overview
Across Chapter 4: Storm, Chapter 5: Crossroads, and Chapter 8: Chaos, you will find four hidden targets in each key area. When you shoot all four in a set, something in the level changes, such as a bridge dropping, a door opening, or a lever gaining power.
In Chapter 8, this is also the only way to get the Basement Key, which you then use to access the secret head room and unlock the easter egg reward. Make sure you explore carefully and look up often, because most targets sit high above entrances, exits, and landmarks.
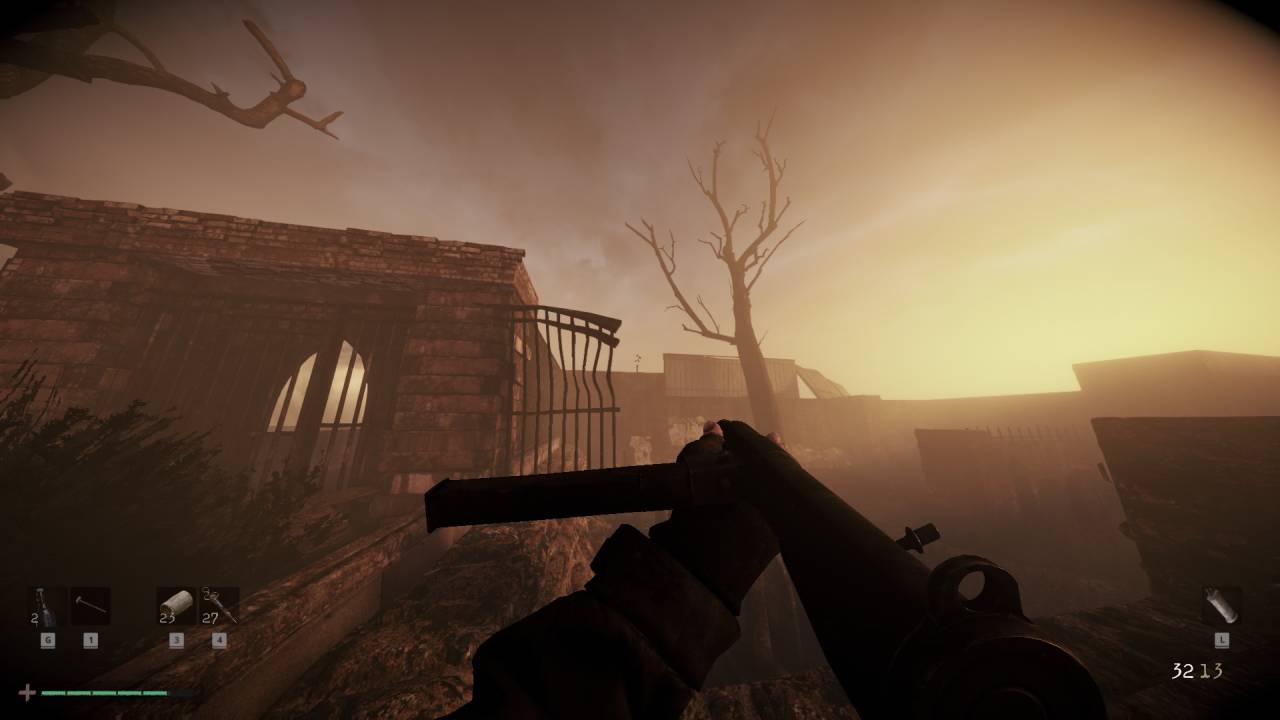
Chapter 4: Storm – Oasis Arcade Hidden Targets

In Chapter 4: Storm, you need to find four hidden targets around the commercial district. Start by heading to the Oasis Arcade. Look up and locate the first hidden target on top of the Oasis Arcade sign. This one is easy to spot once you stand back and aim toward the big sign above the building.
Next, face the main level entrance. While looking directly at this entrance, move your aim to the top left above the workbench. The second target sits high above this workbench area. Tilt your view up and scan the top-left corner of the space until you see it.
After that, make your way toward the level exit. Again, stand so that you are facing the exit and then look toward the top left of that structure. The third target rests there, close to the upper edge of the exit. Take your shot once you spot it.
Finally, head over to the Hotel entrance. Look above the front of the Hotel, and you will see the fourth target on top of the hotel entrance area.
Shoot this last target to complete the set for Chapter 4. When all four targets are destroyed, a nearby lever receives power. Once the lever is powered, you can use it and claim the rewards it unlocks in this part of Storm.
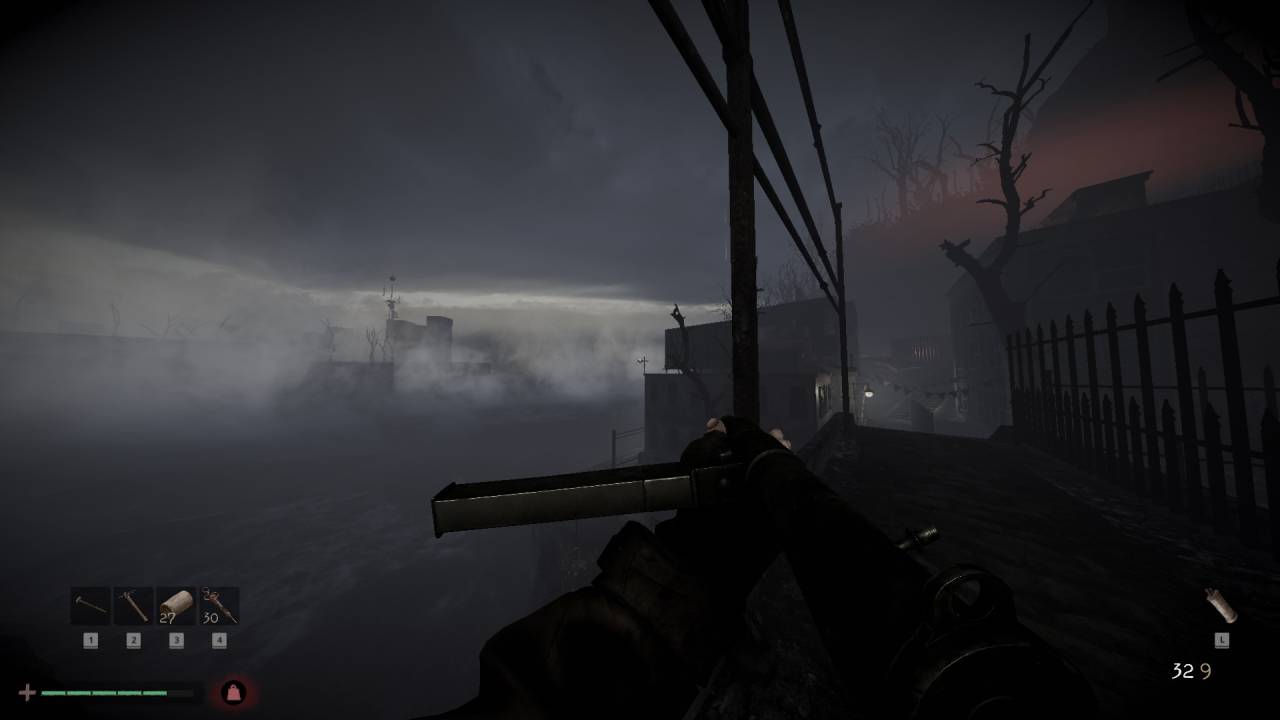
Chapter 5: Crossroads – Early Hidden Targets For Miner Armor (Part 1)
The first group of hidden targets in Chapter 5: Crossroads appears near the very beginning of the chapter.
As soon as you arrive at the starting area, stop and look at the main entrance in front of you. While facing that entrance, aim to the top left to find the first target resting high on the structure. Shoot it to start the sequence.
Now, while still looking at the same entrance, move your aim up and over to the top right. The second target is positioned there, mirroring the first one on the other side. Make sure you check the upper edges of the building until you see it.
Next, turn your attention to the tower in this area. Look up toward the top of the tower, but not all the way to the highest point. The third target sits a bit below the very top, so move your crosshair slightly down from the peak and scan until it comes into view.
For the fourth target, go toward the stairs that lead to the exit. Stand so that you can see the stairs from the side and look across them. The last target is placed across the stairs leading to the exit, around the upper section of the area. Once you identify it, shoot it to finish the first set.
After you destroy all four hidden targets in this early part of Crossroads, a bridge drops down. This bridge gives you access to an optional reward: you can grab an early piece of Miner Armor. Getting Miner Armor this early gives you extra protection for the rest of the chapter and makes upcoming fights more manageable.
Chapter 5: Crossroads – Library Hub Hidden Targets (Part 2)
The second group of hidden targets in Chapter 5 is found later on, when you reach the Library Hub area. These targets only become available once you are toward the end of Crossroads, so make sure you progress far enough into the chapter before you start searching.
When you arrive at the Library Hub, stand on the bridge that overlooks the entrance area. While looking from the bridge at the entrance, scan to the left side. The first hidden target here sits on the left when you are facing the entrance from the bridge, positioned along the upper structures.
Keep standing on the bridge and turn your view to the right side, toward the Library itself. The second target is on the top right when you are looking from the bridge, right next to the Library. Look along the high edges of the building to spot it.
Next, find the tunnel entrance that connects deeper into the hub. Face the tunnel entrance directly and look up toward the top left. The third target waits at the top left when you are looking at this entrance, placed near the upper frame of the tunnel opening.
Finally, head over to the tunnel exit on the other side. Stand where you can see the tunnel exit clearly, then look again to the top left. The fourth target is located at the top left when you are looking at the tunnel exit, completing the set.
Once you shoot all four hidden targets in this Library Hub section, a closed door in the area opens up. You can now go through this newly opened door and collect the rewards hidden behind it, such as extra supplies or useful items that help you finish Crossroads with more resources.
Chapter 8: Chaos – Hidden Target Locations And Basement Key
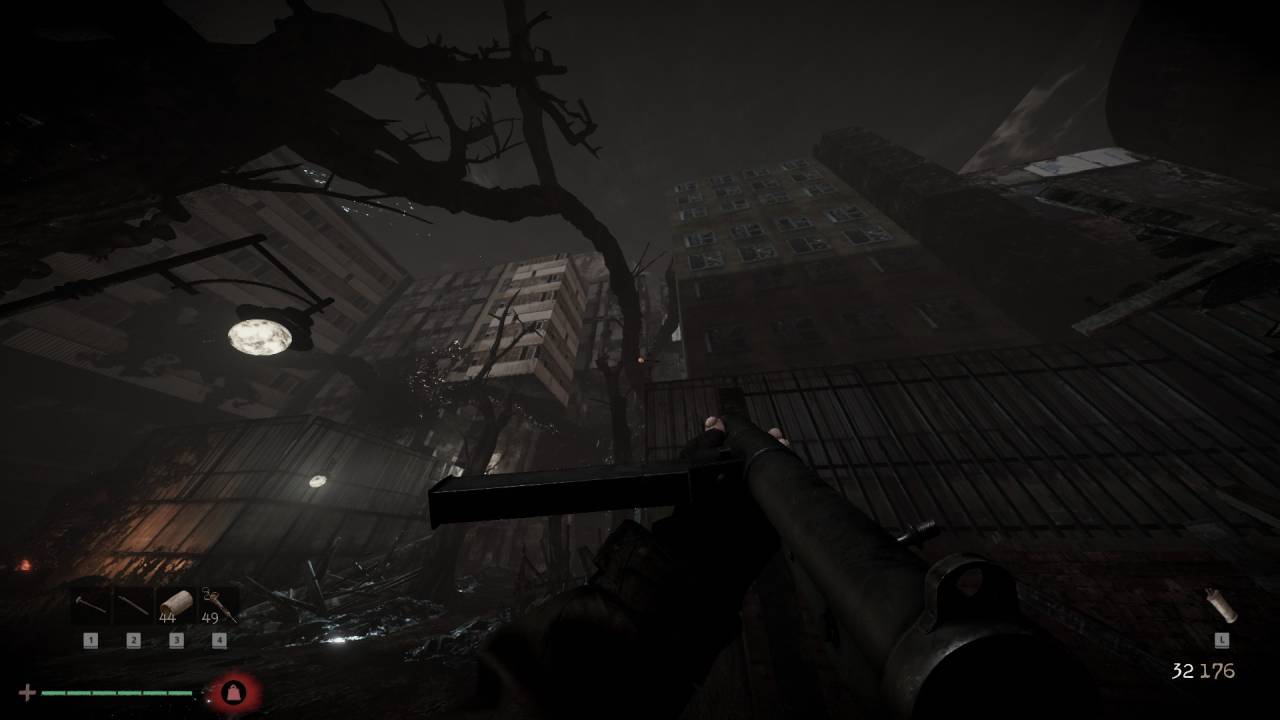
In Chapter 8: Chaos, hidden targets become even more important, because this is the only way to get the Basement Key you need for the secret head easter egg. There are four targets again, and they are spread around key points near a Save Point and a Crafting Bench Hub.
First, move past the Forgotten Ones until you reach the Save Point in this section. After the Save Point that lies beyond the Forgotten Ones, head into the area that follows and turn to face the exit of that area. Look to the top right when you are looking at this exit. The first hidden target is placed high up on the right-hand side, above the exit path. Shoot it to begin the sequence.
Next, return toward the Save Point and the Crafting Bench Hub location. Before you reach this hub area, stop and look straight up. The second hidden target sits directly above you before the Save Point and Crafting Bench Hub, so you will need to aim straight overhead to see it.
For the third target, stand in the Save Point and Crafting Bench Hub area and then turn to face the opposite side. Look straight up once more, but make sure you are aiming opposite the hub.
The third target is placed above this side of the space, opposite the Save Point and Crafting Bench Hub, and can be tricky to see if you do not tilt your view all the way up.
The last target in Chaos is near the tree area entrance. Go to the entrance that leads into the area with the trees and look to the top left. The fourth target is on the top left of the tree area entrance, high along the frame of the opening. Shoot this final target to complete the Chapter 8 set.
After all four hidden targets in Chapter 8 are destroyed, a special door opens. This door leads to the only path where you can find the Basement Key.
Enter through the newly opened door, explore the area, and collect the Basement Key once you reach it. Without hitting these targets and opening this door, you cannot get the key or access the secret head easter egg.
Chapter 8: Secret Head Easter Egg – Requirements And Steps
To unlock the head easter egg in Chapter 8: Chaos, you must meet a few strict requirements. You need to have kept two extra Chain Cutters and three Fuses by this point.
Do not spend or lose these extra items earlier in the game if you plan to go for the secret. Having both extra Chain Cutters and all three Fuses ready is essential, because you will use them one after another after opening the secret area.
Once you have shot all four hidden targets in Chapter 8 and picked up the Basement Key from the secret door path, return to the beginning of the level.
Near the start of Chaos, you will find a locked door that accepts the Basement Key. Use the Basement Key on this door at the beginning of the level to unlock the entrance to the hidden basement.
After entering the basement area, you must proceed by using your Chain Cutters. There are locked or chained points blocking your way, and you need to cut through them with the extra Chain Cutters you saved earlier. Move forward, cut what stands in your way, and push deeper into the secret section.
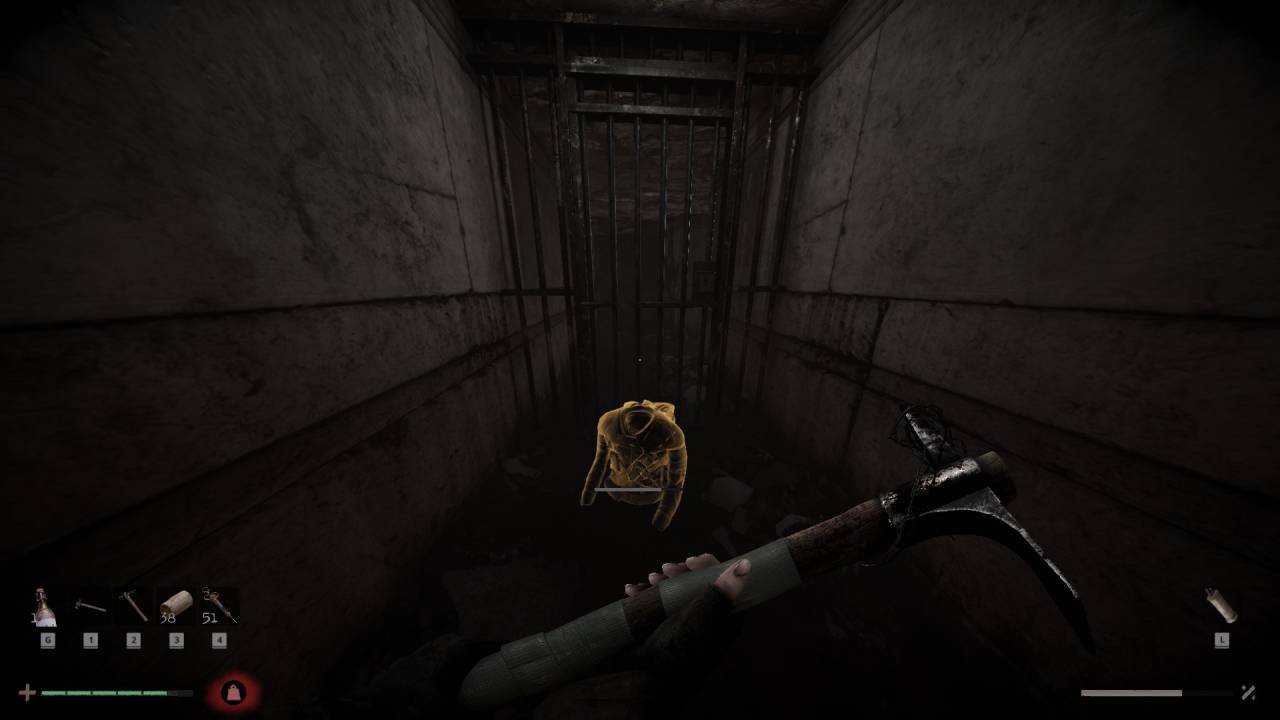
Next, you will come across spots where the three Fuses are required. Insert the Fuses one by one into the fuse slots when prompted. Using all three Fuses powers up the hidden mechanisms in this basement route and brings the secret head easter egg room to life.
When the area is fully activated, you will reach the room that holds the head. You can now interact with the head to trigger the easter egg and receive your special reward.
This final step completes the full hidden target route in Total Chaos, from Chapter 4 and Chapter 5 secrets to the Chapter 8 Basement Key and the secret head easter egg.
Also, check our Total Chaos Review and other guides below:
Contributor, NoobFeed
Latest Articles
No Data.