

ARK: Survival Ascended Guide | How To Build Best Turret Towers
Master the Art of Base Defense with the Ultimate Turret Tower Strategies in ARK: Survival Ascended.
Game Guide by Monarch on Jul 09, 2025
This guide provides comprehensive instructions on building the best turret towers in ARK: Survival Ascended. It covers turret types, placement strategies, turret settings, and essential tips to maximize your base defense. Follow these strategies to ensure your base stands strong against any threat.

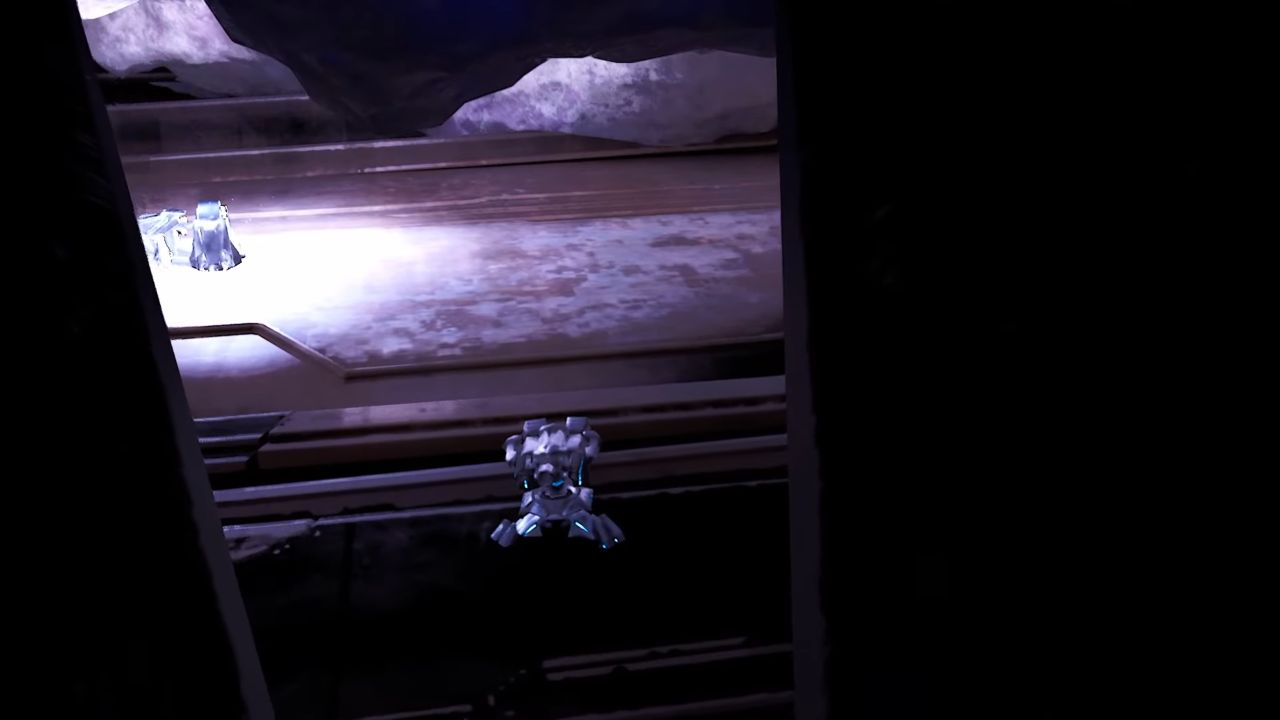
Armored Bladewasp Tower
Even the best flyer can be eliminated in seconds by a single Bladewasp Tower turret. The biggest problem is that rockets can destroy it in just two hits.
To build an armored Bladewasp Tower, specific construction steps must be followed. The major advantage of this tower is its ability to perfectly hit flyers, dealing damage based on the maximum HP of the flyer and striking multiple creatures simultaneously.
The stronger the flyer, the more damage it takes. However, Bladewasp Towers cannot be placed in caves or red holes.

Skeleton Tower
The Skeleton Tower is the top choice for base defense. A single, well-placed Skeleton Tower can deter even the most determined raiders. Build as many as possible to protect valuable assets. Place them in a circle around the base, ensuring they are within range of each other to cover multiple angles.
Generators should always be hidden because they are easy to snipe and can weaken the whole defense. When placed correctly, all turrets stay active and can fight enemies.
Ground and Terrain Turrets
Ground and terrain turrets are essential for any base. These turrets complement Skeleton Towers and are particularly effective in caves.
Placing turrets without walls and utilizing natural terrain provides superior protection compared to large death walls. Ground and terrain turrets are more difficult to hit with cannons and are immune to tech attacks.
For open bases, a mix of Tech and Heavy turrets is recommended. In caves, use ground, ceiling, and wall turrets. Large walls are still important, especially in caves, as they intimidate attackers. Avoid placing Tech turrets in narrow areas, as they can be easily shadow tanked.

Double Door Turret Wall
Double Door Turret Walls are currently the meta for turret walls and serve as the foundation for most Skeleton Towers. This design is the most consistent and durable in the game.
Damage is distributed evenly between walls, and even if some turrets are destroyed, the remaining turrets continue to fire. The best locations for turret walls are choke points where enemies must approach head-on, such as narrow cave passages or other restricted areas.
To construct, place a foundation, set a thatch wall, add a turret, then replace the wall with a metal doorway. Add an extra layer of walls by placing two foundations in front of the turret and adding another double door wall for additional defense.
Crouch Ratholes
Choke points that cannot be traversed by creatures provide the best base defense. Many tribes build in red holes with crouch points that are impassable by creatures, making them extremely strong. Opponents are forced to soak turrets as players or use explosives like cluster grenades and tech grenades.
Place one Tech turret at the choke point to knock enemies out of the crouch port, and add one or two Heavy turrets to intercept rockets and explosives. Three turrets are usually sufficient to defend a rathole effectively.
Turret Basics
Velonasur creatures, while not as strong as turrets, can be deployed in unlimited numbers and will shred enemies.
Even after reaching the turret limit, more can be placed. Level them in HP and stamina for continuous fire. Opponents must clear all Velonasur before advancing, buying valuable time.
Naming each Velonasur helps track enemy positions. Velonasur are easy to tame and can be acquired early in the game using Captain Fat Dog's trap.
Turret Placement
Always prioritize ground and terrain turrets over large turret walls. While large turret walls appear intimidating, they are easily destroyed by cannons or Tech.
Destroying turrets individually is more time-consuming than taking down an entire wall at once. Build turret walls strategically, knowing when and where they are most effective.

Best Turret Targeting / Player Only
Once Tech is available, set turrets to "player only" mode, especially Tech turrets. This setting allows turrets to target players even when mounted on creatures.
All turret types, like normal, Heavy, or Tech, can snipe players off their tames, with Tech turrets excelling due to splash damage. More turrets are beneficial, but strategic placement and targeting are crucial for optimal defense.
Best Turret Ratio
Maintain a ratio of two Tech turrets for every Heavy turret. Place one Plant X for every thirty turrets and at least one per wall. Include two Tesla Coils per thirty turrets, with at least one per wall - one in bright mode and one in volatile mode.
Proper ratios ensure balanced defense and efficient use of the turret limit.

Best Turret Composition
For optimal defense, arrange turrets in sets: twenty Tech turrets, ten Heavy turrets, one Plant X, one Tesla Coil, and optionally one Bladewasp Tower.
This totals thirty-three turrets per set. With three sets, ninety-nine turrets can be placed on one wall, leaving room for an additional turret, such as a Tesla Coil or another Bladewasp Tower.
Only one Bladewasp Tower is needed, as it can hit multiple targets without a full line of sight.
Best Turret Settings
Set all turrets to high for maximum range, but adjust as needed to allow enemies to approach closer in certain situations. Avoid using the "copy to all turrets" option, as it can disrupt configurations.
For Tech turrets, set 85% to player only, 5% to all targets, and 5% to both players and mounted targets, with an additional 5% to both players and tamed targets.
For Heavy turrets, set 20% to player only, 40% and tamed, and 30% to player and mounted.
Tesla Coils provide crowd control; set one to bright mode and player-mounted, and one to volatile mode. Plant X is used to slow, annoy, and blind enemies. In caves, add extra Tesla Coils as desired.
Also, check our other guides below:
- ARK: Survival Ascended Guide | How To Import & Export Templates
- ARK: Survival Ascended Guide | Best Base Locations on Ragnarok
- ARK: Survival Ascended Guide | All Desert Loot Crate Locations
- ARK: Survival Ascended Guide | All Beaver DAM Locations
- ARK: Survival Ascended Guide | Where To Find Aberration Biome
- ARK: Survival Ascended Guide | Best Blueprint and Loot Farm on Ragnarok
- ARK: Survival Ascended Guide | How To Farm Polymer
- ARK: Survival Ascended Guide | How To Get Black Pearls
- ARK: Survival Ascended Guide | Bisons' Abilities and Uses
- ARK: Survival Ascended Guide | How To Get Ice Wyverns
- ARK: Survival Ascended Guide | How To Find Griffins
- ARK: Survival Ascended Guide | How To Trap Griffins
- ARK: Survival Ascended Guide | How to Farm Berries
- ARK: Survival Ascended Guide | Astraeos Miniboss Location and Loot
- ARK: Survival Ascended Guide | How To Beat the Lava Golem Solo
- ARK: Survival Ascended Guide | How To Beat the Iceworm Queen
Editor, NoobFeed
Latest Articles
No Data.